Care of your Corten Steel firepit
How to Look After Your New Corten Steel Fire Pit:
Corten steel, also known as weathering steel, is designed to develop a stable rust-like appearance after exposure to weather. This layer protects the steel underneath from further corrosion, making it ideal for outdoor use. Here's how to take care of your new Corten steel fire pit to ensure it lasts for many years.
Initial Setup
1. Choose the Right Location
- Place your fire pit on a non-combustible surface, such as concrete, gravel, or pavers.
- Ensure it's at least 10 feet away from any structures, plants, or flammable materials.
2. Allow for Proper Ventilation
- Make sure your fire pit has enough ventilation for airflow, which helps the fire burn more efficiently and reduces smoke.
Regular Maintenance
1. Cleaning Your Fire Pit
- After Each Use:
- Allow the fire pit to cool completely.
- Remove ash and debris with a brush or a small shovel.
2. Managing Rust
- Initial Rusting:
- Corten steel will develop a rust patina over the first few months. This is normal and part of the protective process.
- During this period, avoid placing the fire pit on delicate surfaces that might stain from rust runoff.
- Long-Term Care:
- Once the patina is fully developed, the rust layer will stabilize and further rusting will slow down.
- If you notice any areas where the rust appears to be flaking off, gently brush off the loose material and allow the new rust layer to form.
Seasonal Maintenance
1. Protecting During Winter
- If it's going to be raining for some time, consider covering your fire pit when not in use. Use a breathable cover to prevent moisture buildup, which can accelerate corrosion.
- Alternatively, store the fire pit in a dry, sheltered location during the off-season.
2. Inspection
- Periodically inspect your fire pit for any signs of damage or excessive rusting.
Usage Tips
1. Burning Materials
- Use dry, seasoned wood for burning. Wet or green wood can produce excessive smoke and may cause a buildup of creosote.
- Avoid burning trash, treated wood, or other materials that can produce harmful fumes.
2. Fire Safety
- Never leave a fire unattended.
- Keep a bucket of water or a fire extinguisher nearby in case of emergencies.
- Ensure the fire is completely extinguished before leaving the fire pit.
Enhancing Longevity for your new Corten firepit
1. Avoiding Harsh Chemicals
- Do not use harsh chemicals or abrasive cleaners on your fire pit. These can damage the protective rust layer and compromise the steel.
Enjoy Your Fire Pit
- Relax and Enjoy: Now that your Corten steel fire pit is well-maintained, enjoy the warmth and ambiance it brings to your outdoor space. Gather around with friends and family for memorable evenings.
Summary
Taking care of your Corten steel fire pit involves regular cleaning, managing the rusting process, and seasonal maintenance. By following these simple steps, you can ensure that your fire pit remains a beautiful and functional centerpiece in your outdoor area for years to come.
If you have any questions or need further assistance, feel free to ask. Enjoy your cozy fireside moments!
The Bamboo Warehouse
Co-Extruded Wall Panels
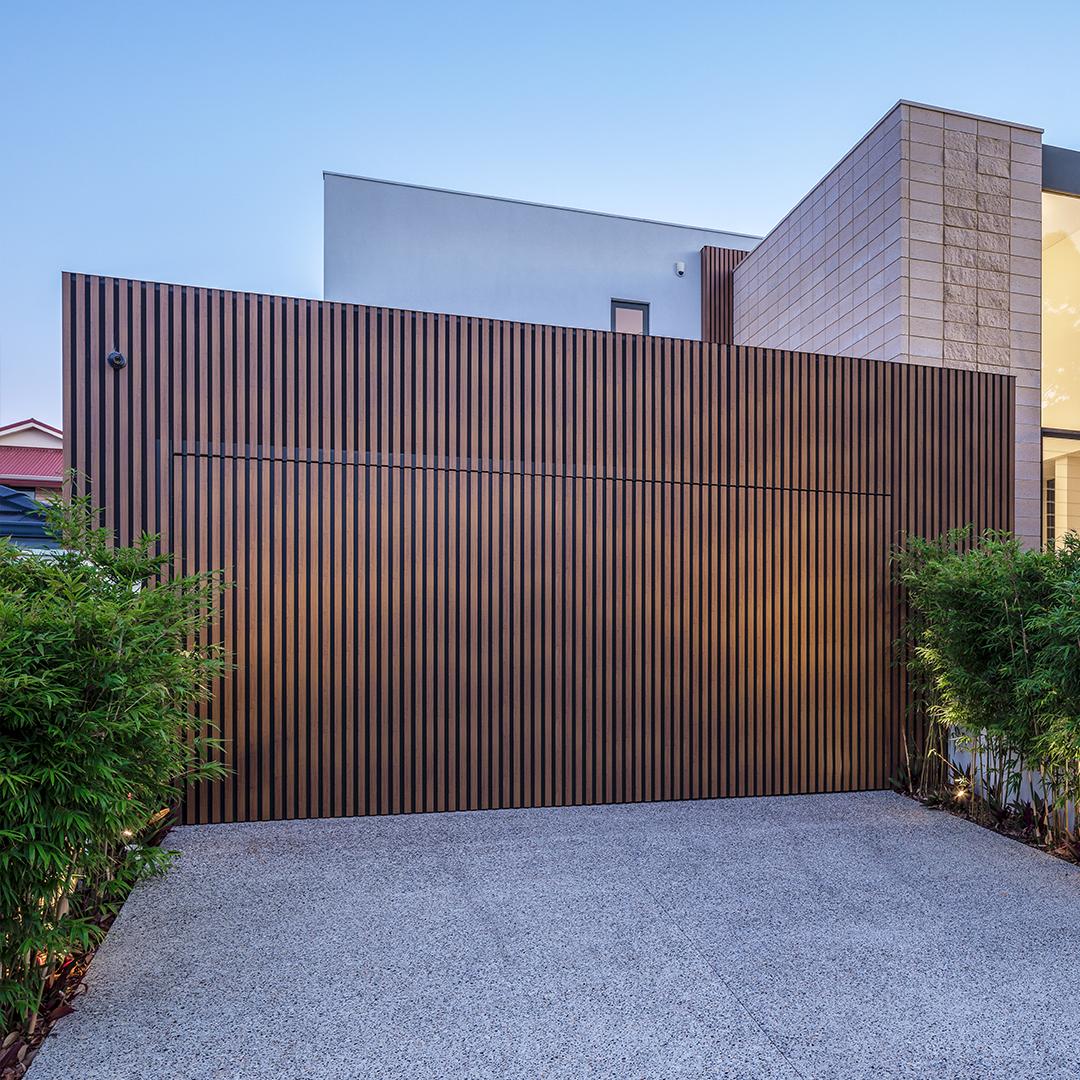
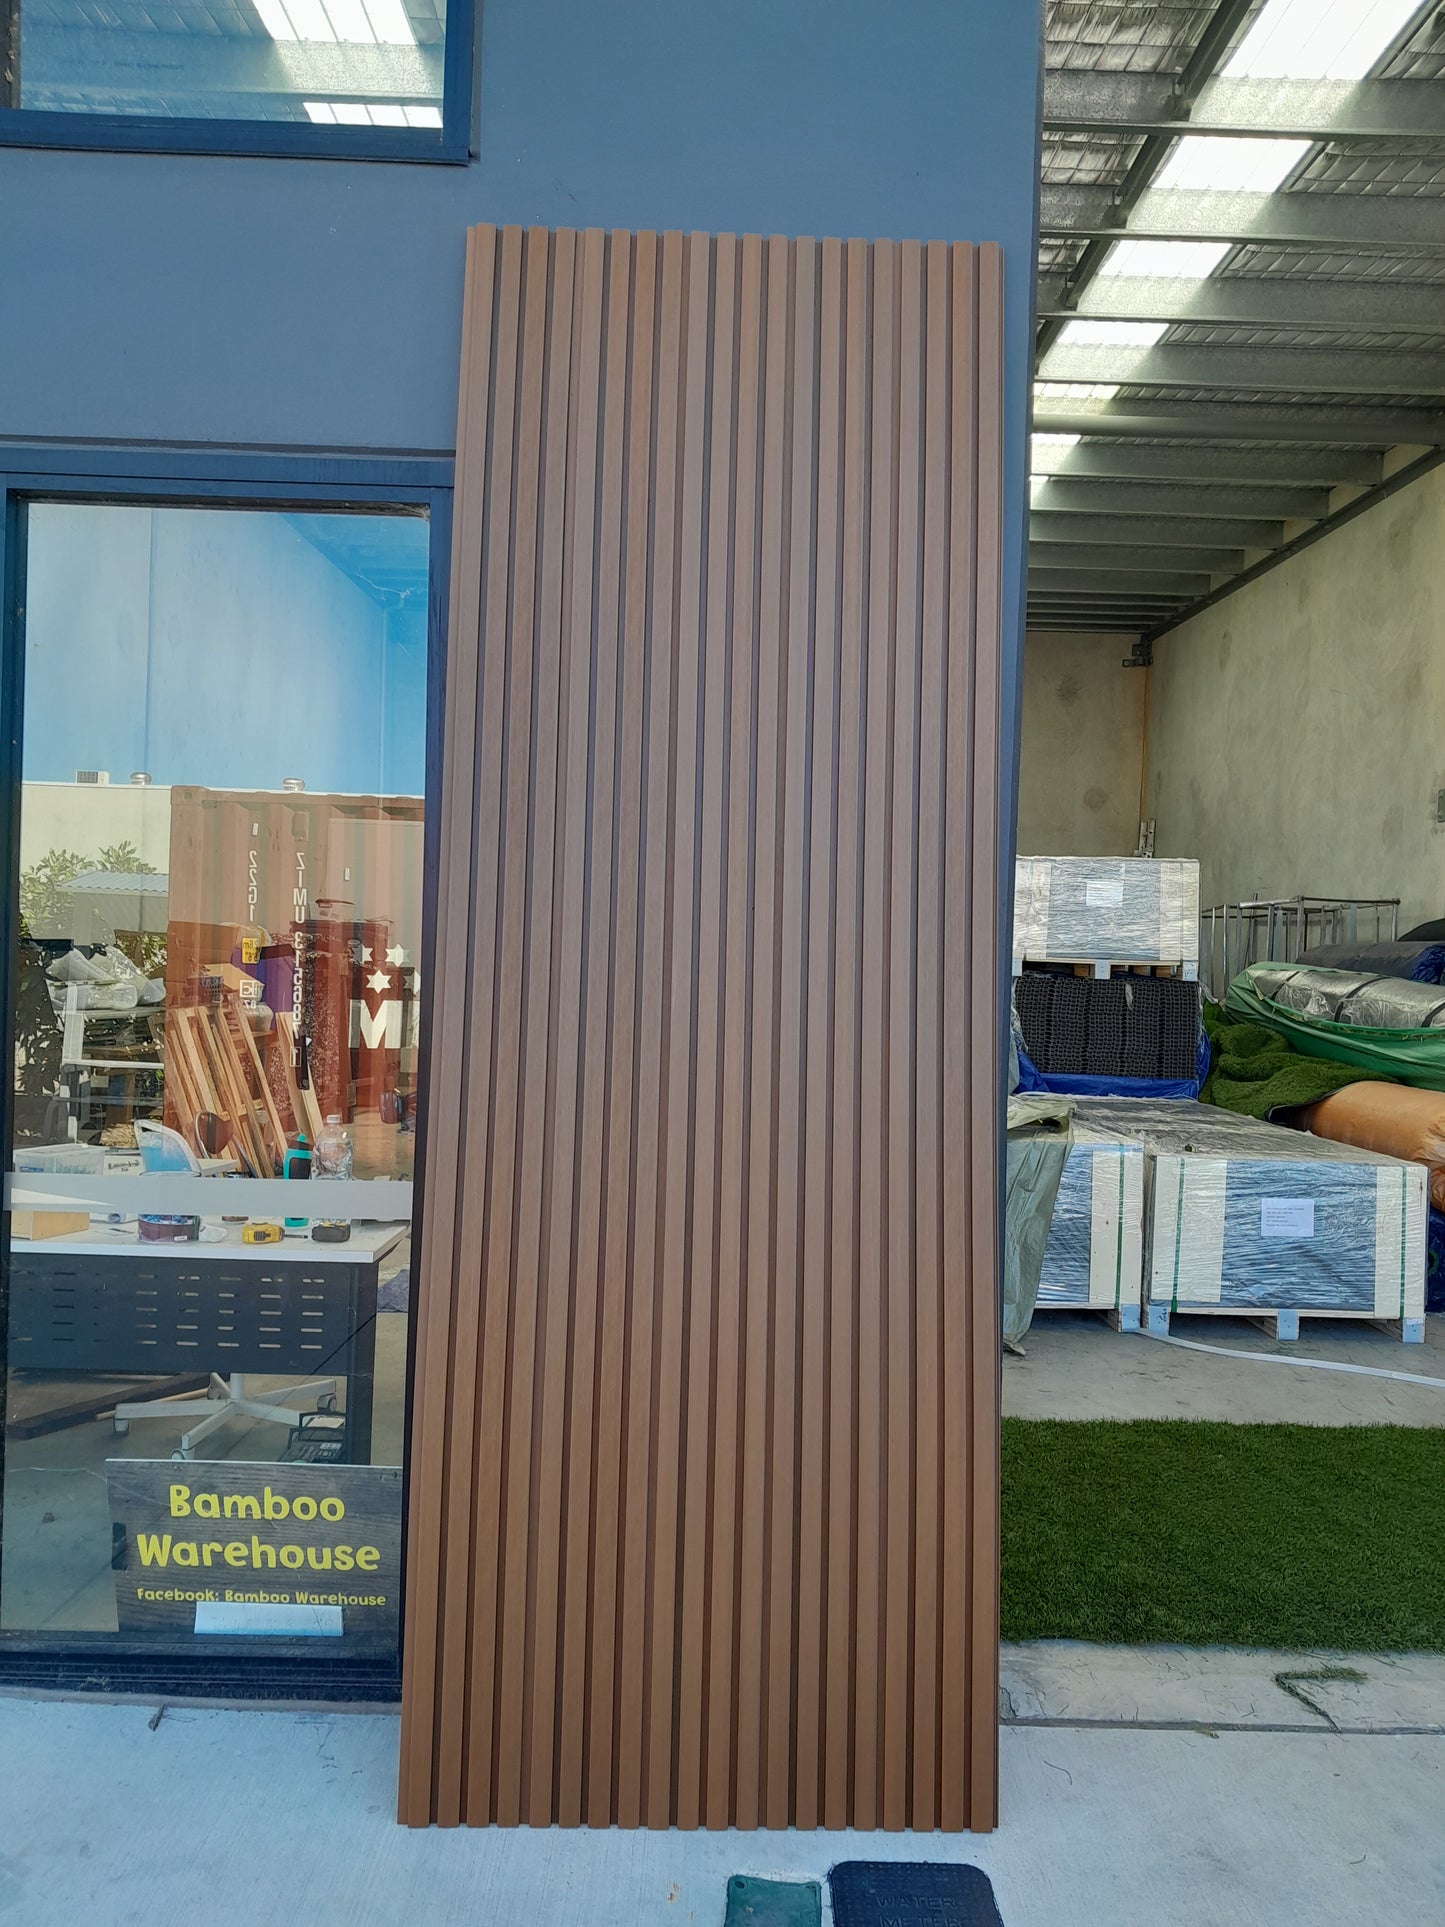
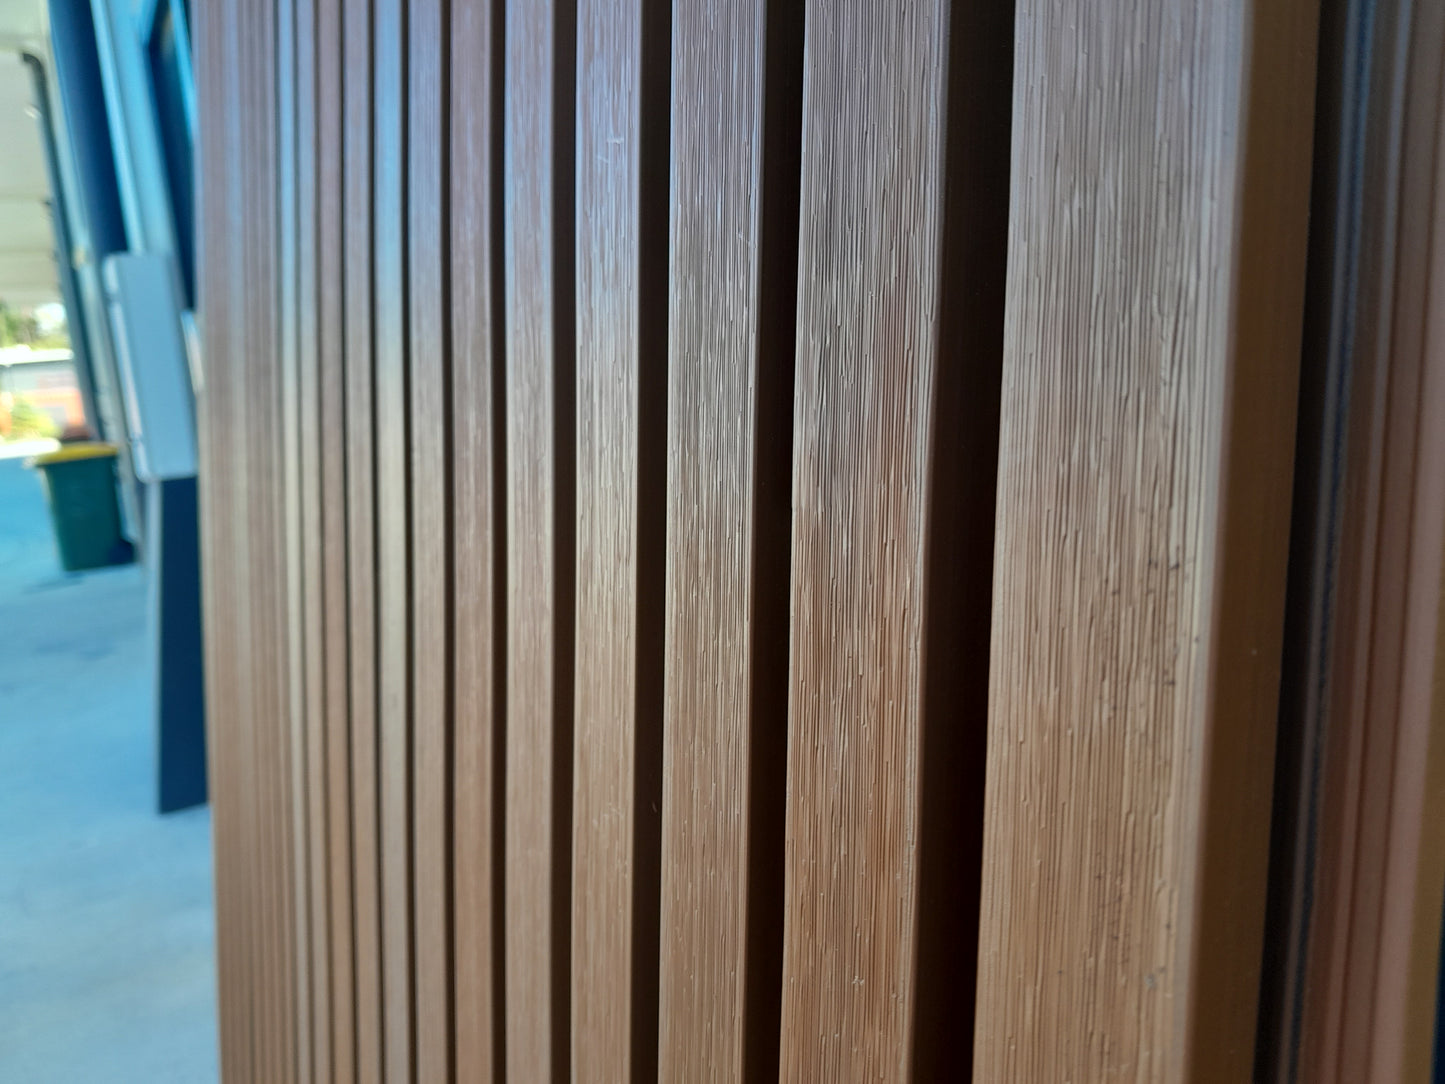
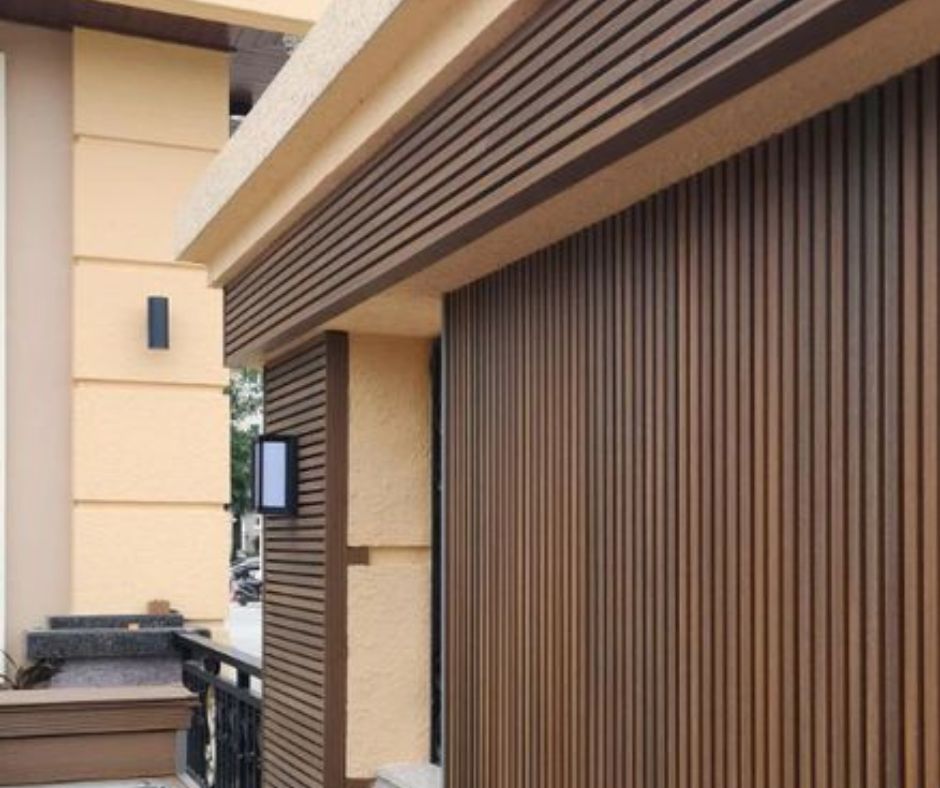
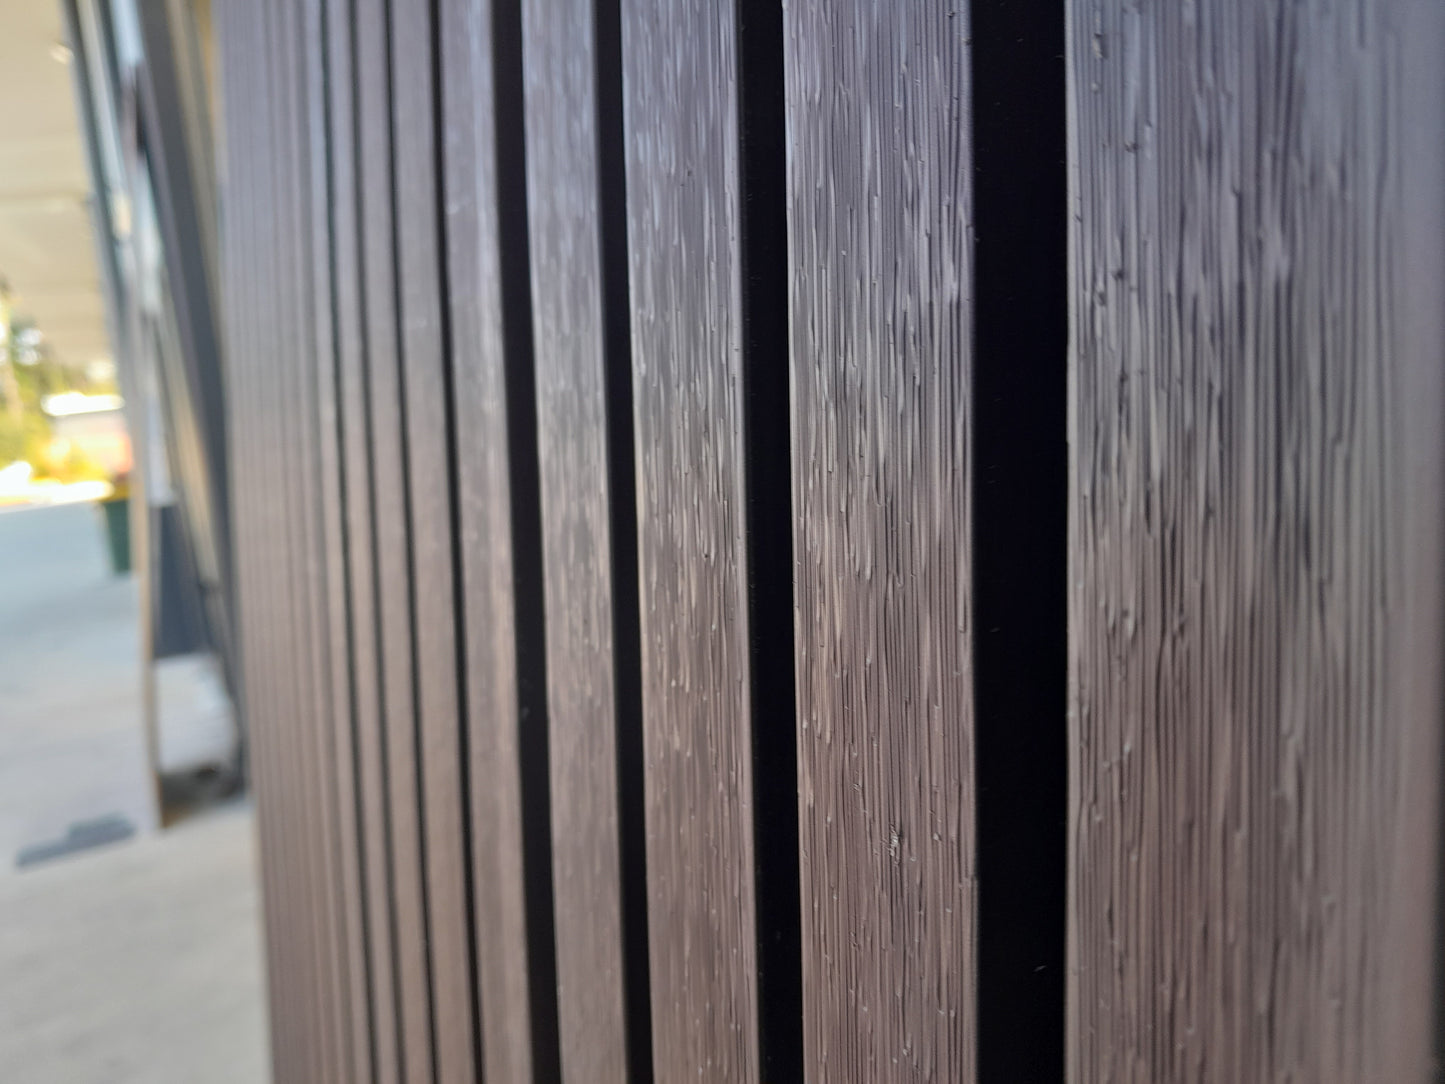
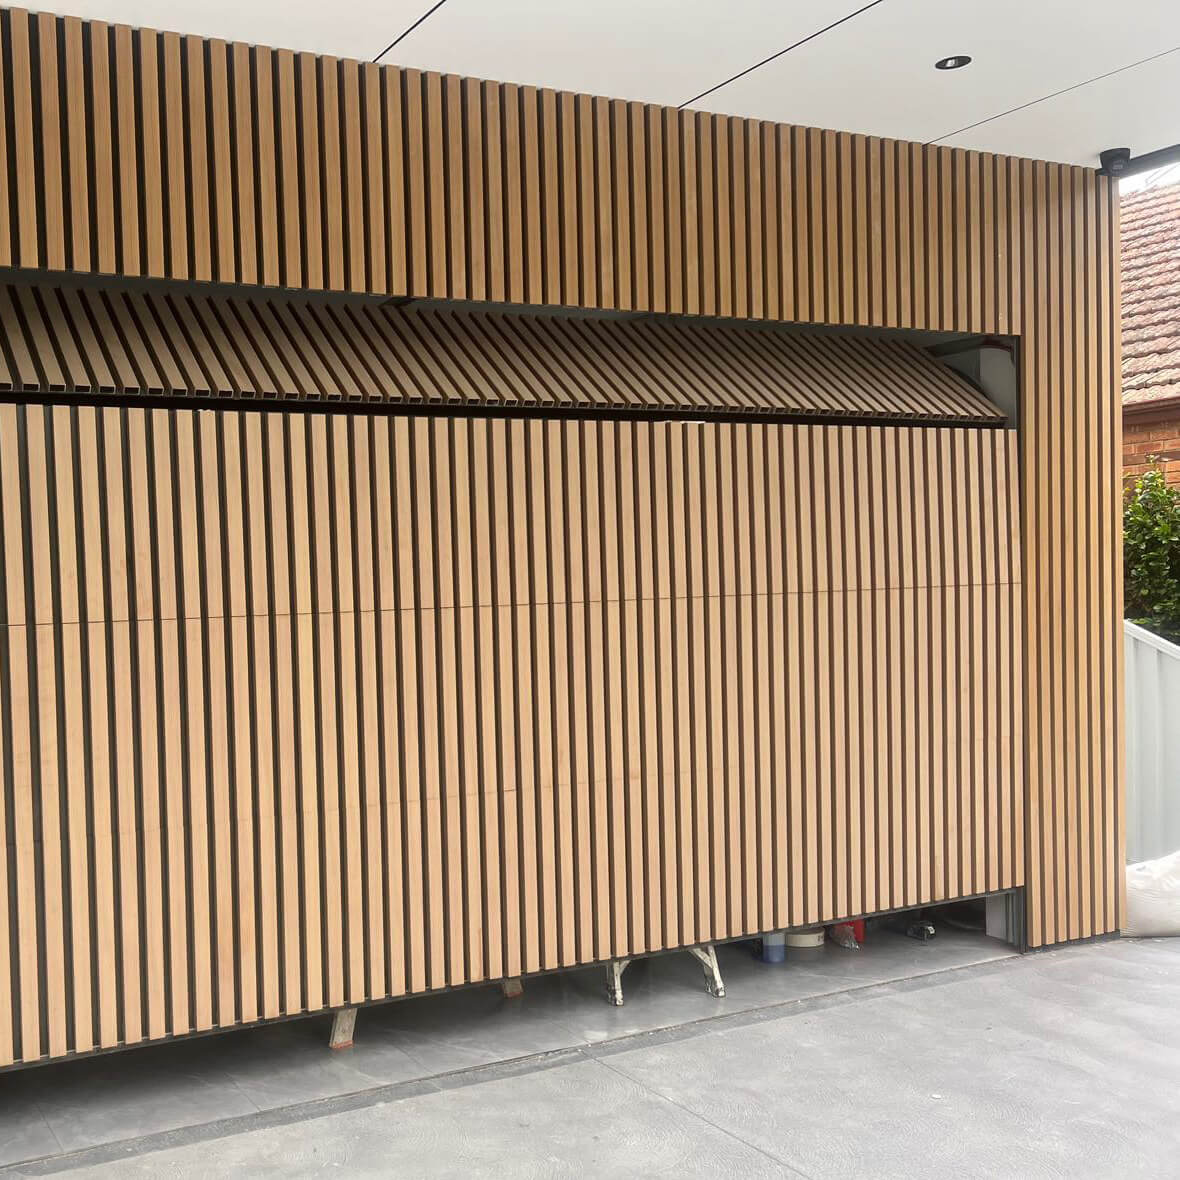
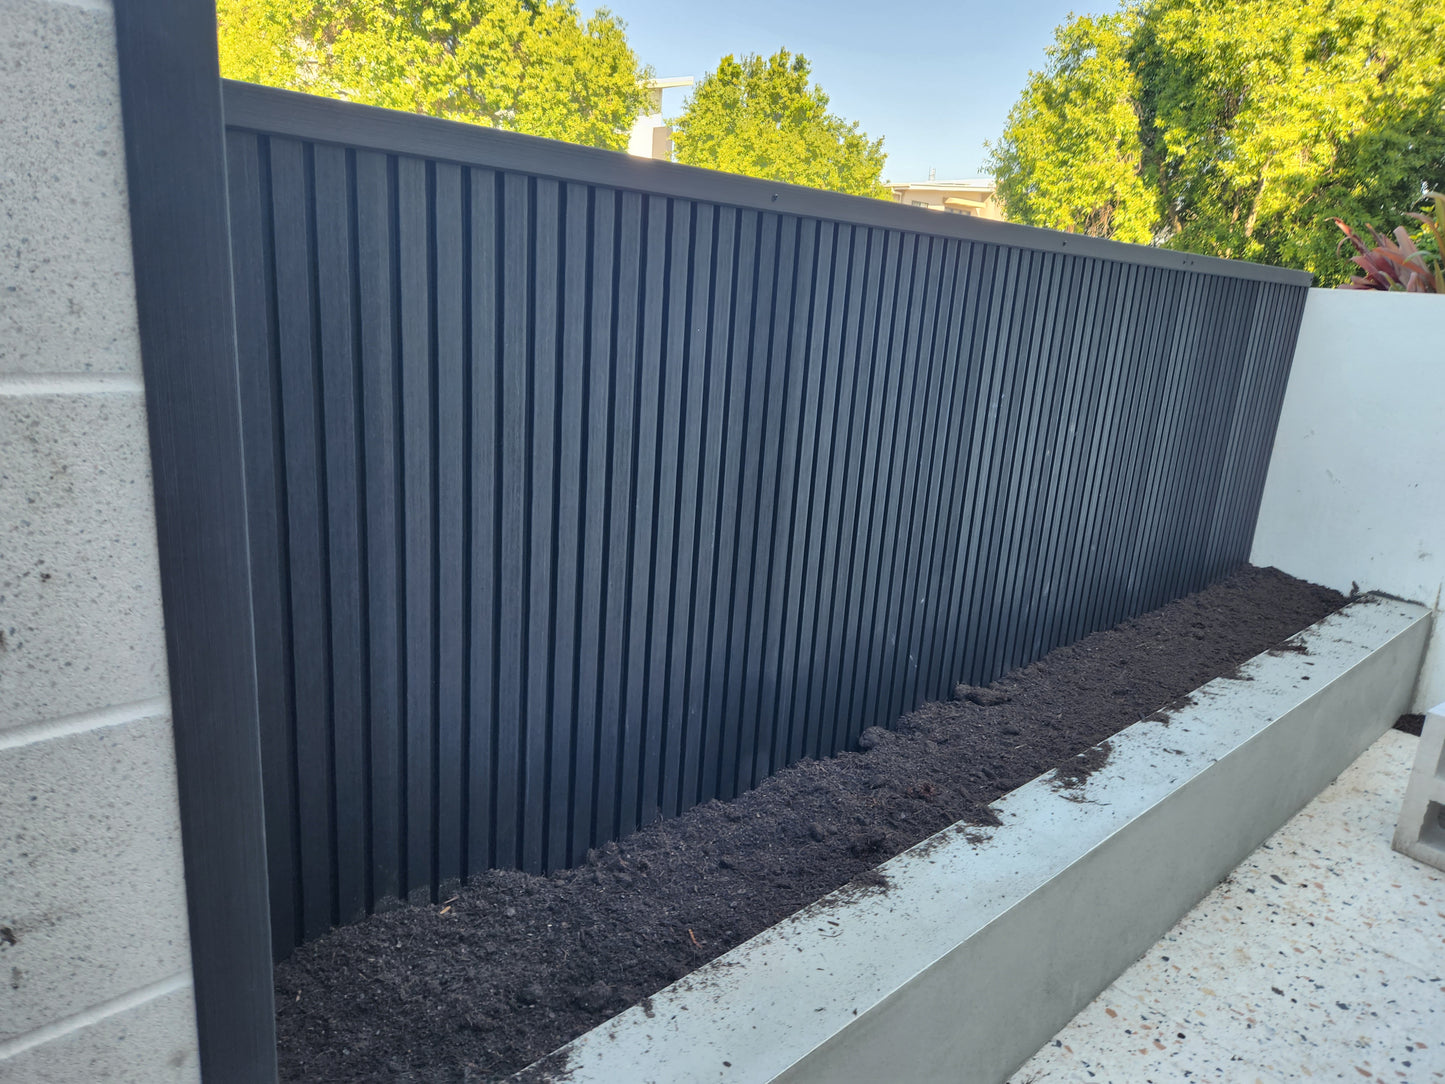
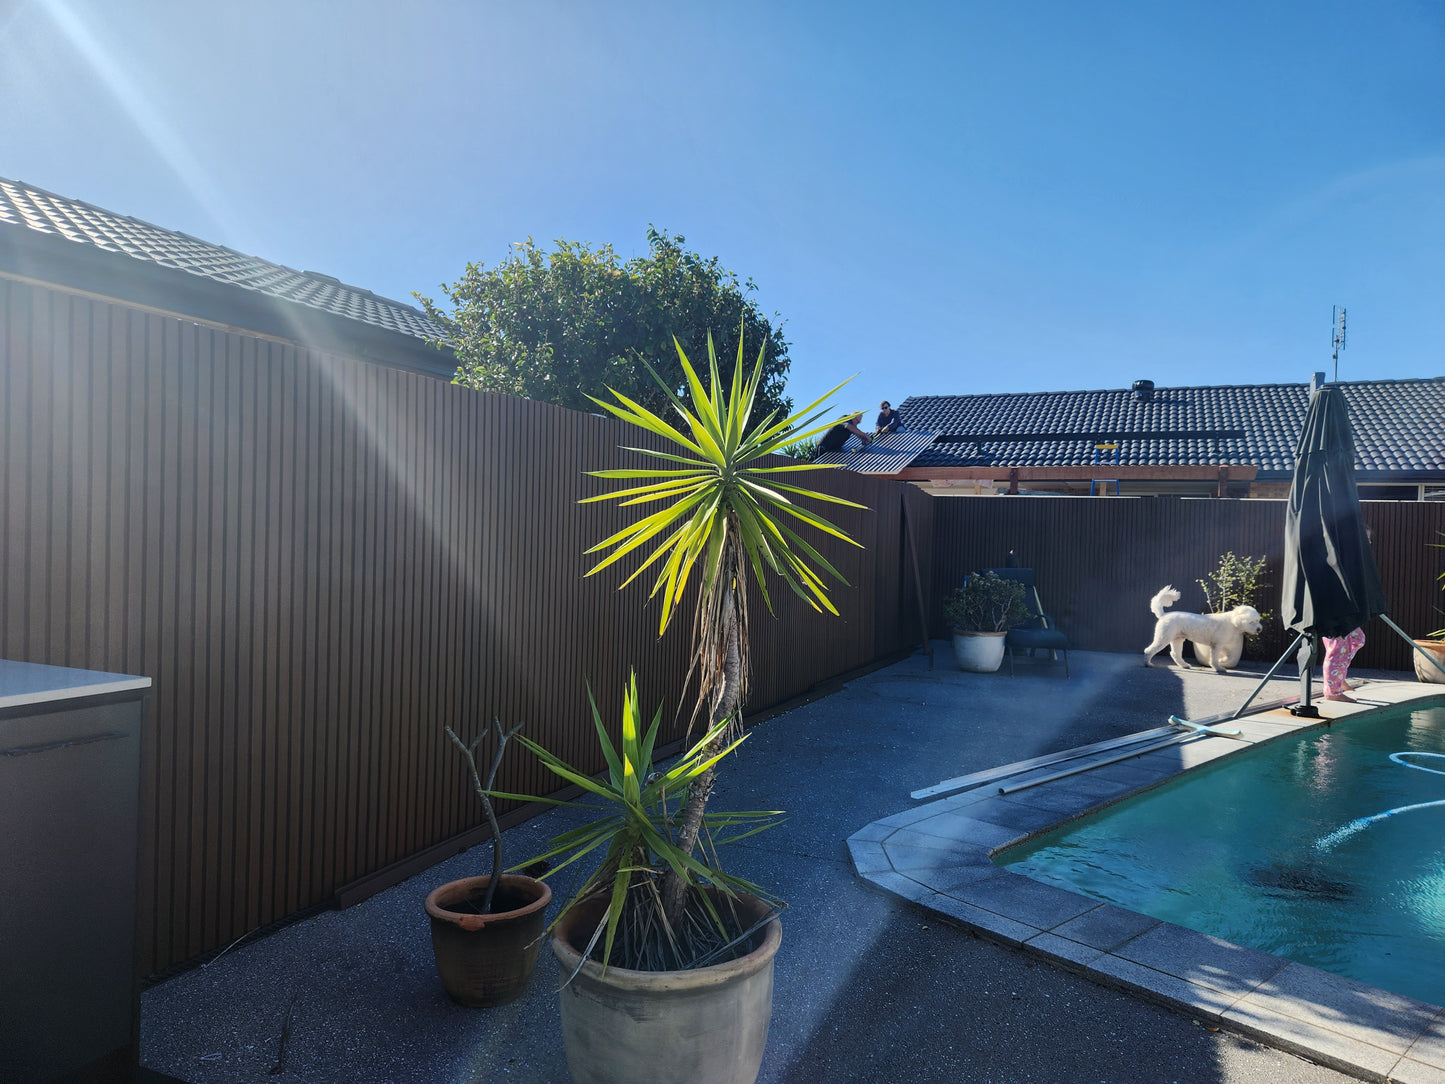
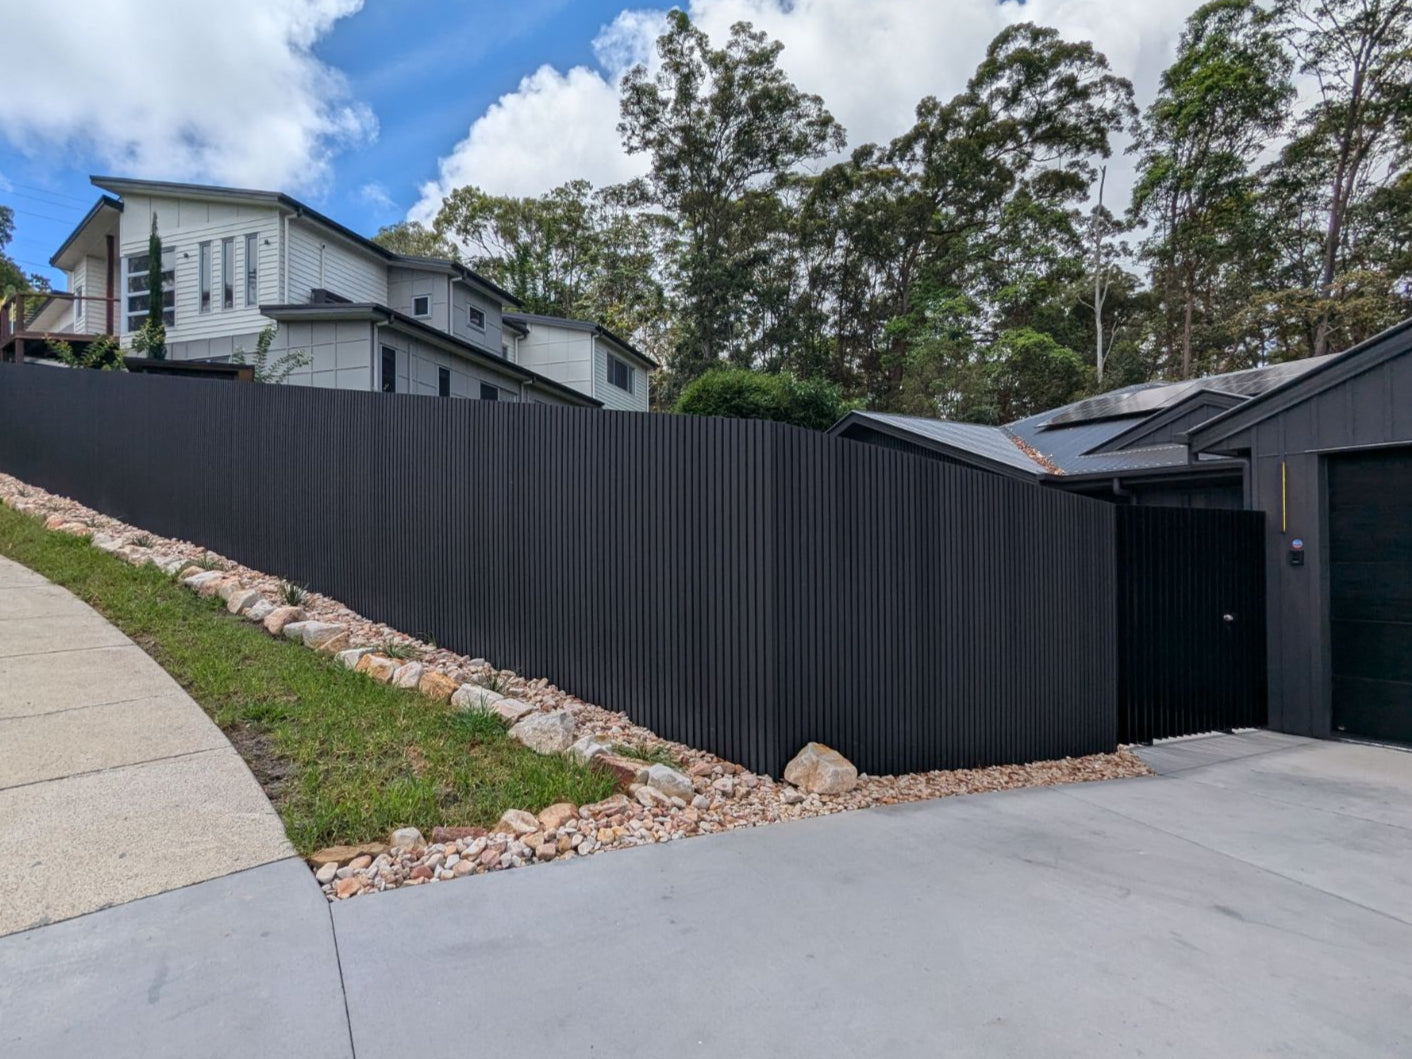
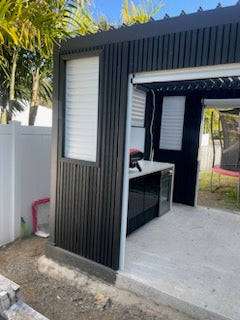
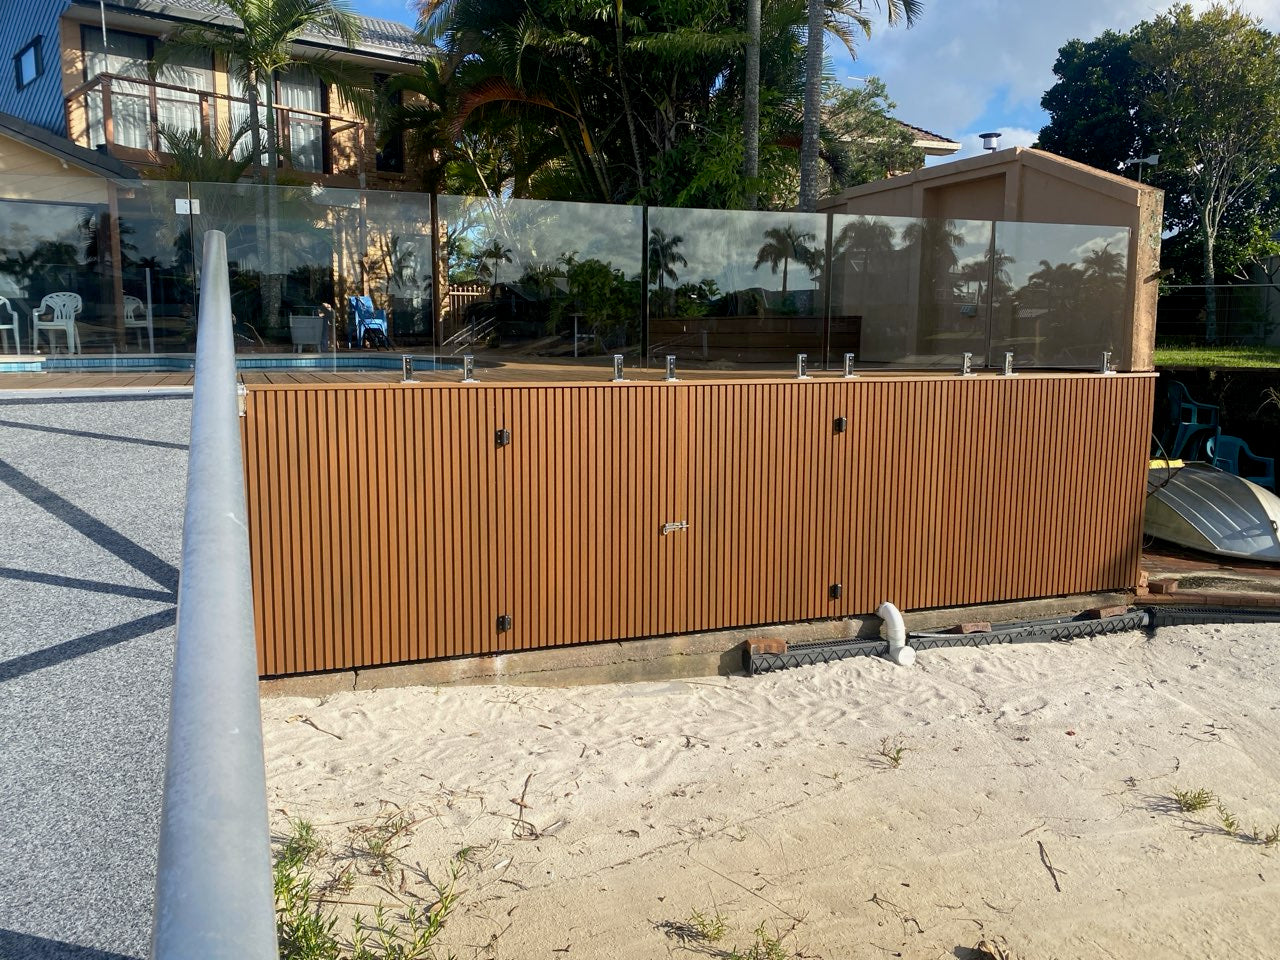
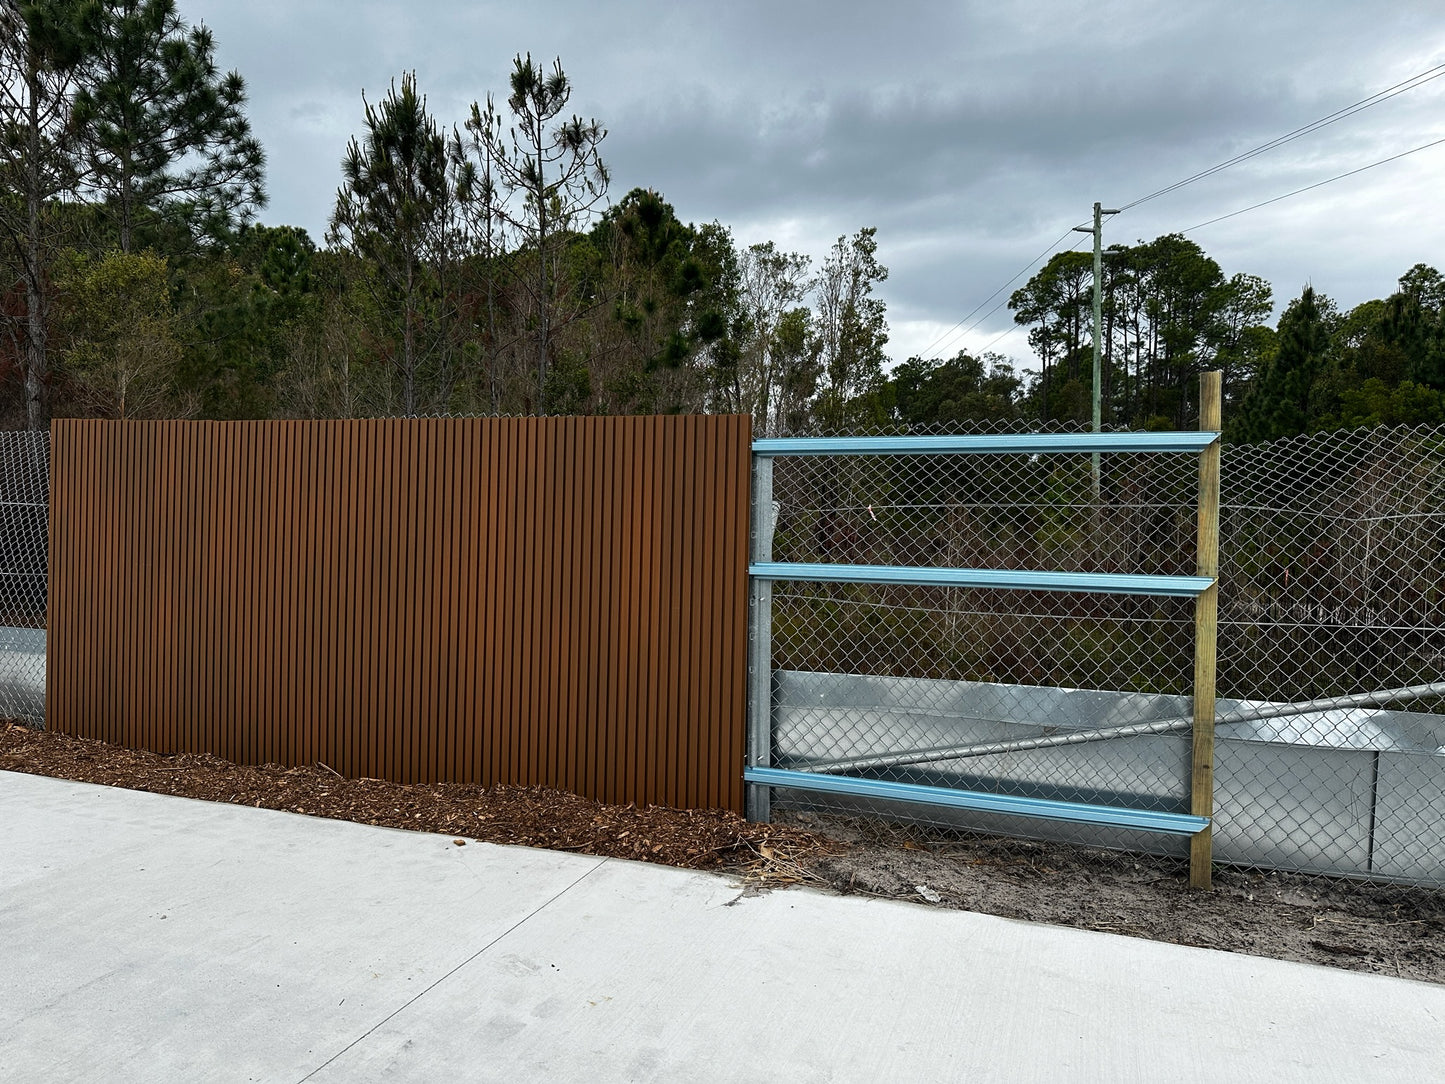
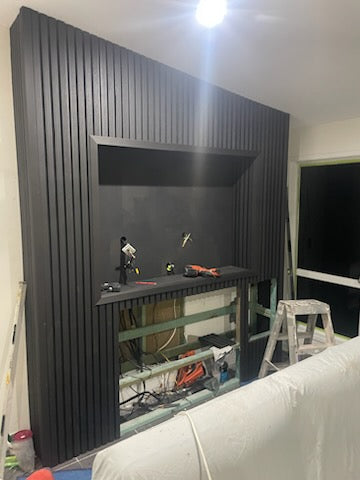
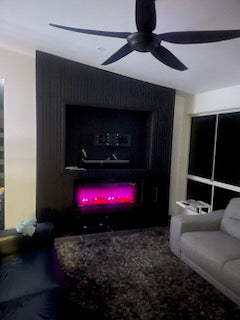
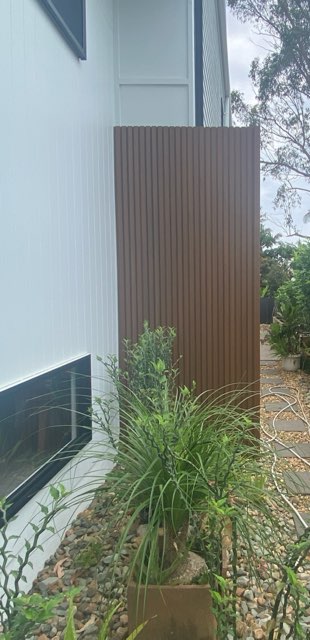
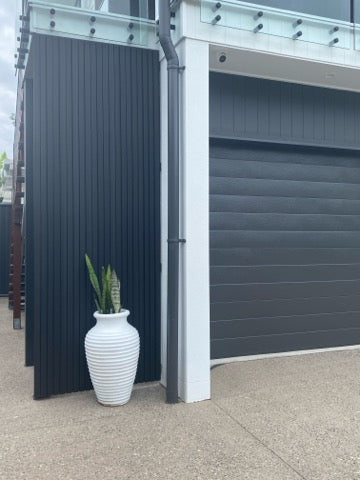
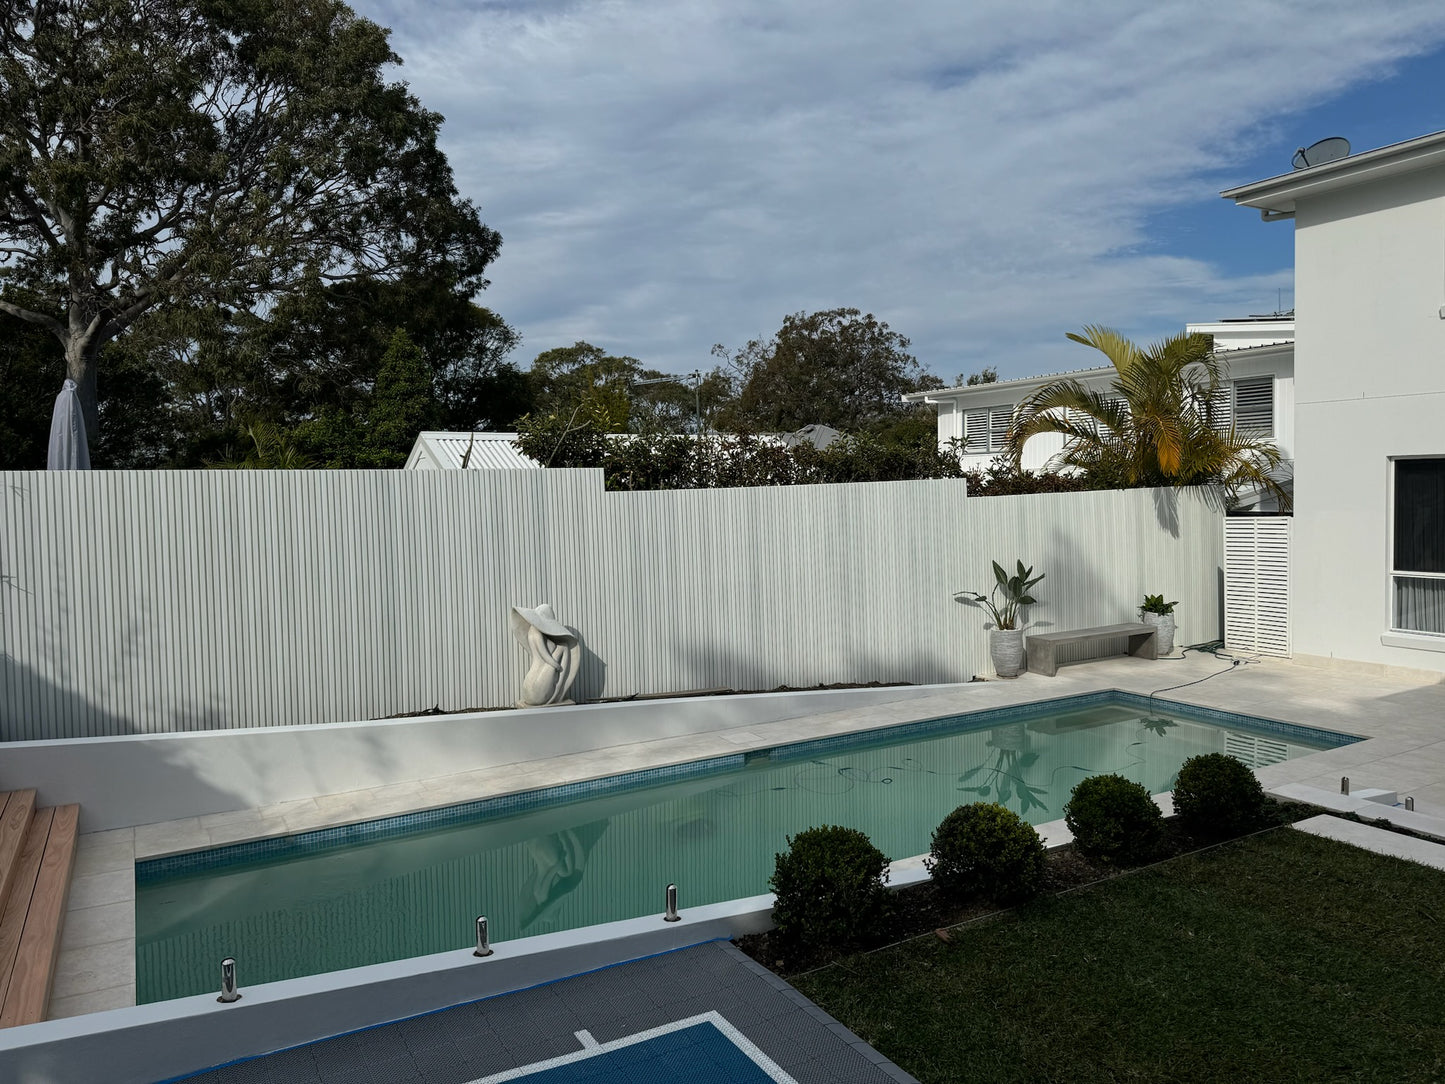
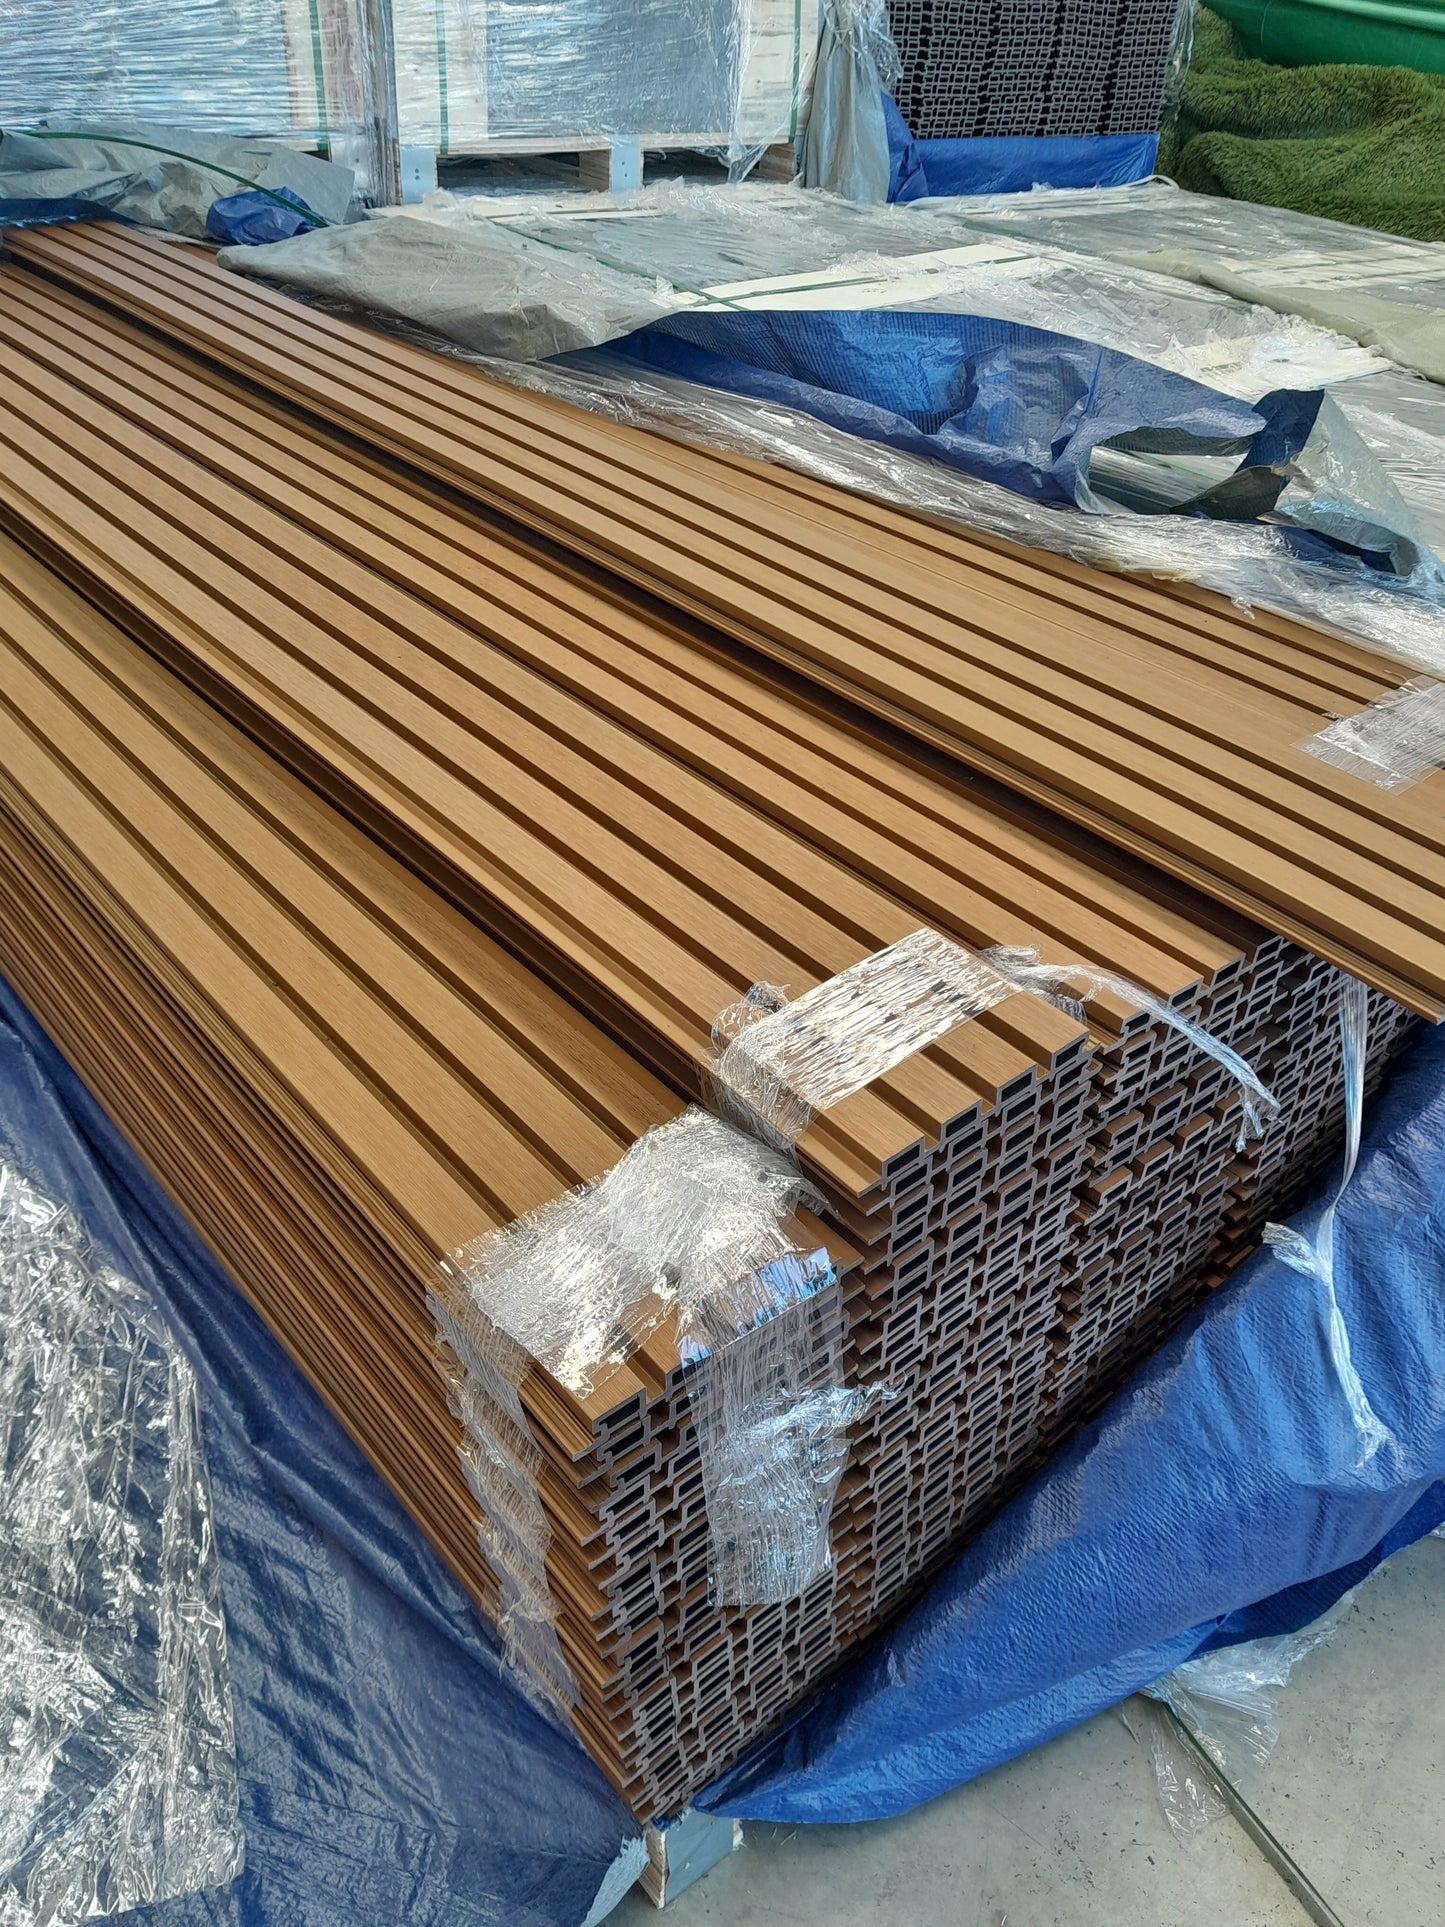
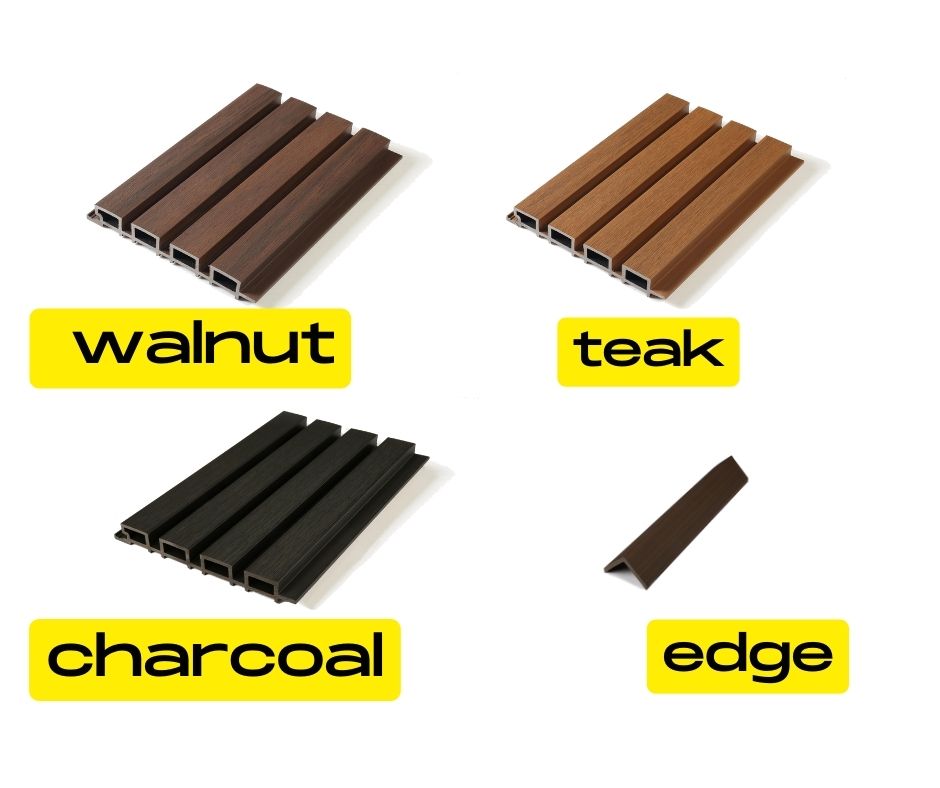
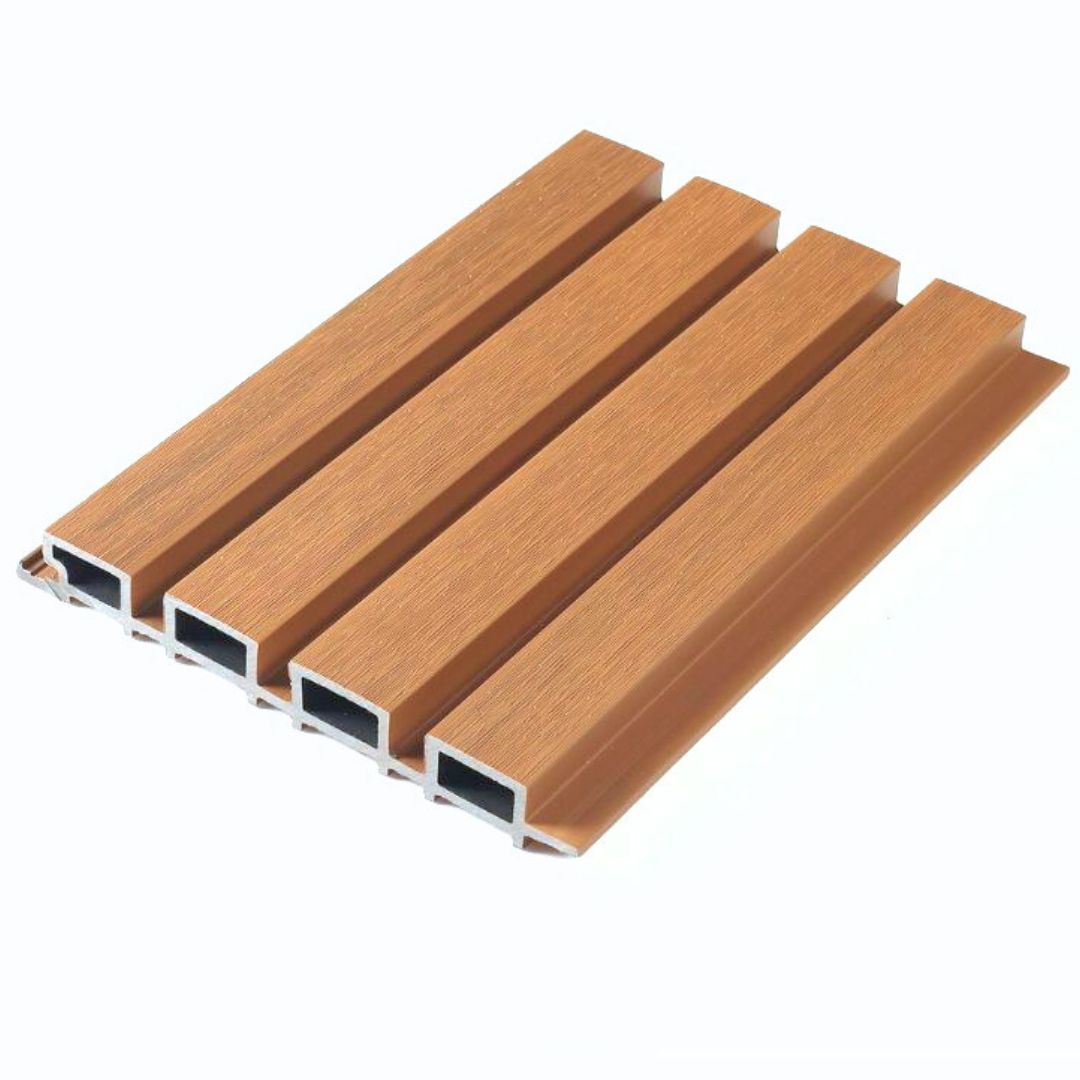
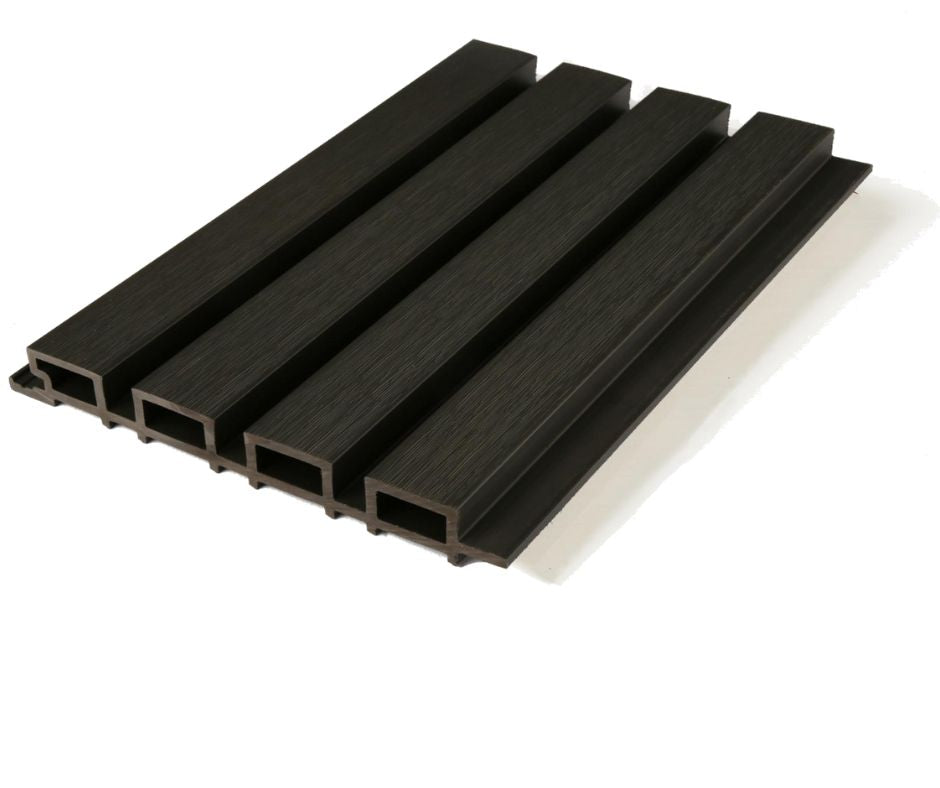
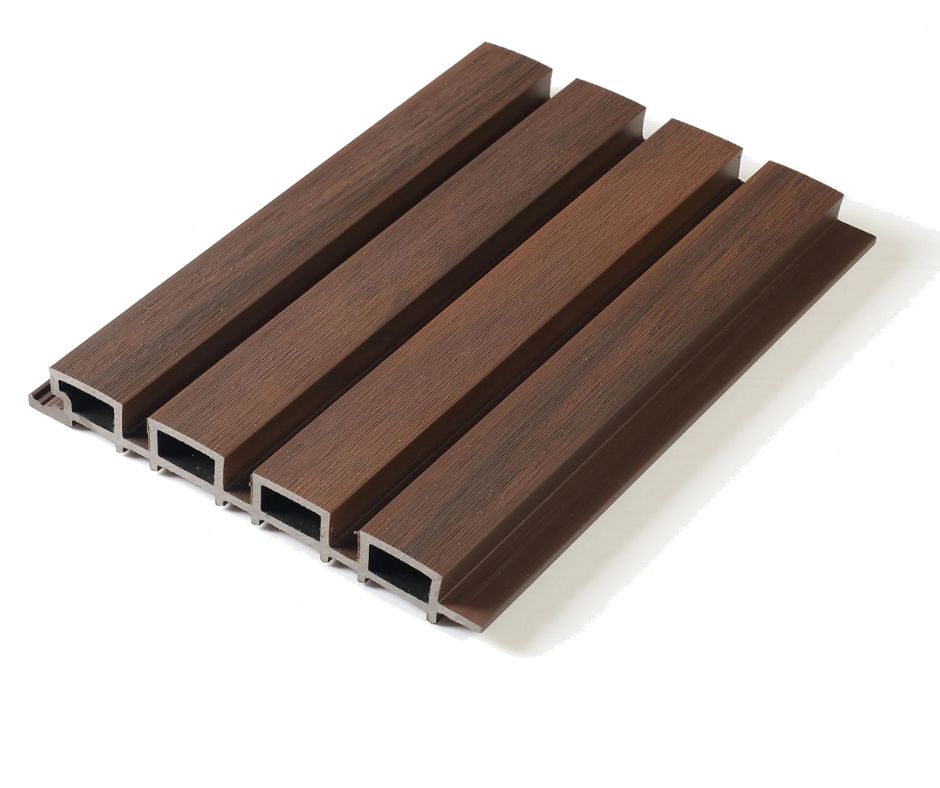
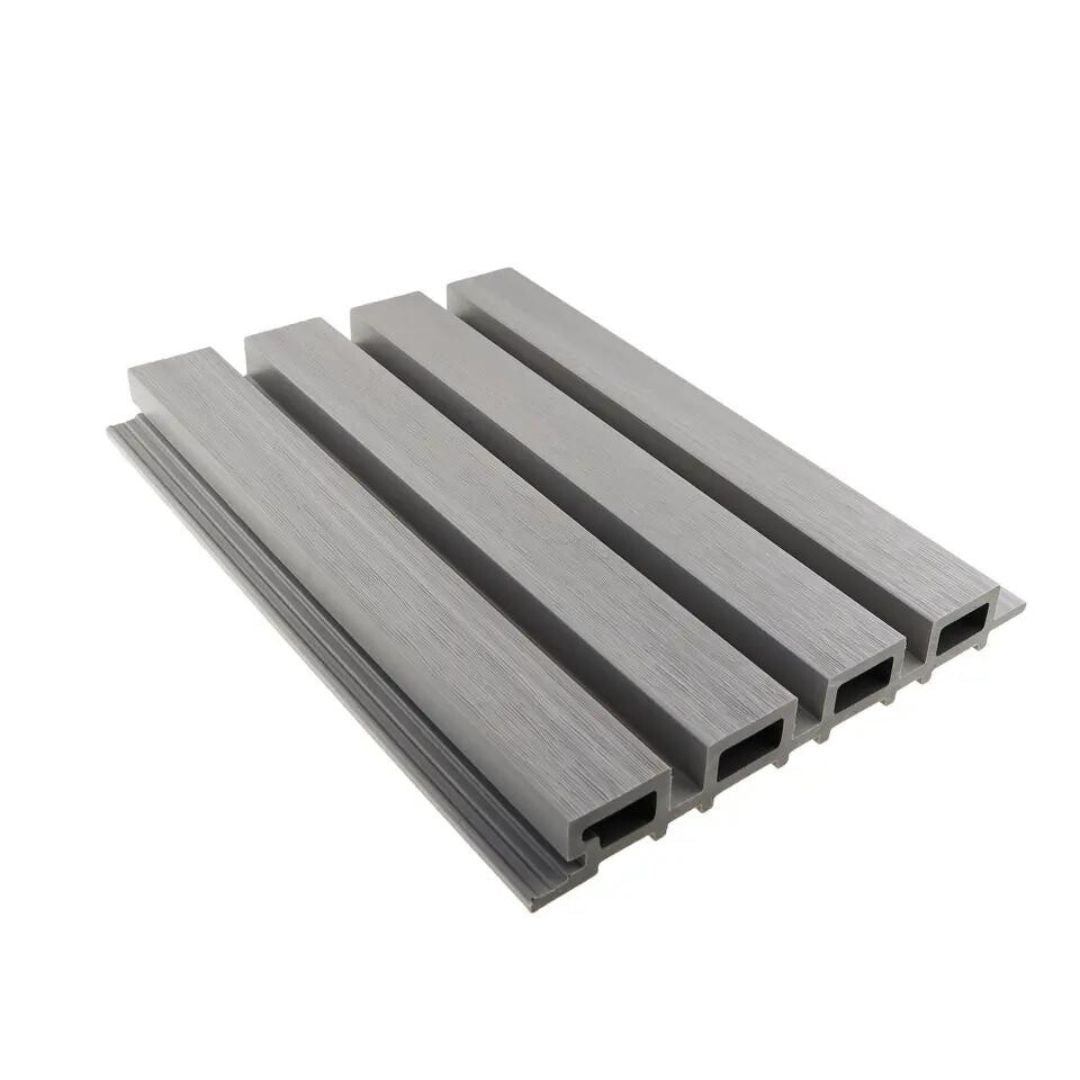
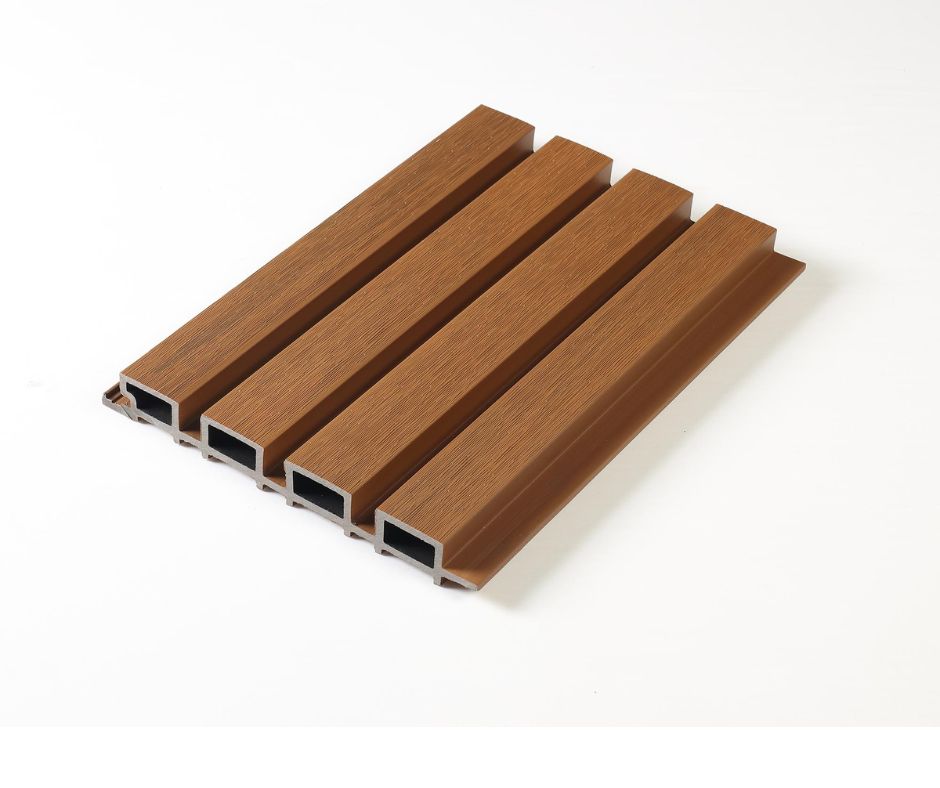
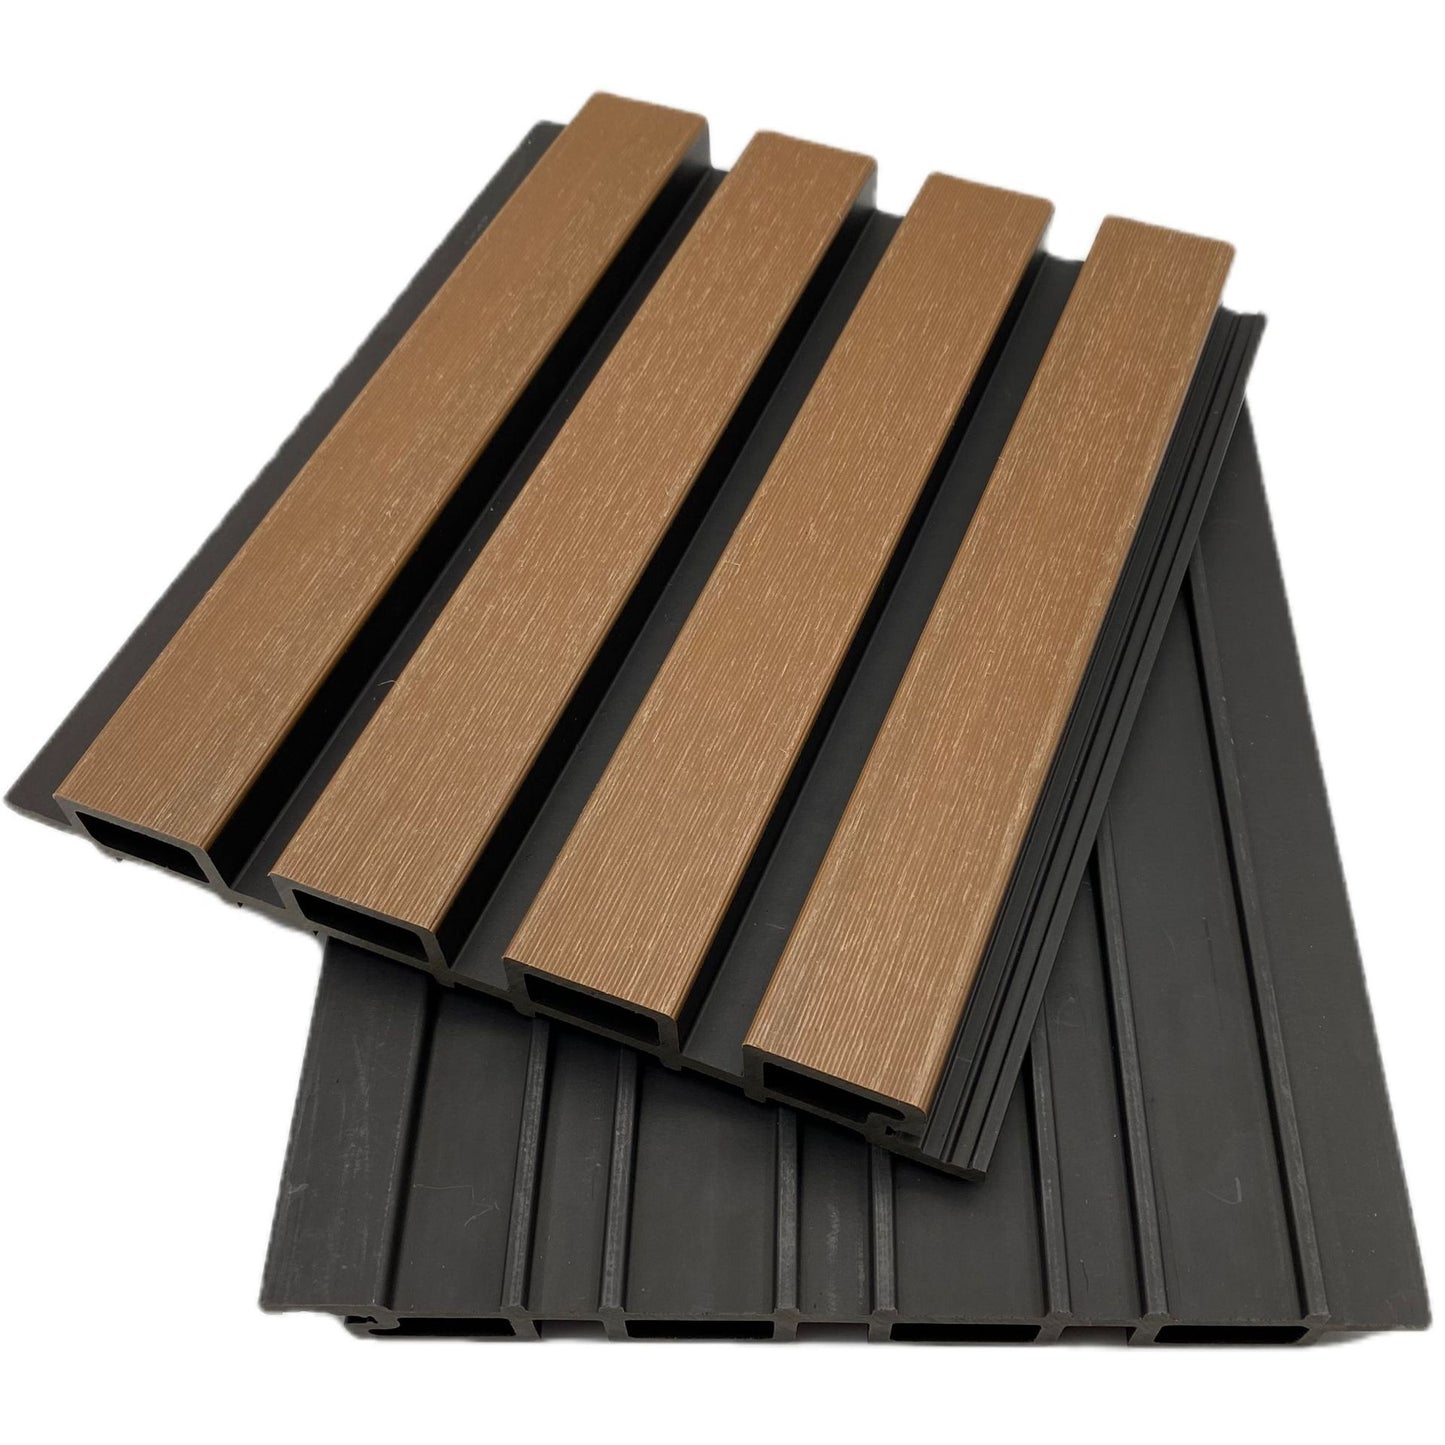
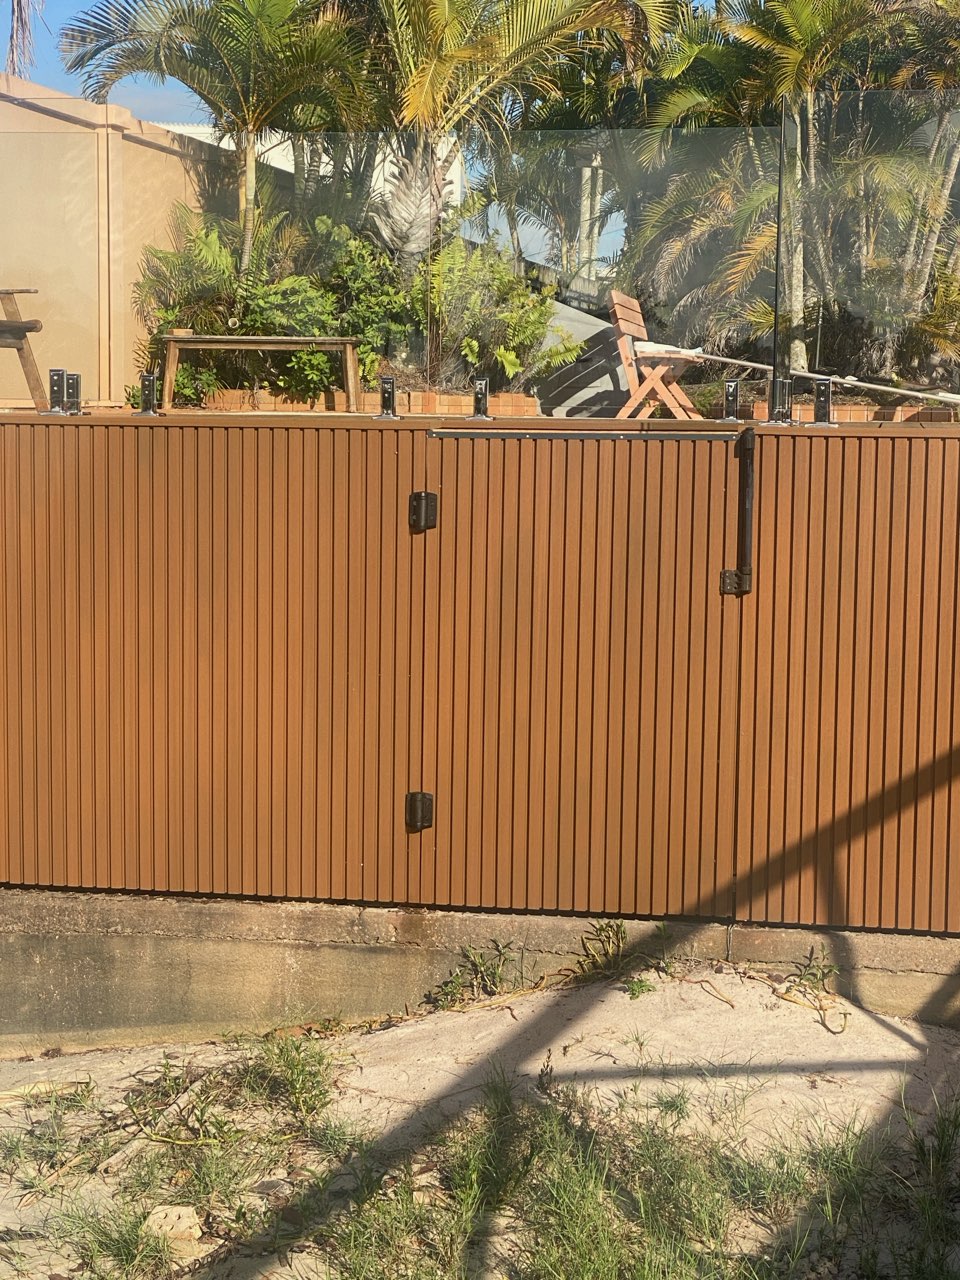
installing your WPC co extruded wall panels.
Easy Guide to Installing Your WPS
Materials Needed:
- WPS panels (5 panels per meter once clicked in)
- Top hat battens or timber battens
- Decking screws (corrosion-resistant)
- Fine-tooth saw or jigsaw/circular saw
- Drill (one size bigger than your screws)
- Circular saw (for consistent length cuts)
- Tile adhesive (for small areas)
Step-by-Step Installation:
1. Preparation:
- Measure and mark the area where you will install the panels.
- For installations over long distances (e.g., more than 5 meters), consider using battens for added support. Top hat battens from the hardware store work well, but timber battens are also suitable.
2. Batten Installation:
- Space the battens 500mm apart, or as close as 400mm in high wind areas.
3. Pre-Drilling:
- Always pre-drill holes using a drill bit one size larger than your screws. This allows for some movement due to expansion.
4. Screwing Panels:
- Use decking screws as they are corrosion-resistant and fit within the gaps allowed in the panel channels.
- Install your first panel, ensuring it is level. Once the first panel is secure, the next panel will click into place and only needs screwing on one side.
- Continue fixing one panel after another along the wall.
5. Using Tile Adhesive (for Small Areas):
- If you are covering a small area, many people find it easier to use tile adhesive. This is a quick and very effective solution.
- Apply the tile adhesive to the back of the panel and press it firmly against the wall.
6. Cutting Panels:
- For cutting panels, use a fine-tooth saw to avoid splinters and achieve a clean cut. Jigsaws, circular saws, or hand saws can all be used.
- For consistent length cuts, set up a workstation with a circular saw.
7. Applications:
- This method can be used to clad your house, fence, or to build structures like a bin shelter or pool pump housing.
8. Aftercare:
- The panels require minimal maintenance. If they get dirty, simply wash them down.
By following these steps, you can ensure a successful installation of your WPS panels

