Bamboo Screen Fencing installation
-
How to Install Bamboo Fence Screening: A Friendly Guide
Tools and Materials You'll Need:
- Bamboo fence panels
- Measuring tape
- Pencil or marker
- Saw (a finer tooth saw is better)
- Screwdriver or drill (if attaching to wood)
- Screws (variety from 25mm to 65mm)
- Zip ties (for chain-link fences)
Step-by-Step Guide to Bamboo Bliss
-
Measure Your Fence Area
Use a measuring tape to measure the height and length of the area where you want to install the bamboo screening. This will help you determine how much bamboo screening you need to purchase.
Common sizes include:- 1800mm height x 900mm width
- 2000mm height x 1000mm width
- 2400mm height x 1000mm width
-
Purchase Your Bamboo Screening
Based on your measurements, buy the right amount of bamboo screening. Always get a little extra, just in case. -
Prepare Your Tools and Materials
Gather everything you need before starting, including bamboo panels, screws, and a drill. Pre-drill wherever screws will go for a smoother process. -
Attach the Bamboo Screening to Your Fence
Lay out your bamboo screening against the fence. Mark where you need to cut with a pencil or marker.
Carefully cut the bamboo screening to size. Save as much of the decorative string as possible for re-tying after cutting. -
Cutting and Securing Bamboo Screening
For wooden fences with paling side:- Screw bamboo panels directly onto the fence using 65mm screws.
For wooden fences with posts on your side:
- Add rails at the same height as the rails on the panels. Use shorter screws like 35mm for this setup.
For chain-link fences:
- Secure the bamboo screening with zip ties at regular intervals. Ensure the posts are strong to handle wind stress.
-
Secure the Ends
Check that every panel is securely fastened. Add extra screws or zip ties if needed. -
Trim the Extras
Trim any excess bamboo screening or cable ties for a neat and tidy appearance. -
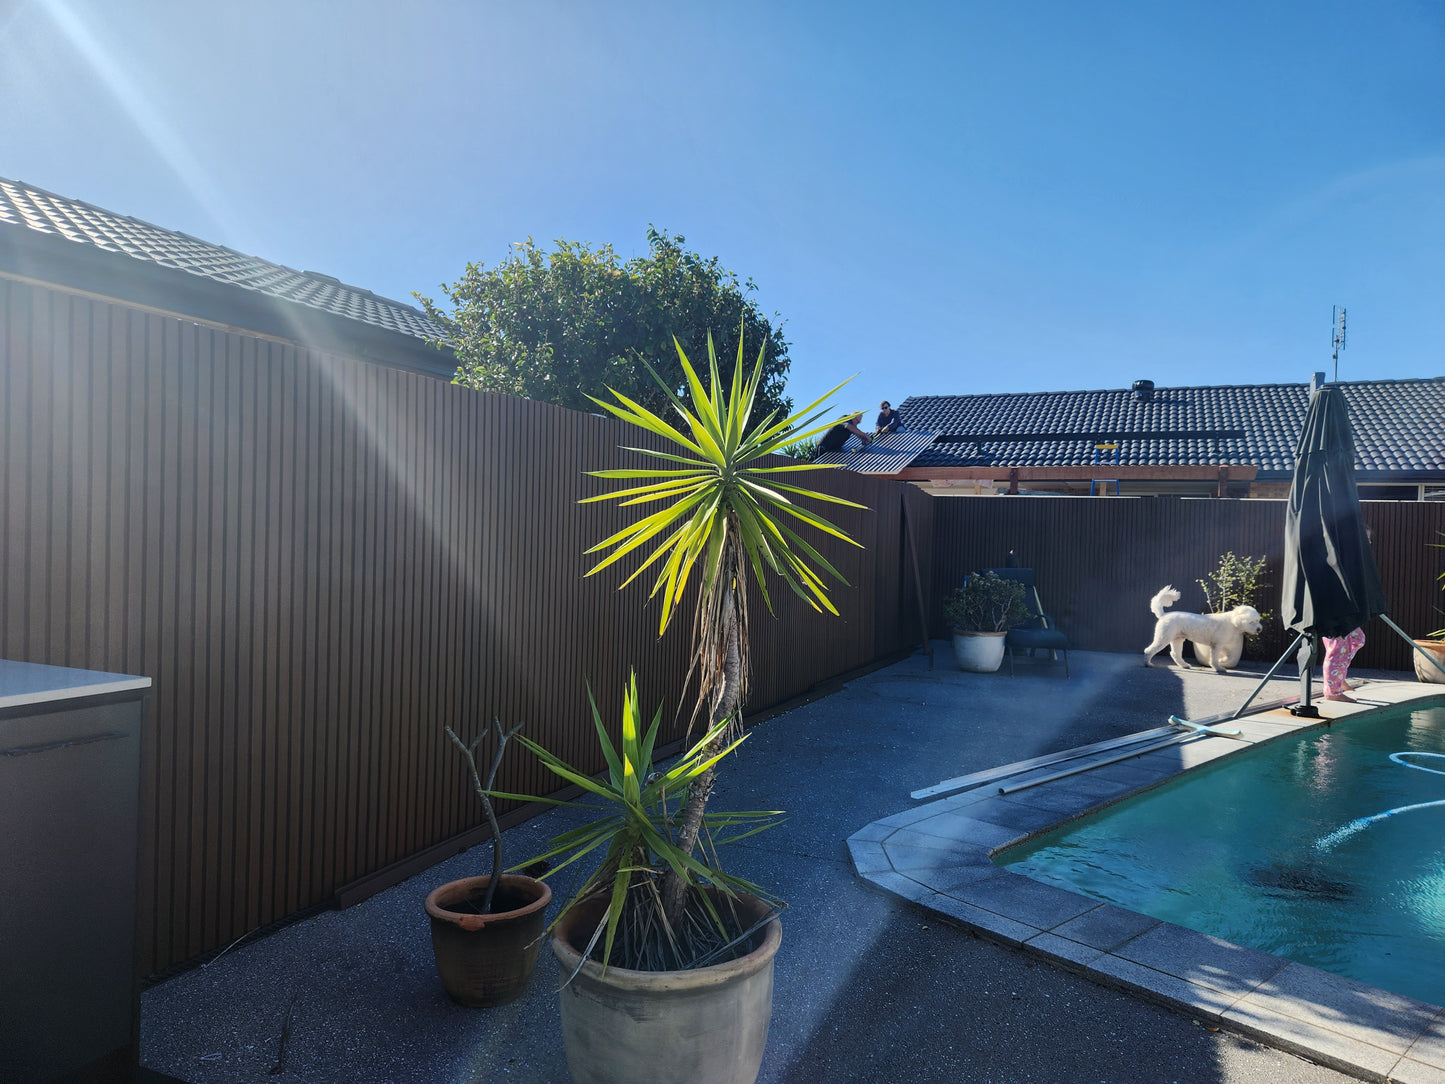
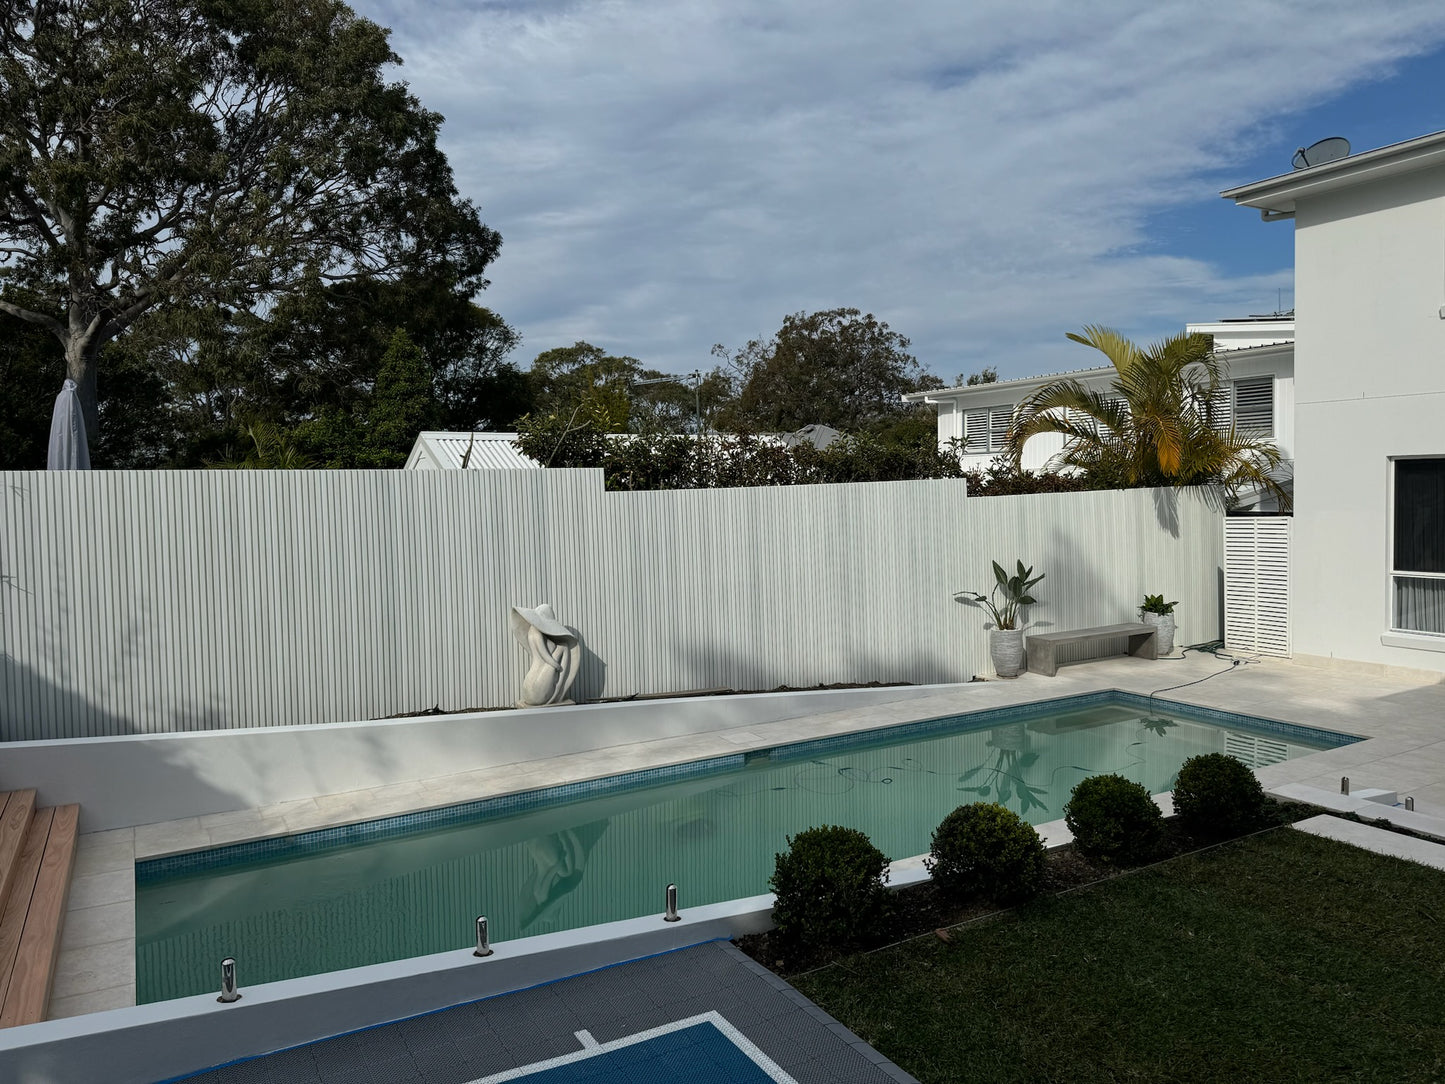
Enjoy Your New Bamboo Fence
Step back and admire your work. Add some big plants for extra flair and enjoy your refreshed outdoor space.
Tips for Success:
- Work with a friend to make the installation easier and more enjoyable.
- Wear gloves to protect your hands from sharp edges and tools.
- Take your time and enjoy the process.
The Bamboo Warehouse
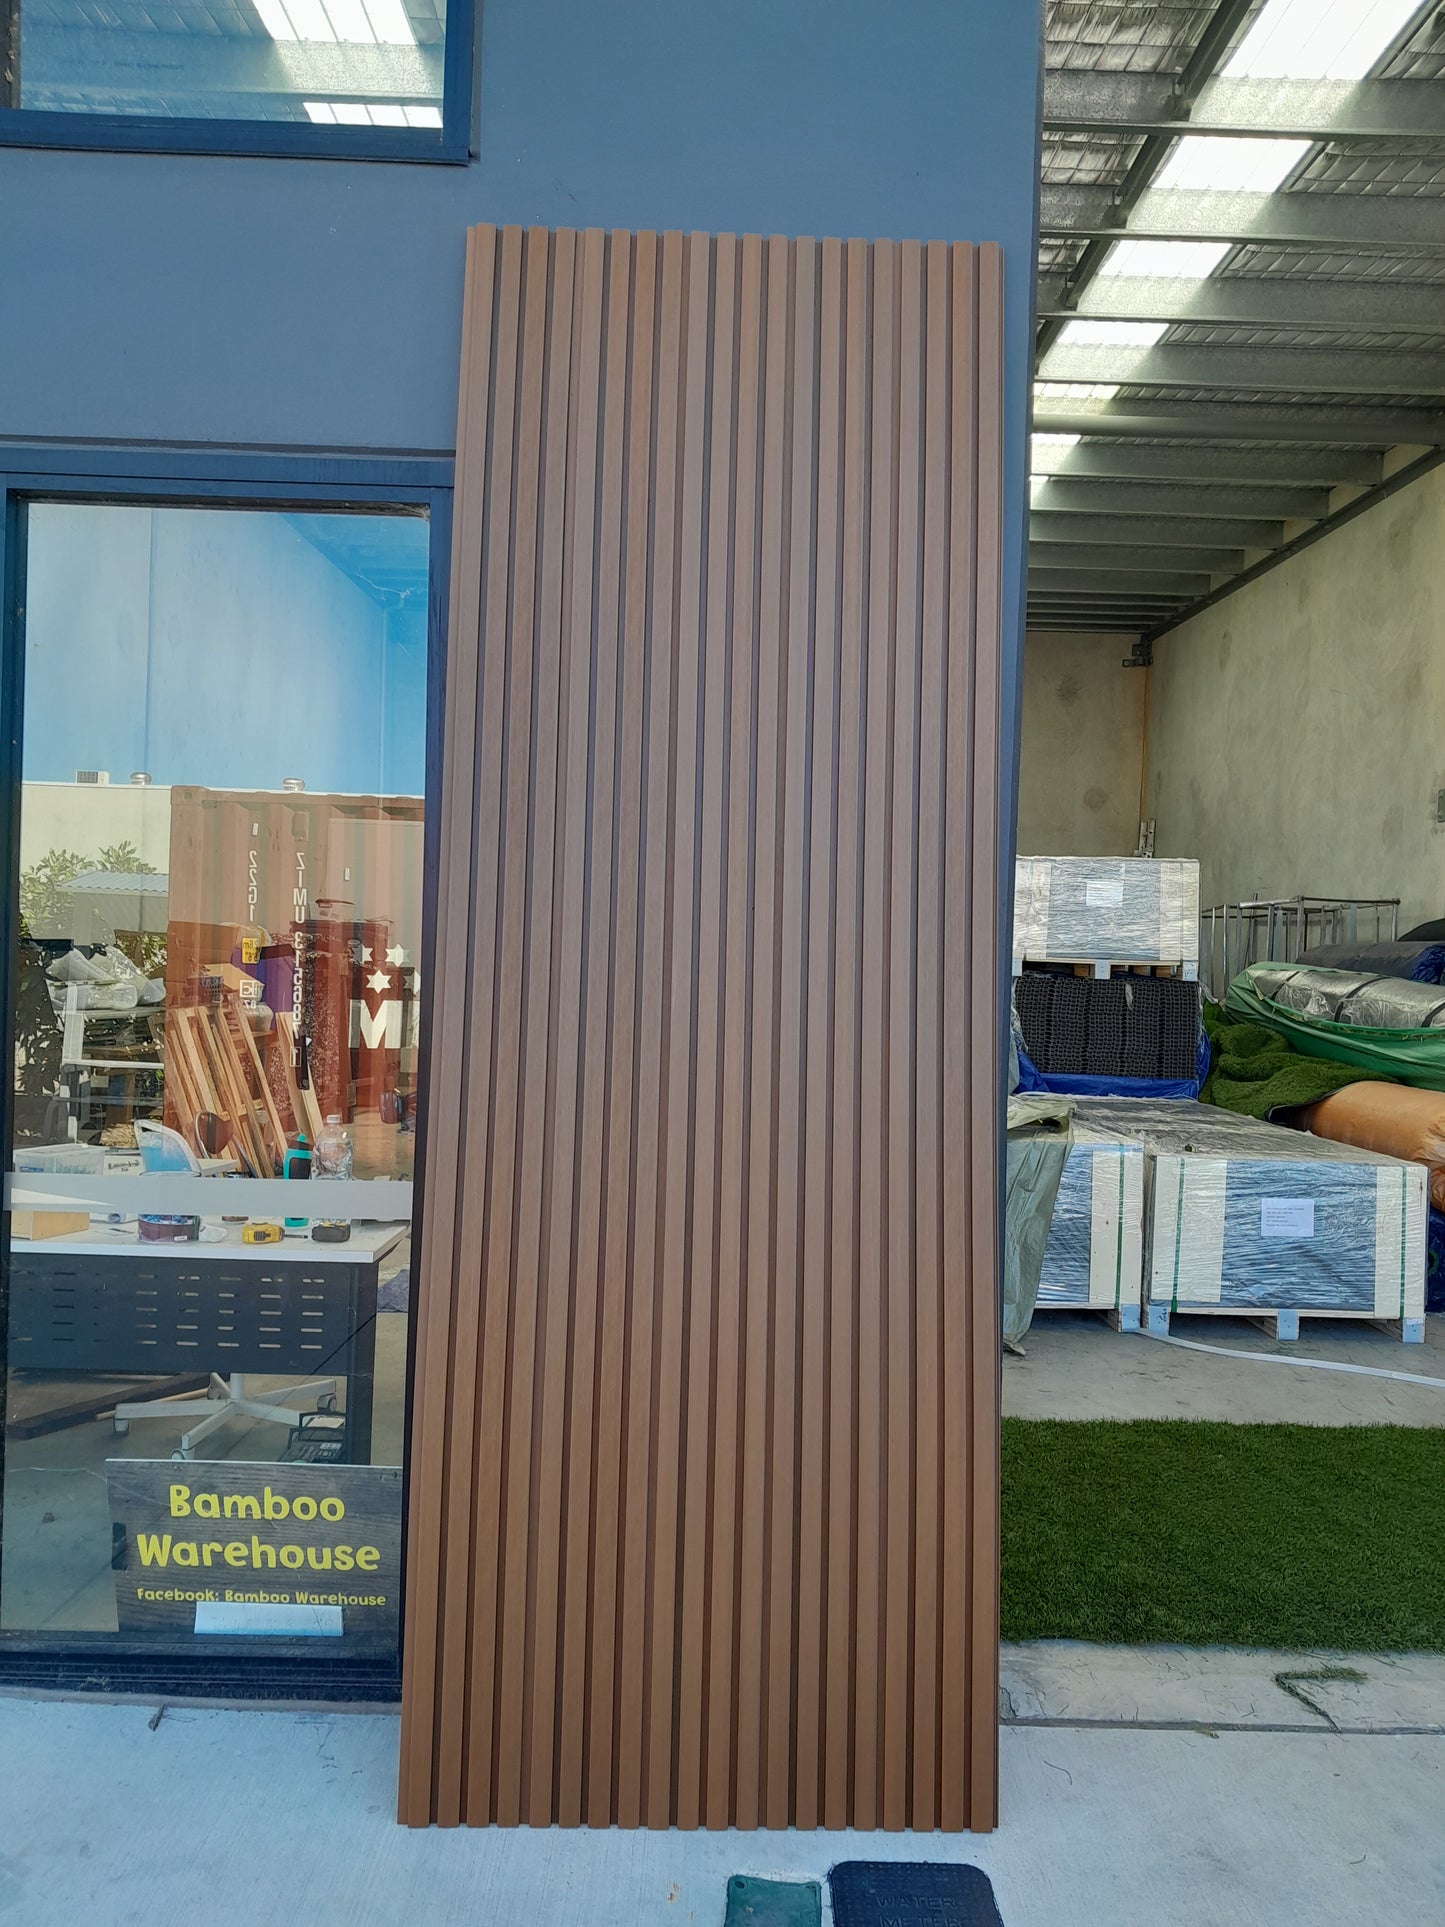
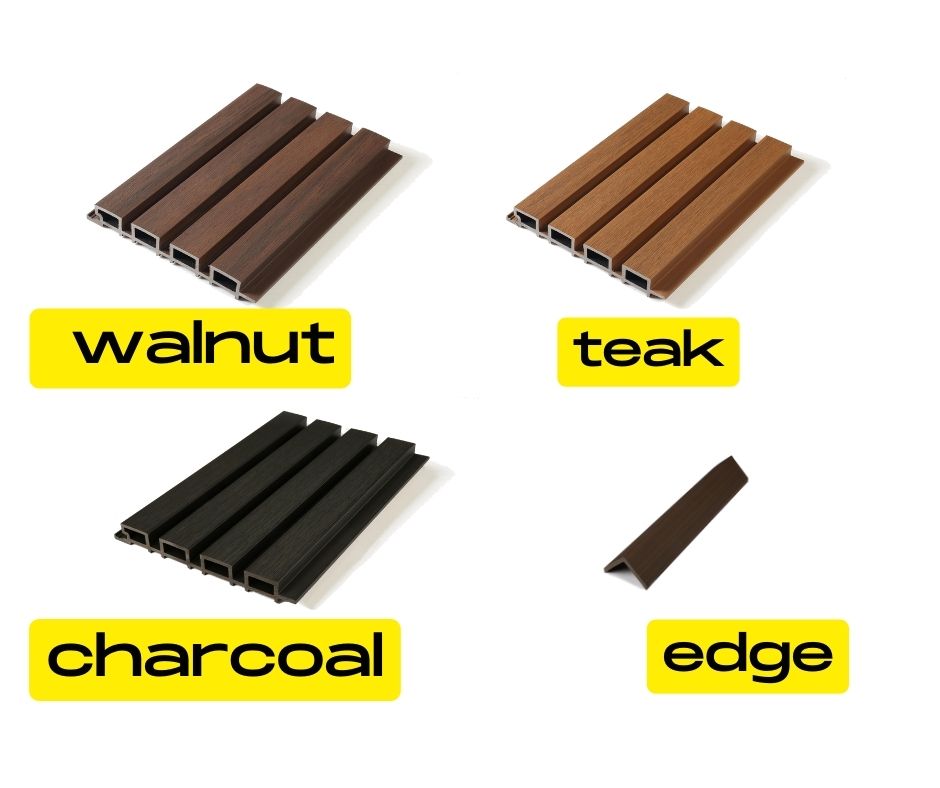
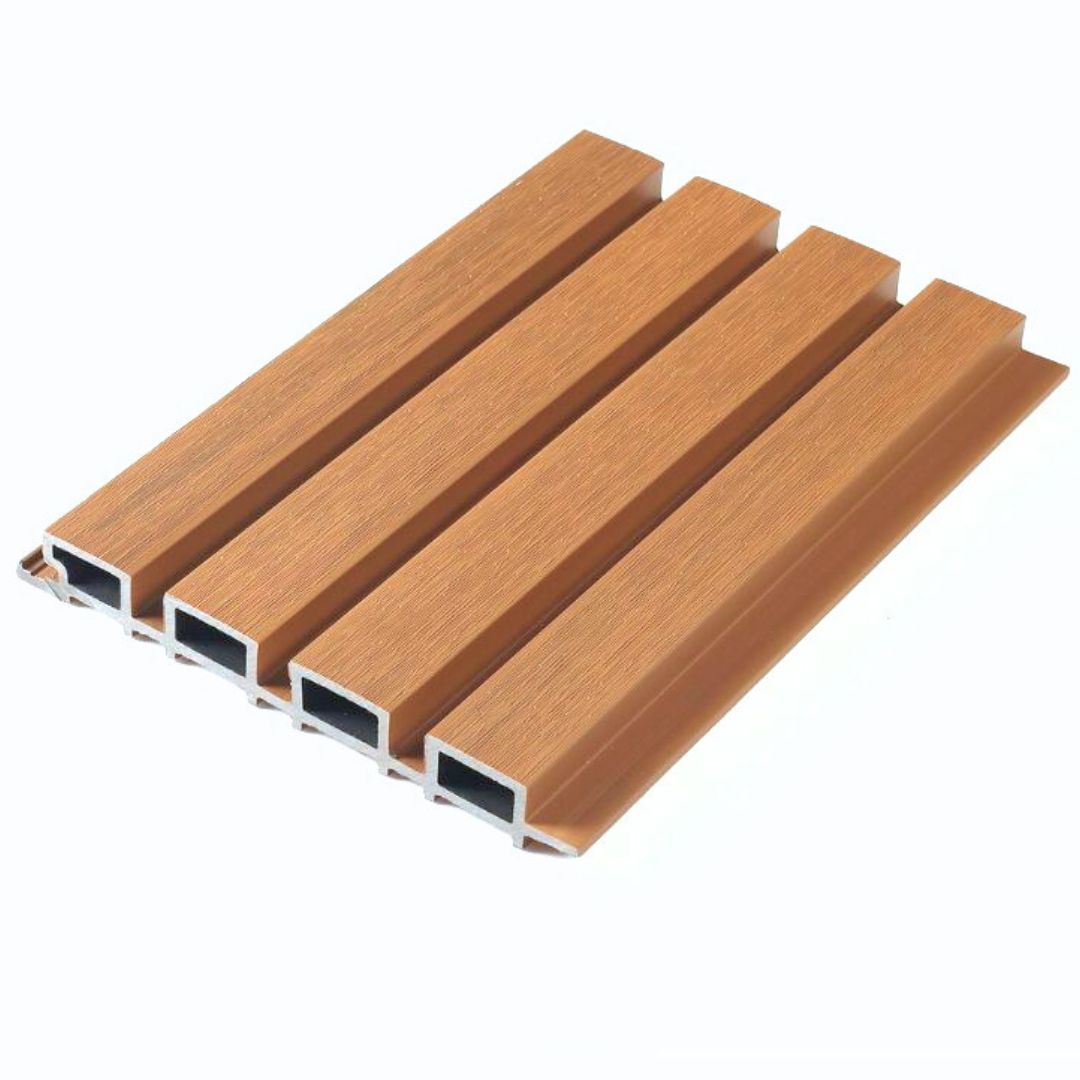
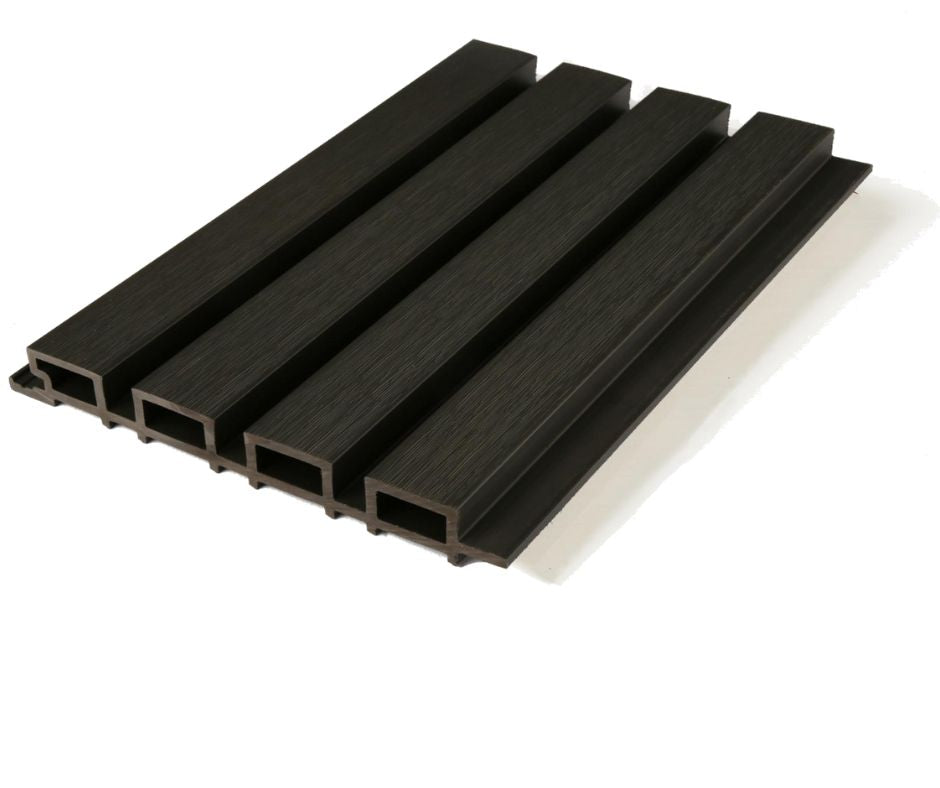
Co-Extruded Wall Panels

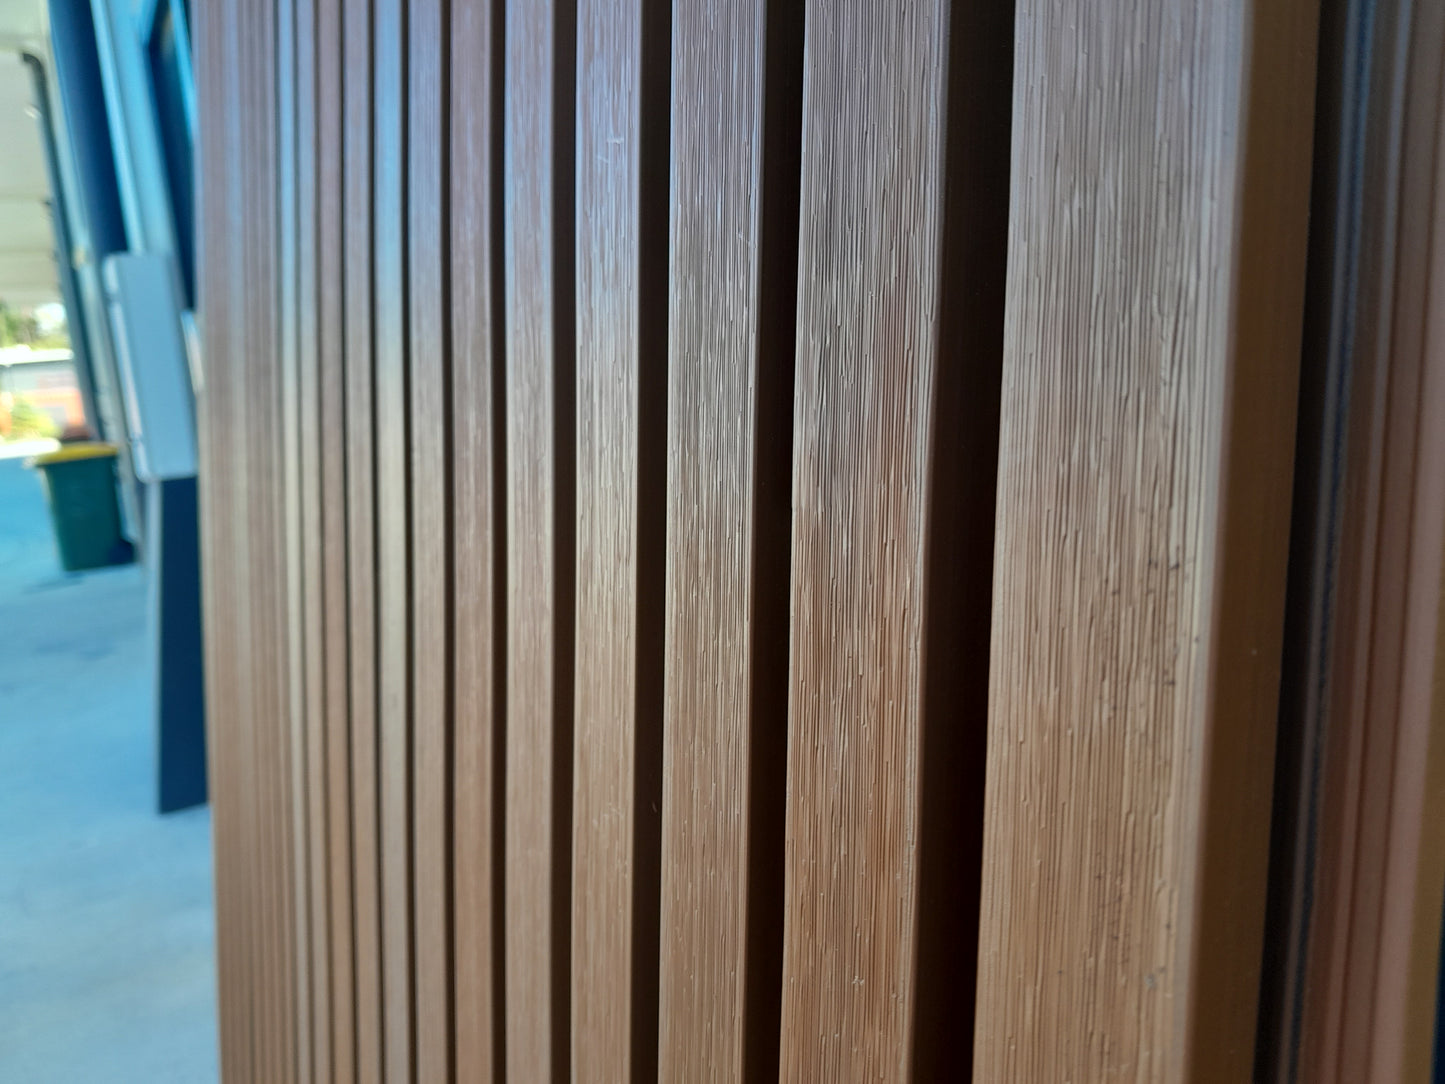

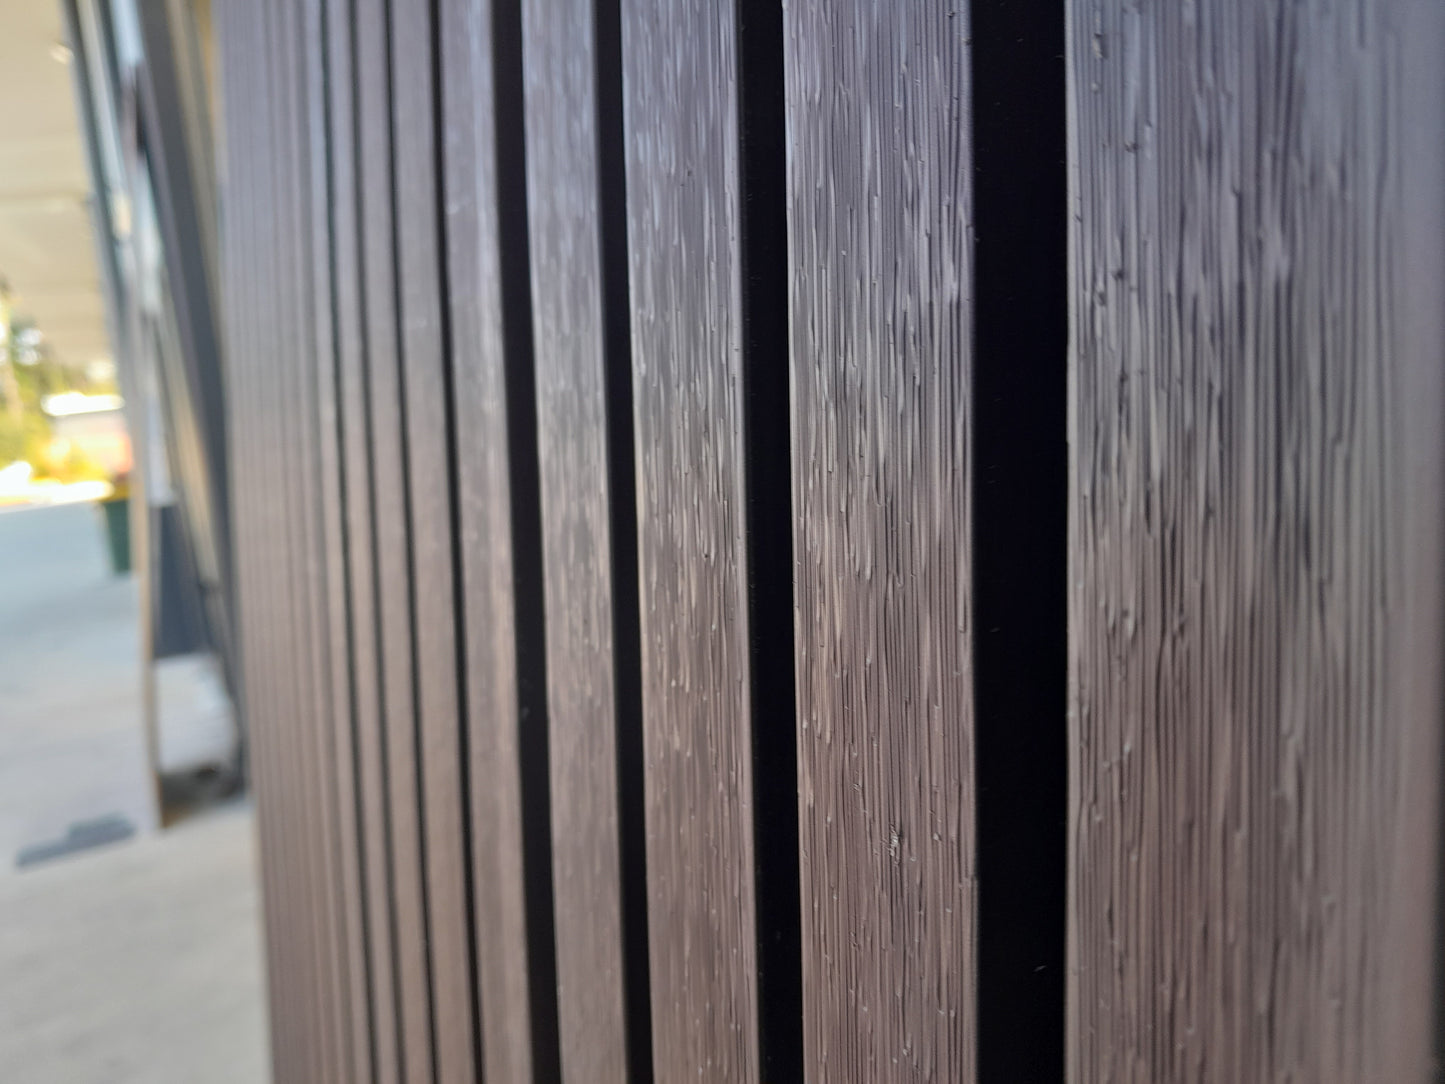
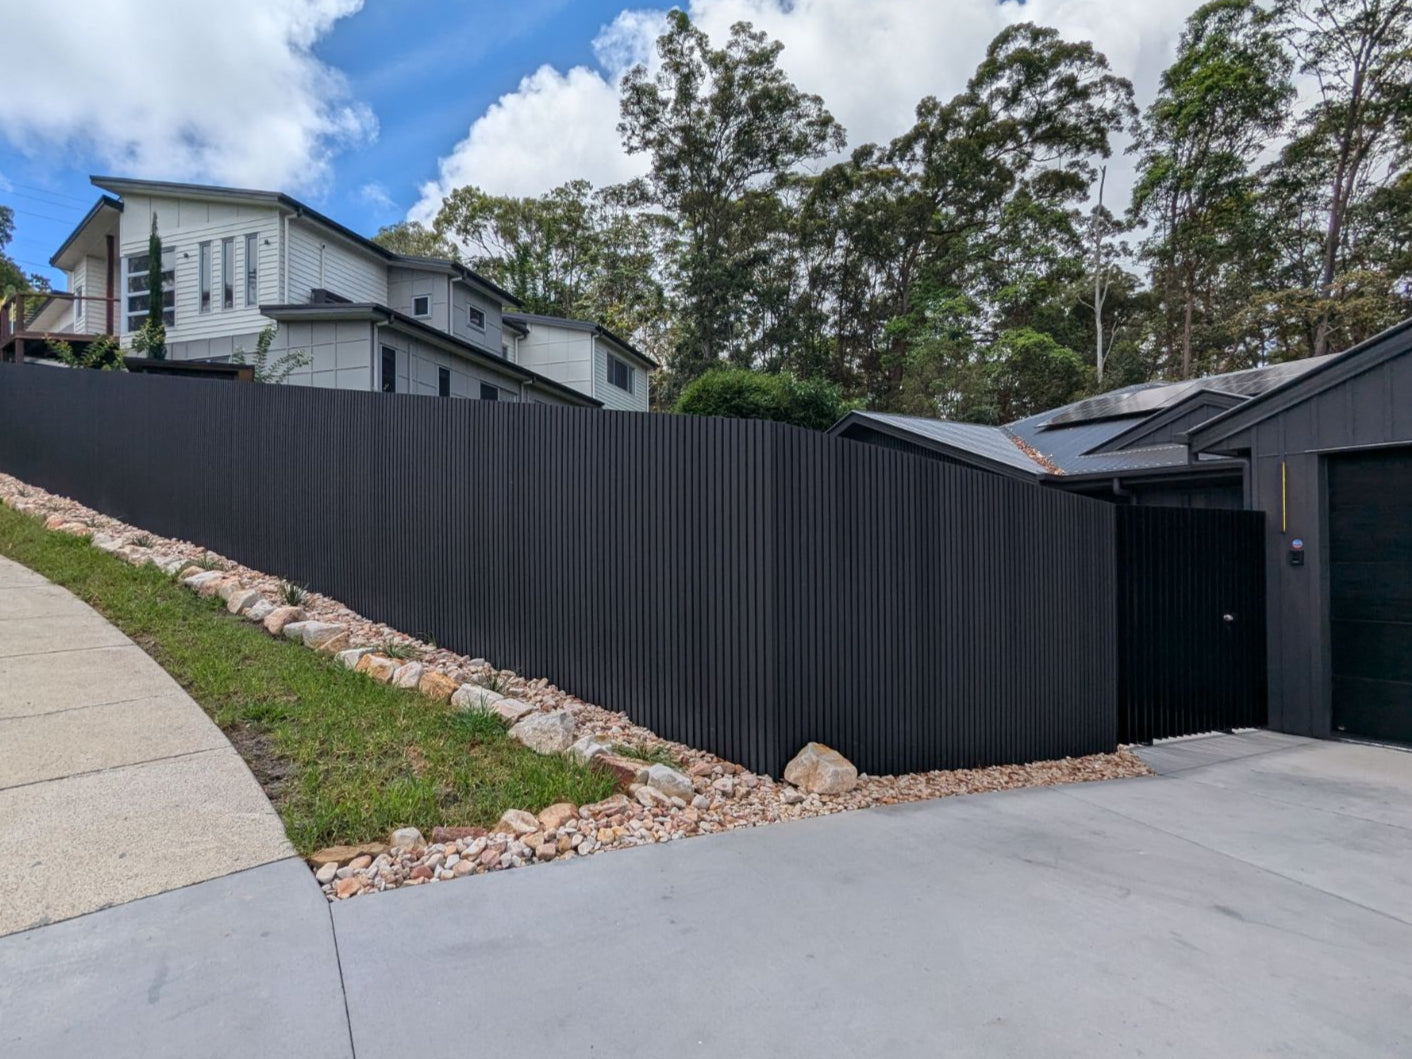
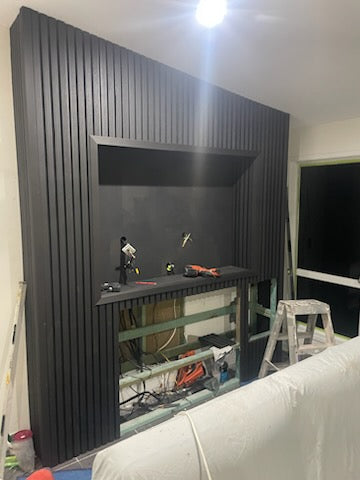

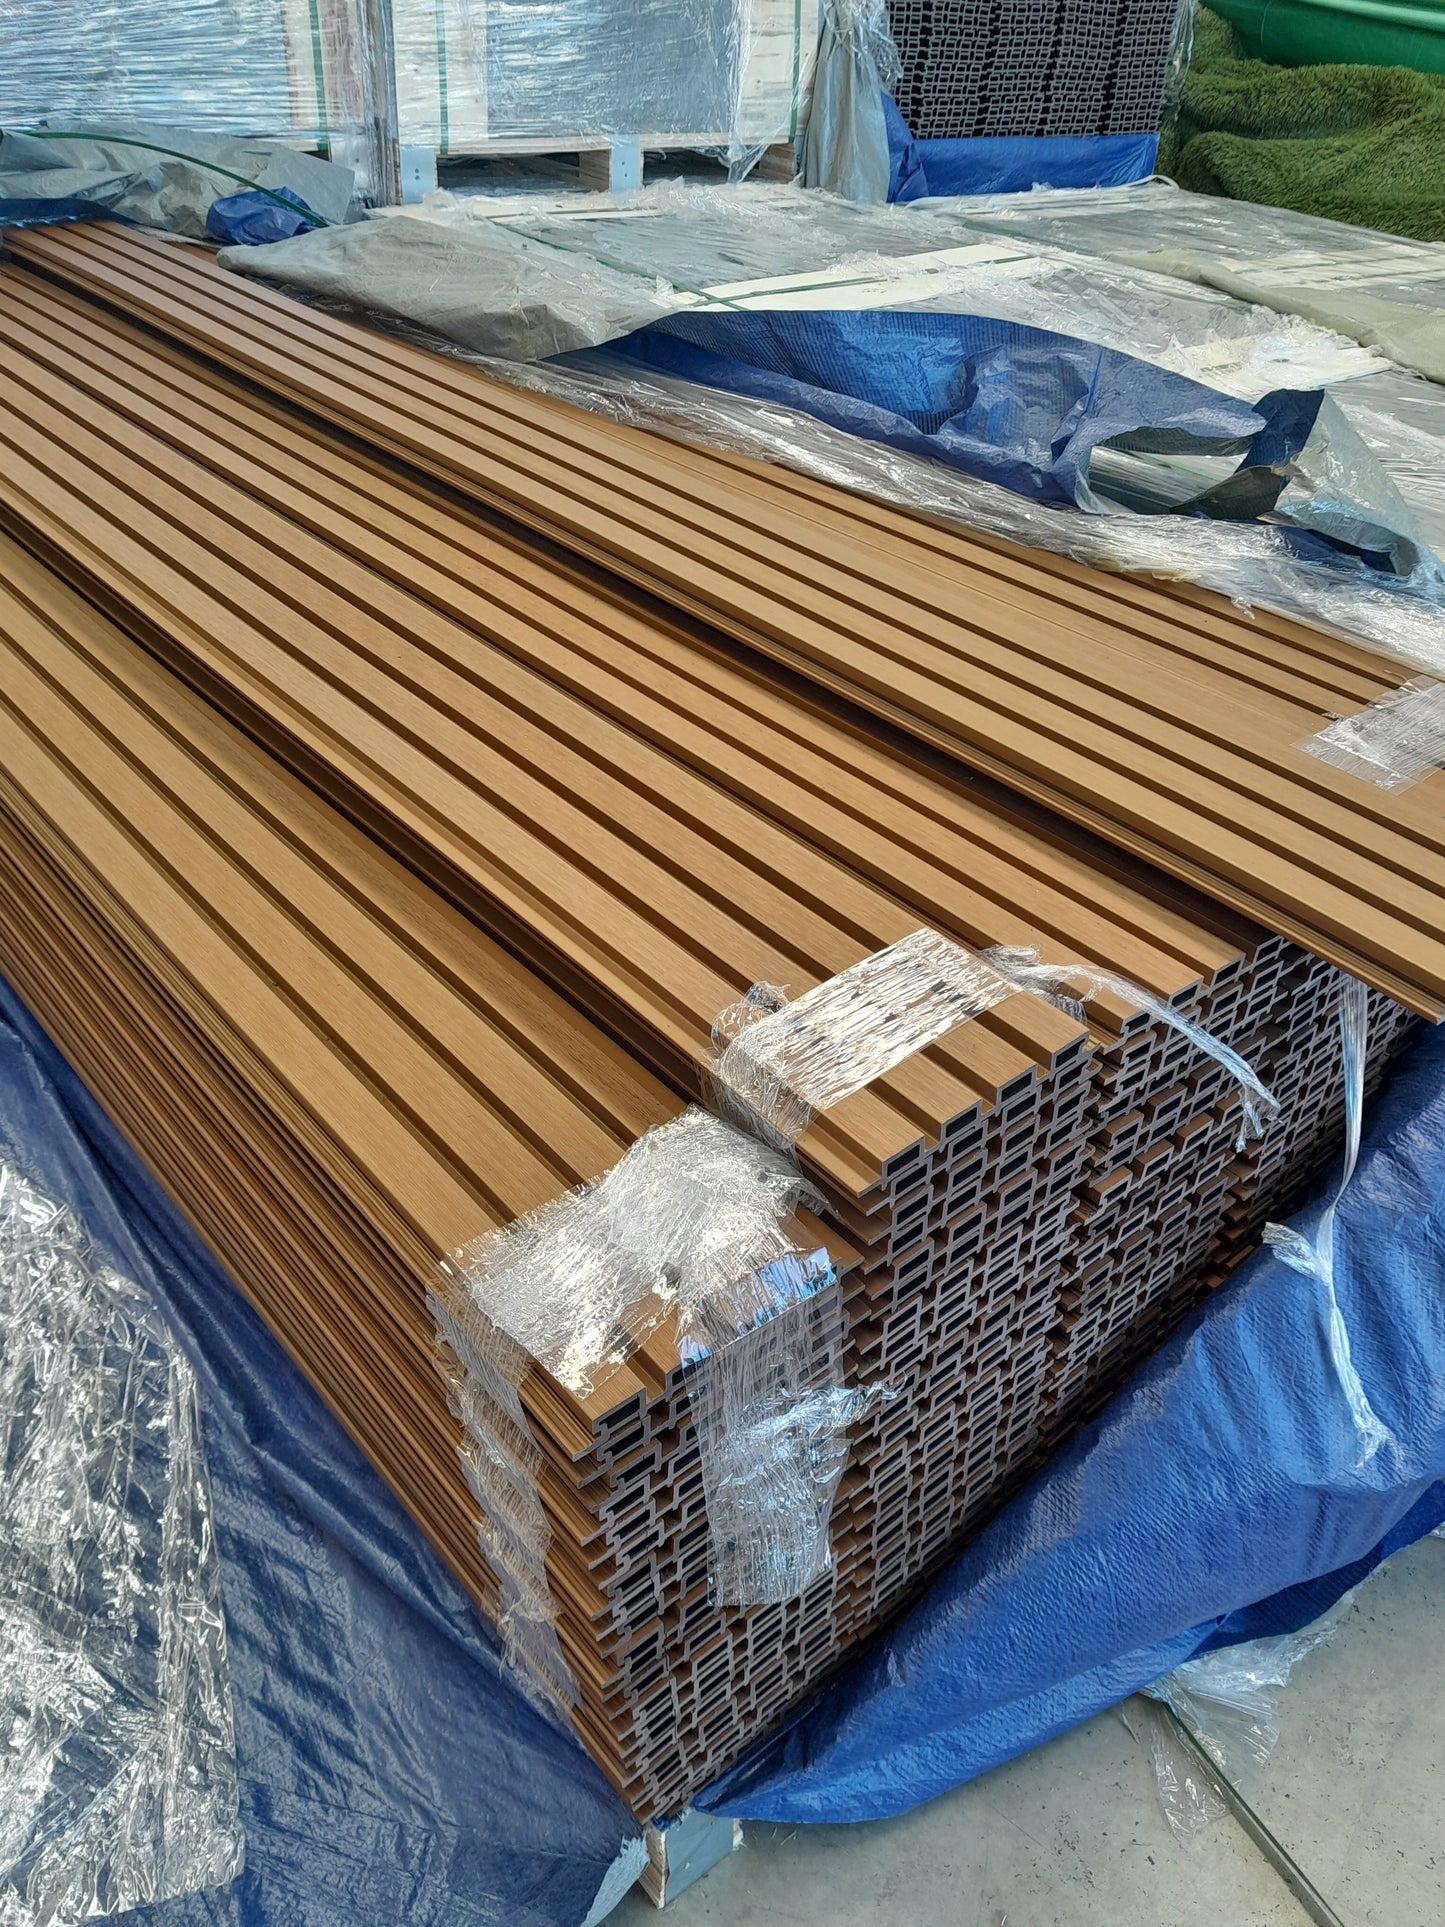
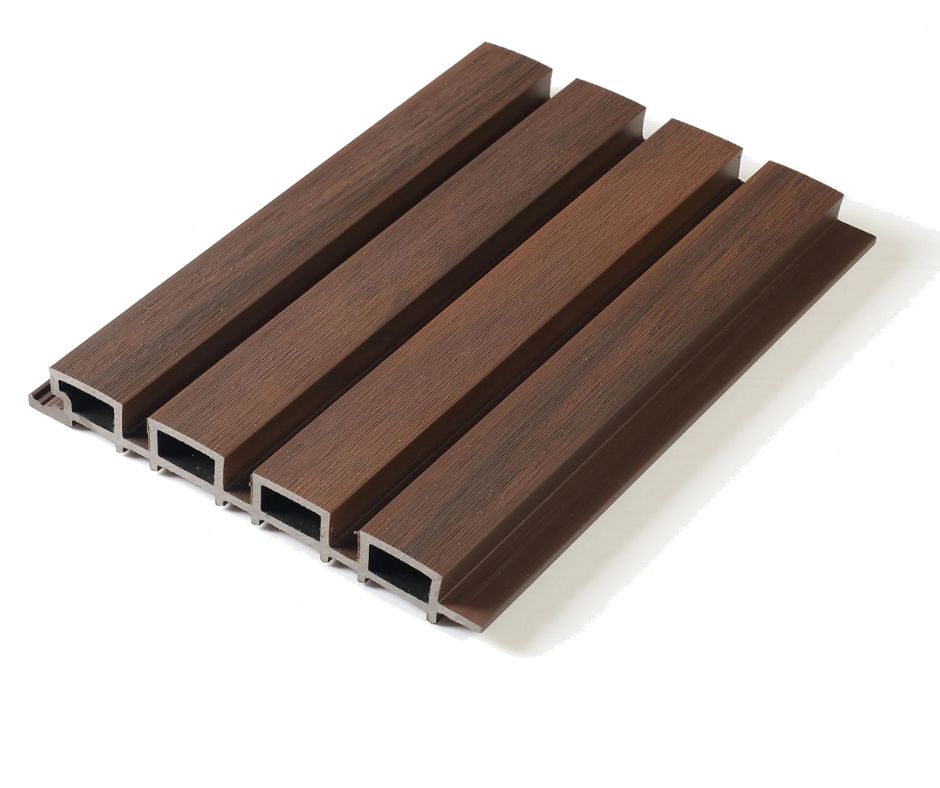

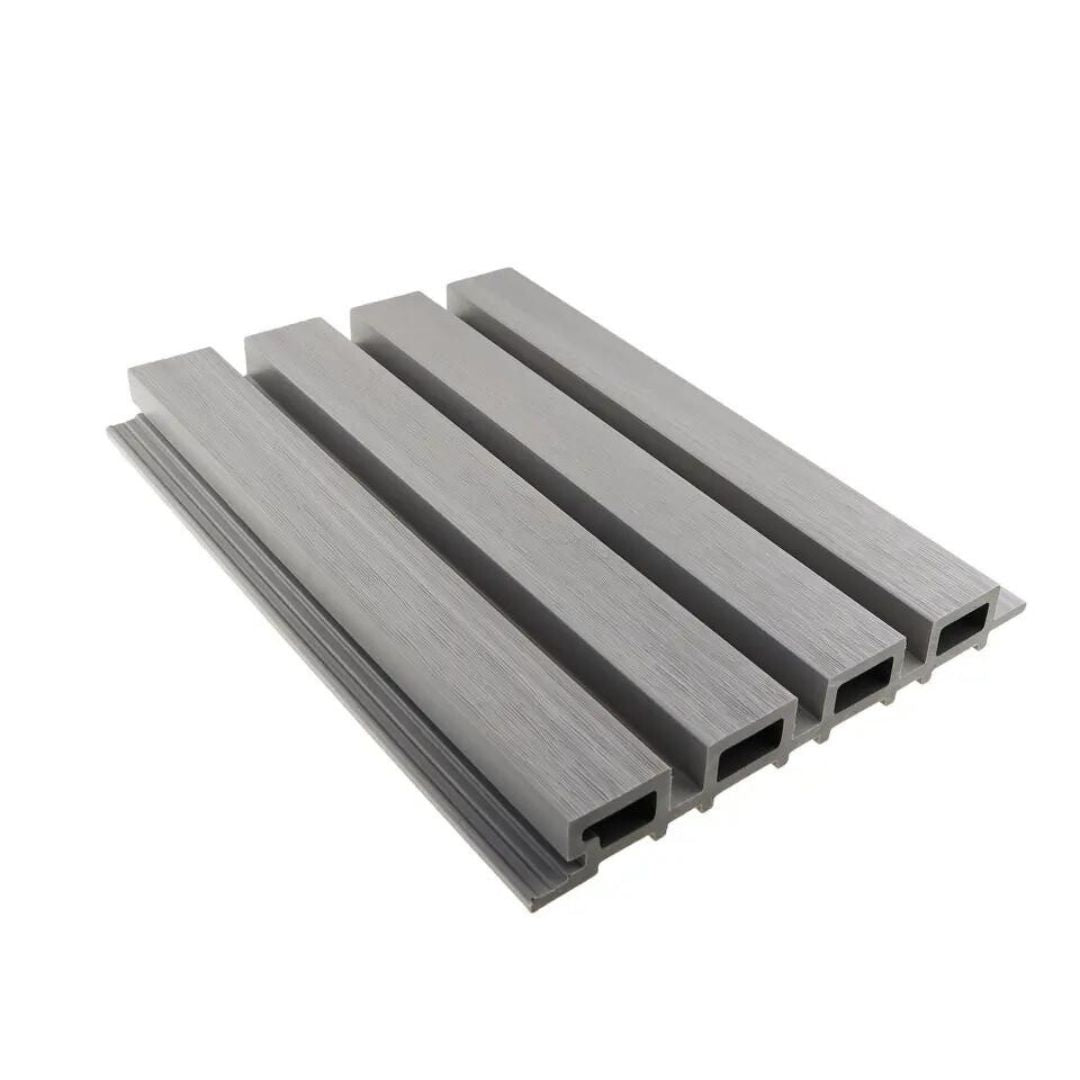
installing your WPC co extruded wall panels.
Easy Guide to Installing Your WPS
Materials Needed:
- WPS panels (5 panels per meter once clicked in)
- Top hat battens or timber battens
- Decking screws (corrosion-resistant)
- Fine-tooth saw or jigsaw/circular saw
- Drill (one size bigger than your screws)
- Circular saw (for consistent length cuts)
- Tile adhesive (for small areas)
Step-by-Step Installation:
1. Preparation:
- Measure and mark the area where you will install the panels.
- For installations over long distances (e.g., more than 5 meters), consider using battens for added support. Top hat battens from the hardware store work well, but timber battens are also suitable.
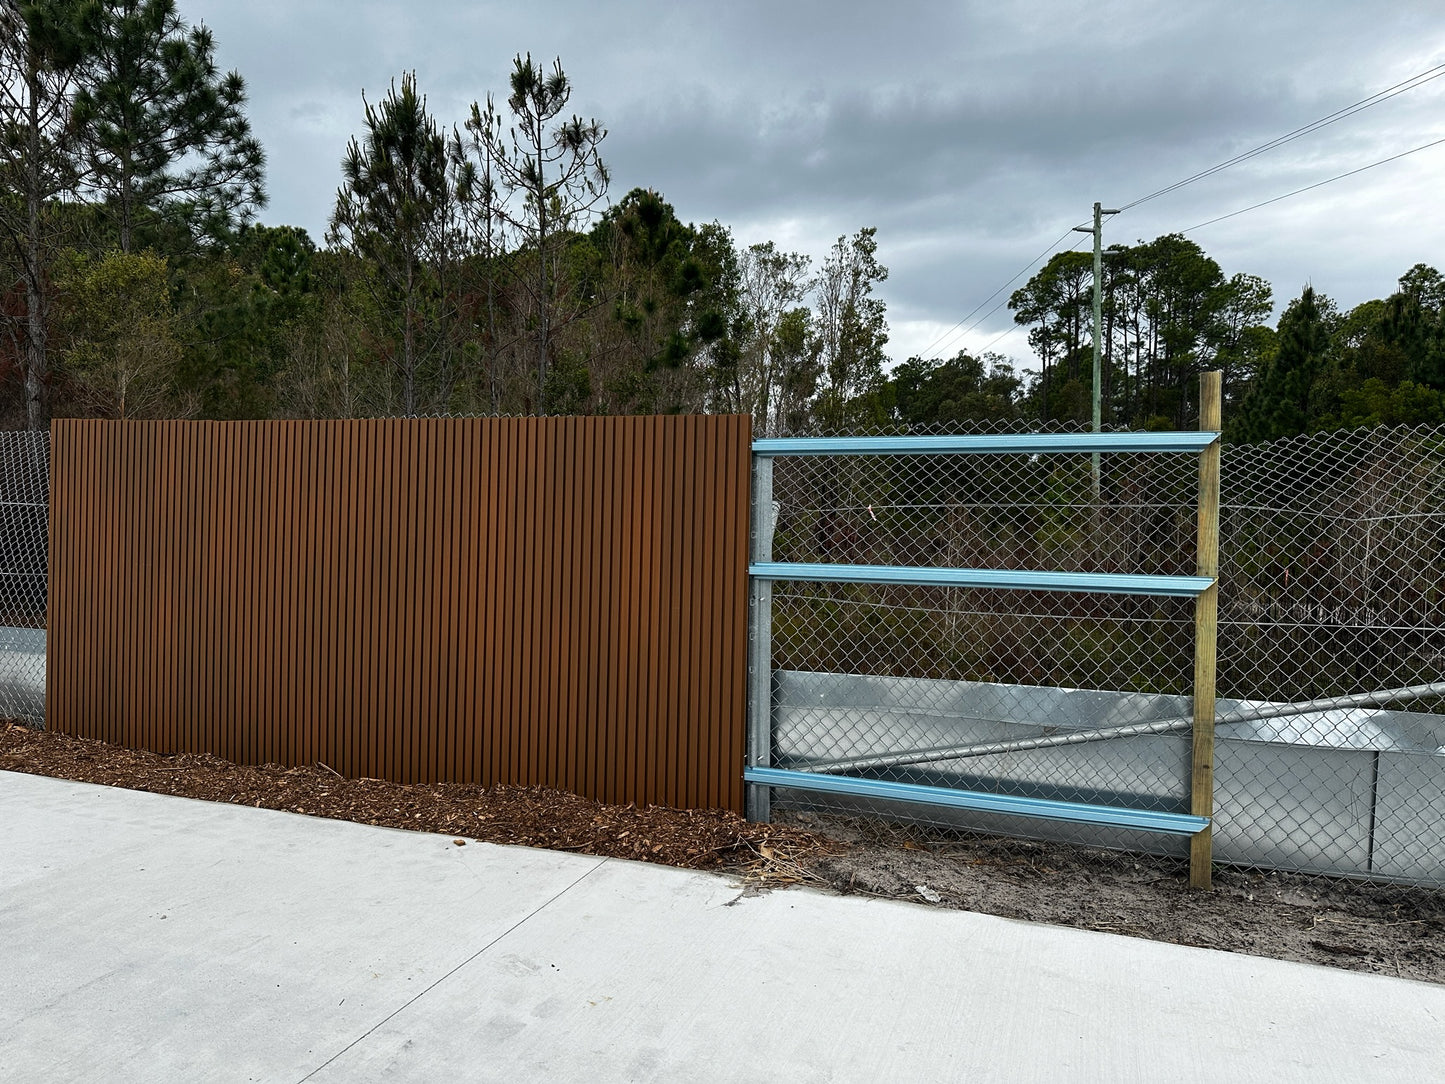
2. Batten Installation:
- Space the battens 500mm apart, or as close as 400mm in high wind areas.
3. Pre-Drilling:
- Always pre-drill holes using a drill bit one size larger than your screws. This allows for some movement due to expansion.
4. Screwing Panels:
- Use decking screws as they are corrosion-resistant and fit within the gaps allowed in the panel channels.
- Install your first panel, ensuring it is level. Once the first panel is secure, the next panel will click into place and only needs screwing on one side.
- Continue fixing one panel after another along the wall.
5. Using Tile Adhesive (for Small Areas):
- If you are covering a small area, many people find it easier to use tile adhesive. This is a quick and very effective solution.
- Apply the tile adhesive to the back of the panel and press it firmly against the wall.
6. Cutting Panels:
- For cutting panels, use a fine-tooth saw to avoid splinters and achieve a clean cut. Jigsaws, circular saws, or hand saws can all be used.
- For consistent length cuts, set up a workstation with a circular saw.
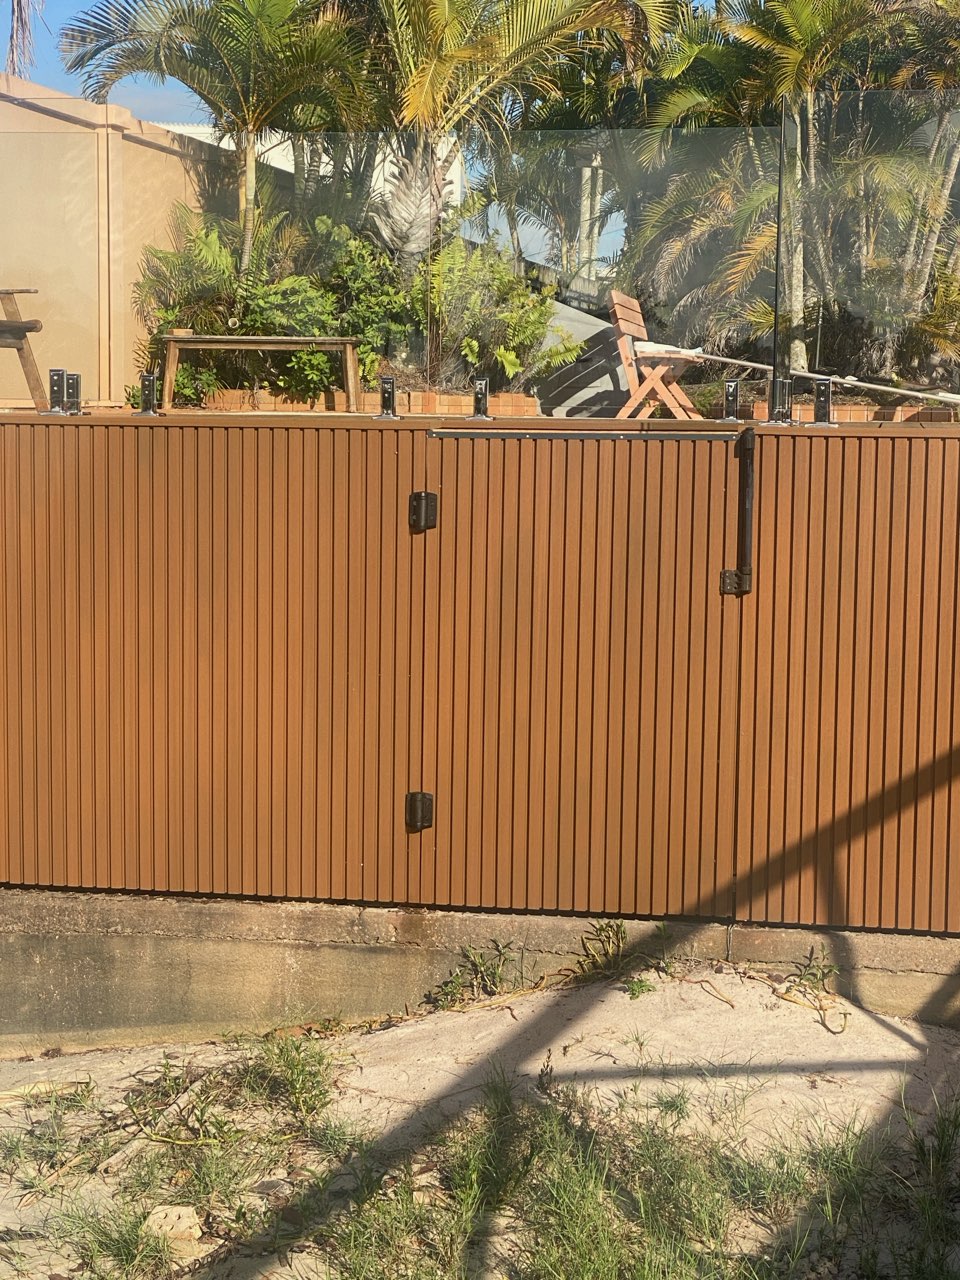
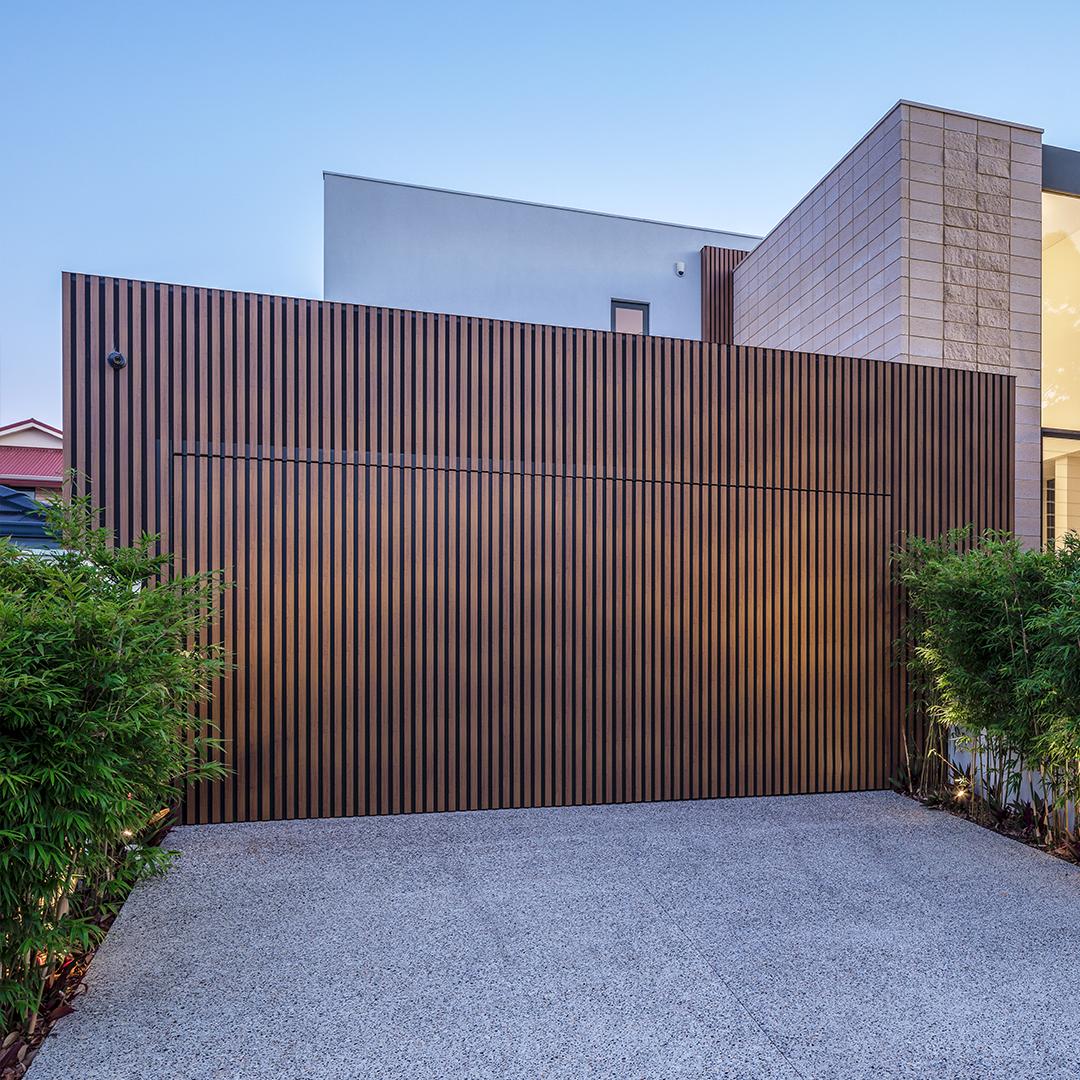
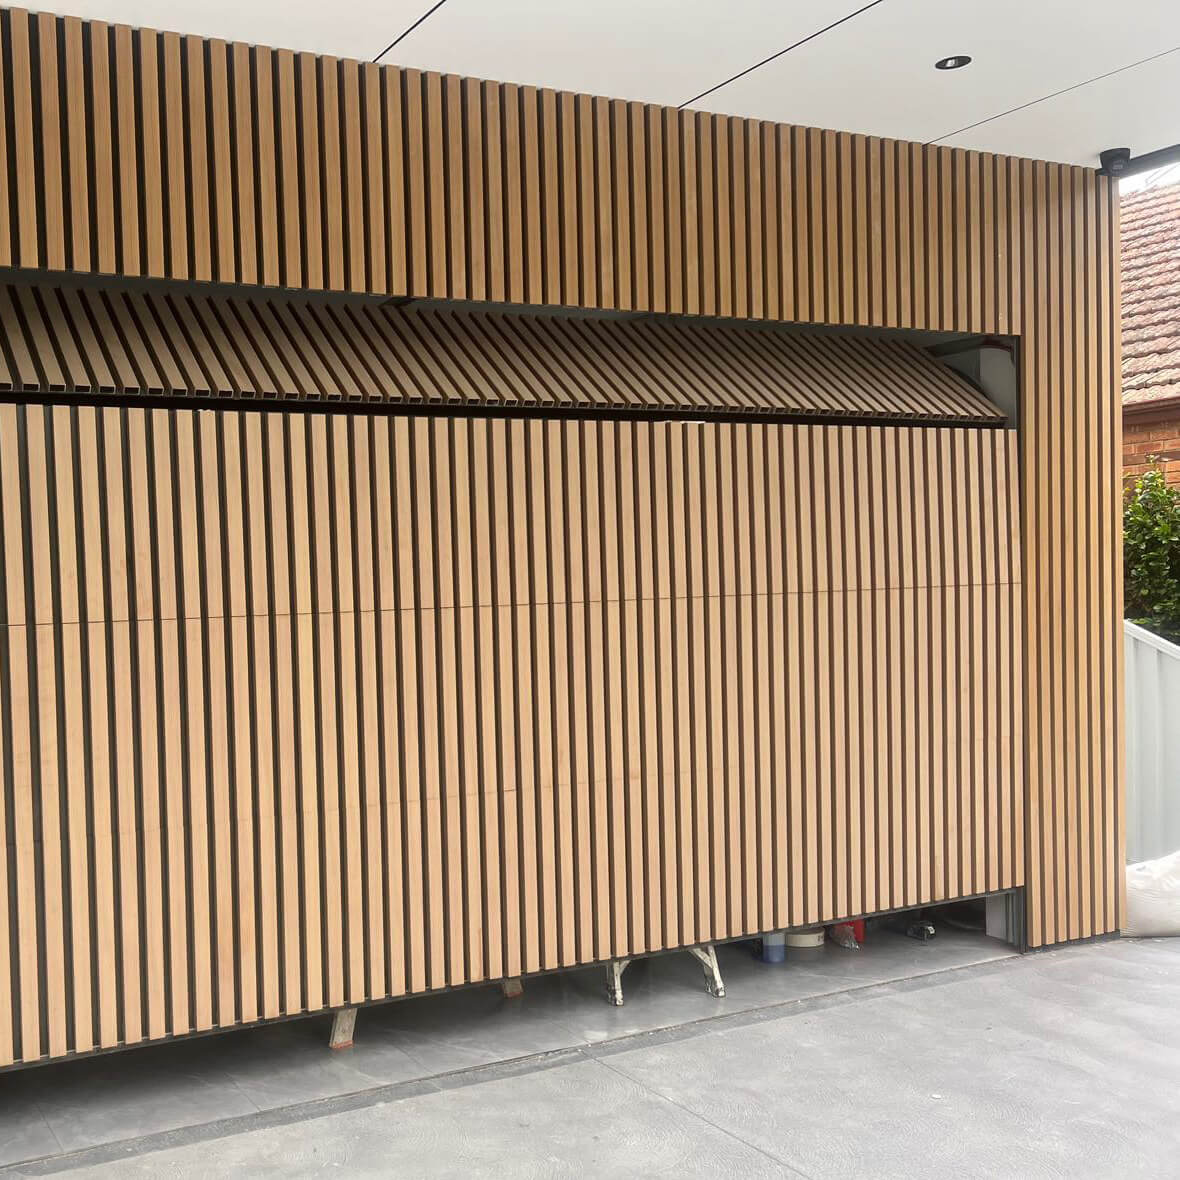
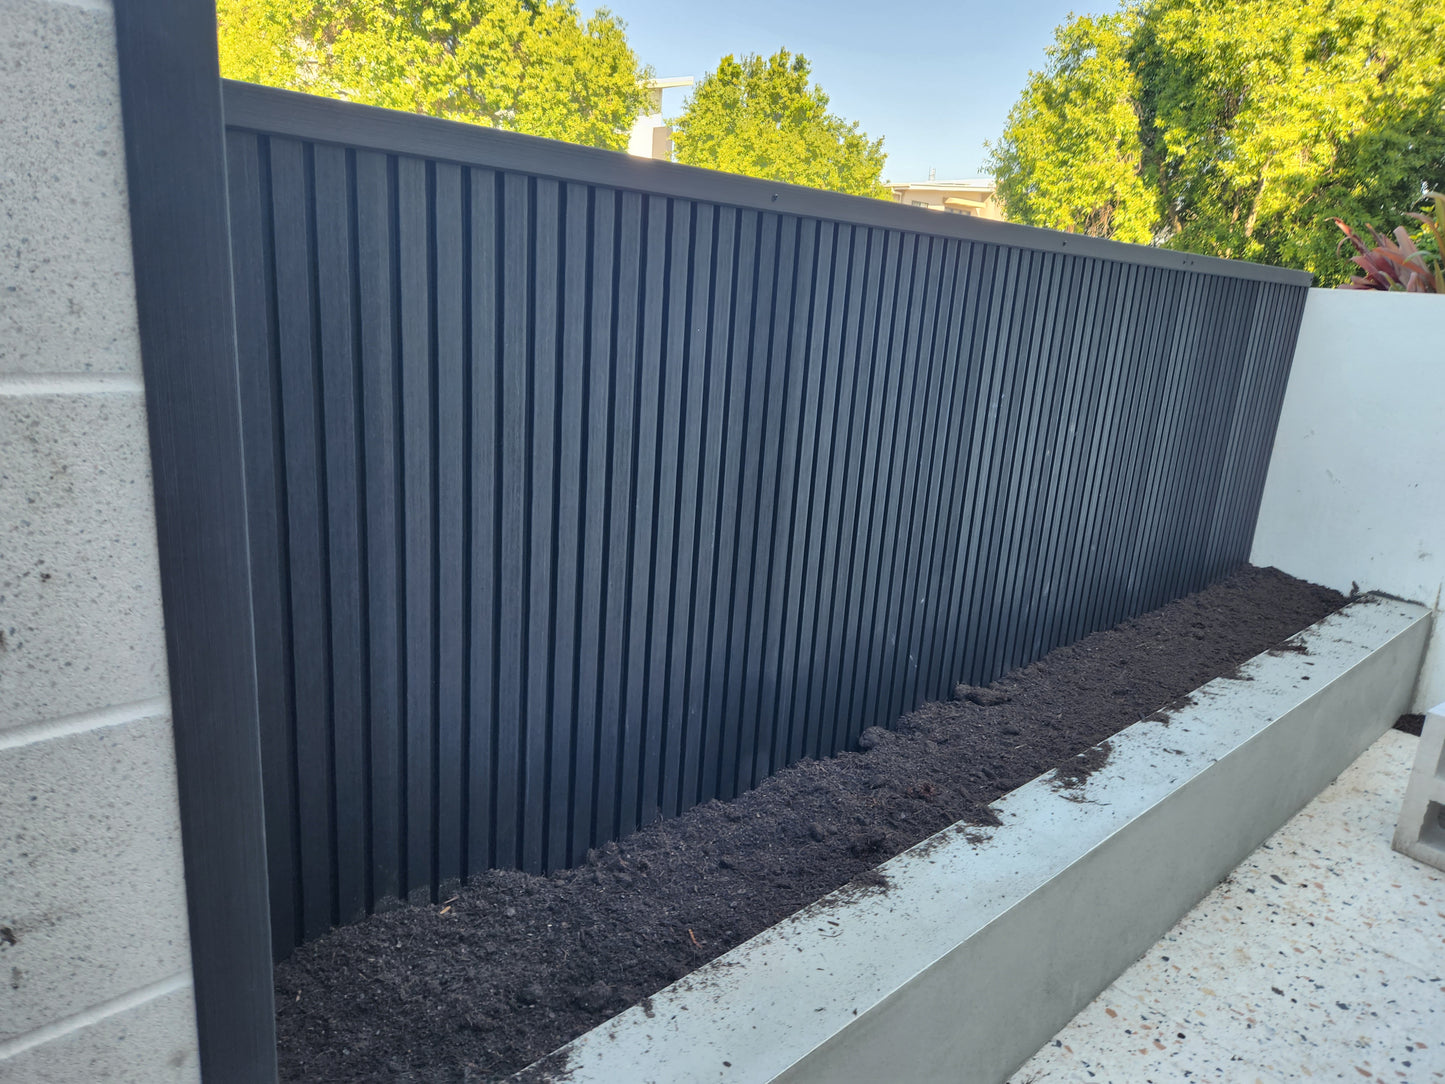
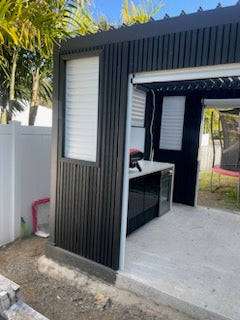
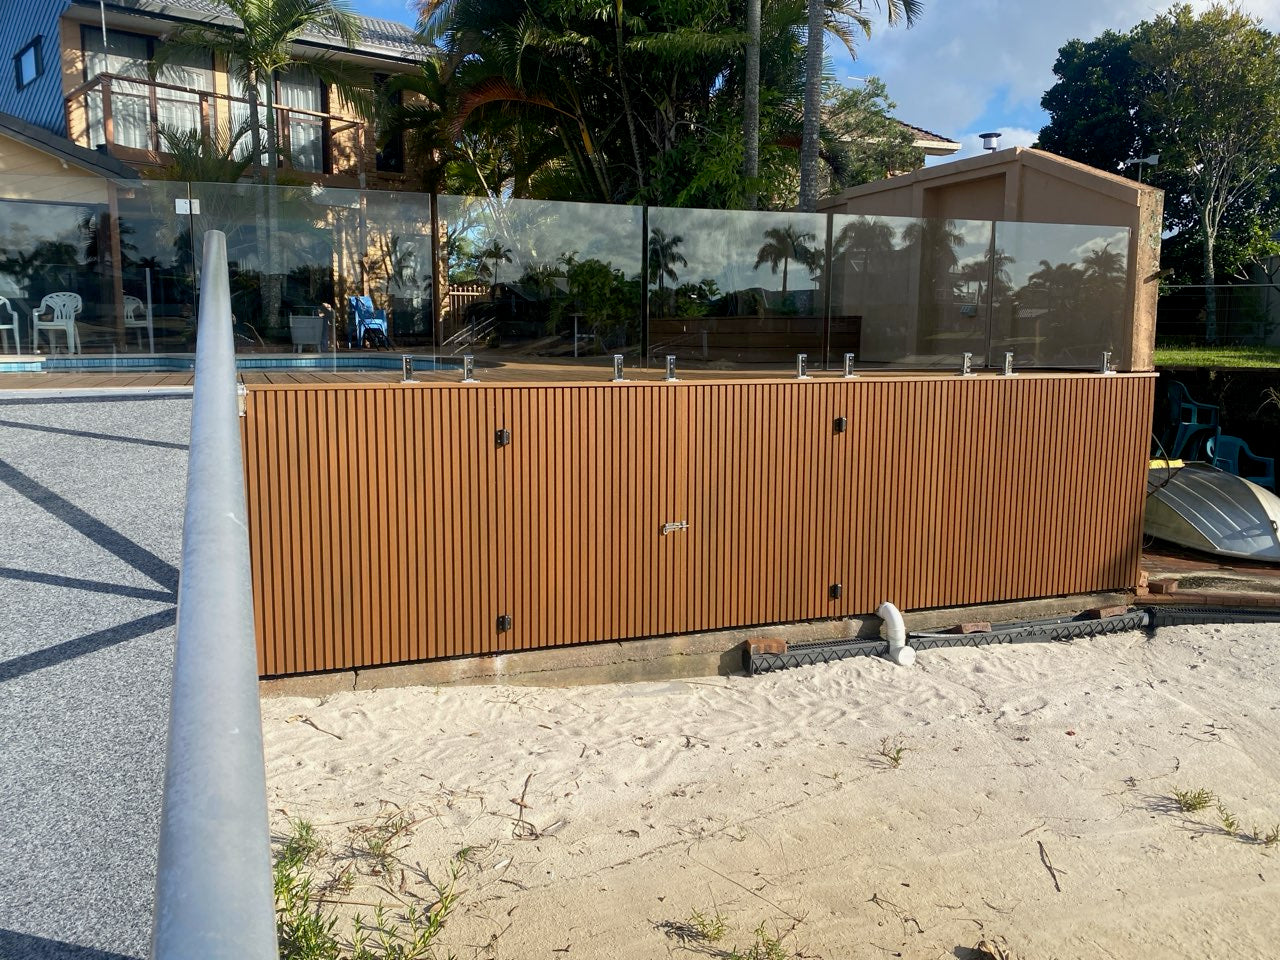
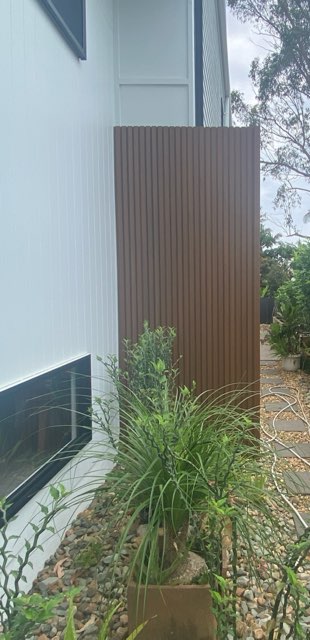
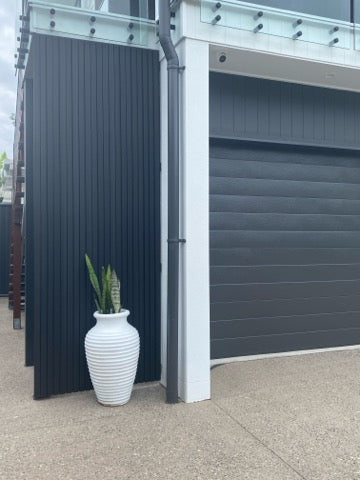
7. Applications:
- This method can be used to clad your house, fence, or to build structures like a bin shelter or pool pump housing.
8. Aftercare:
- The panels require minimal maintenance. If they get dirty, simply wash them down.
By following these steps, you can ensure a successful installation of your WPS panels
