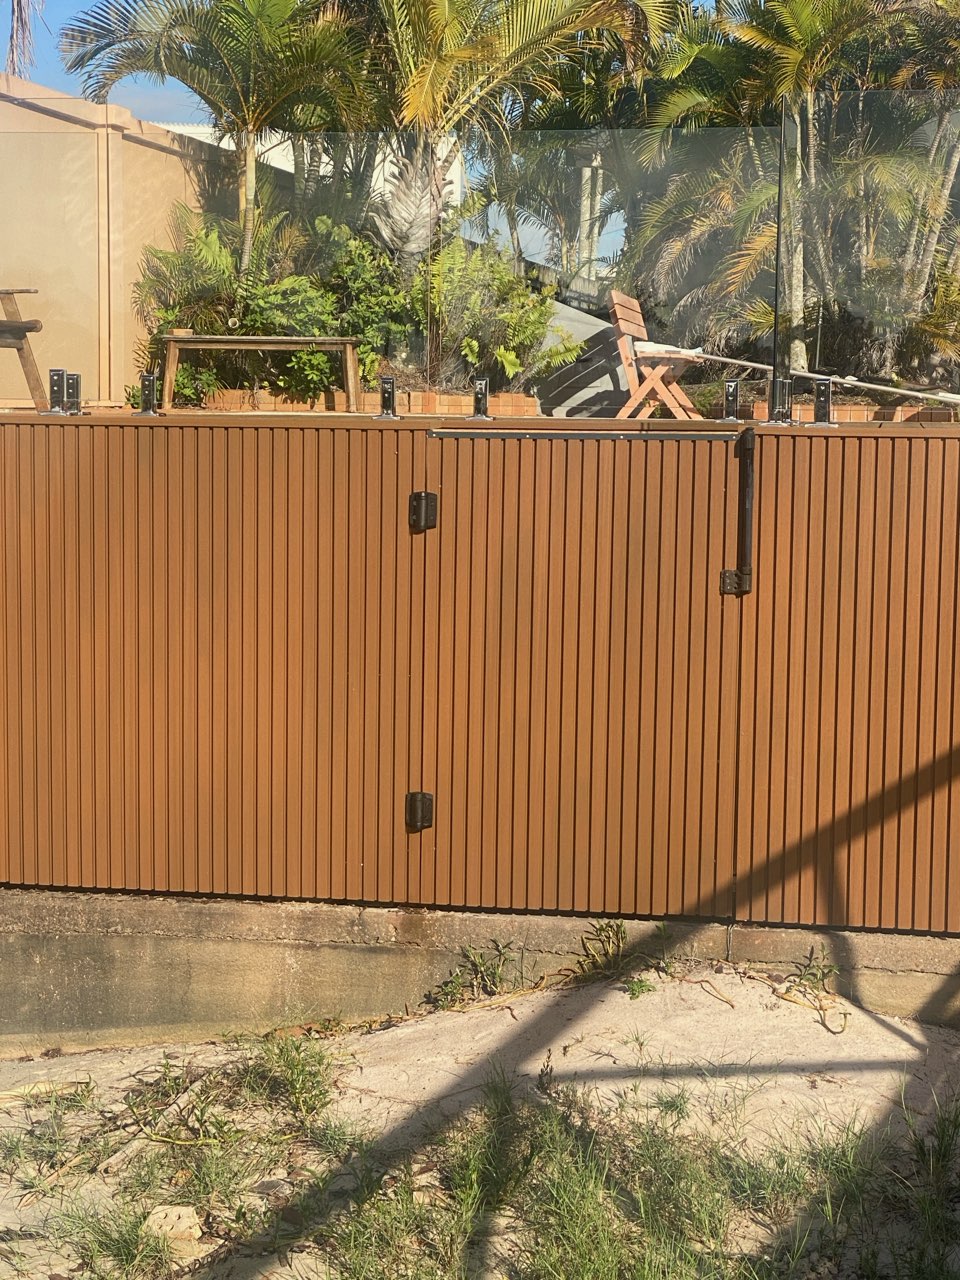
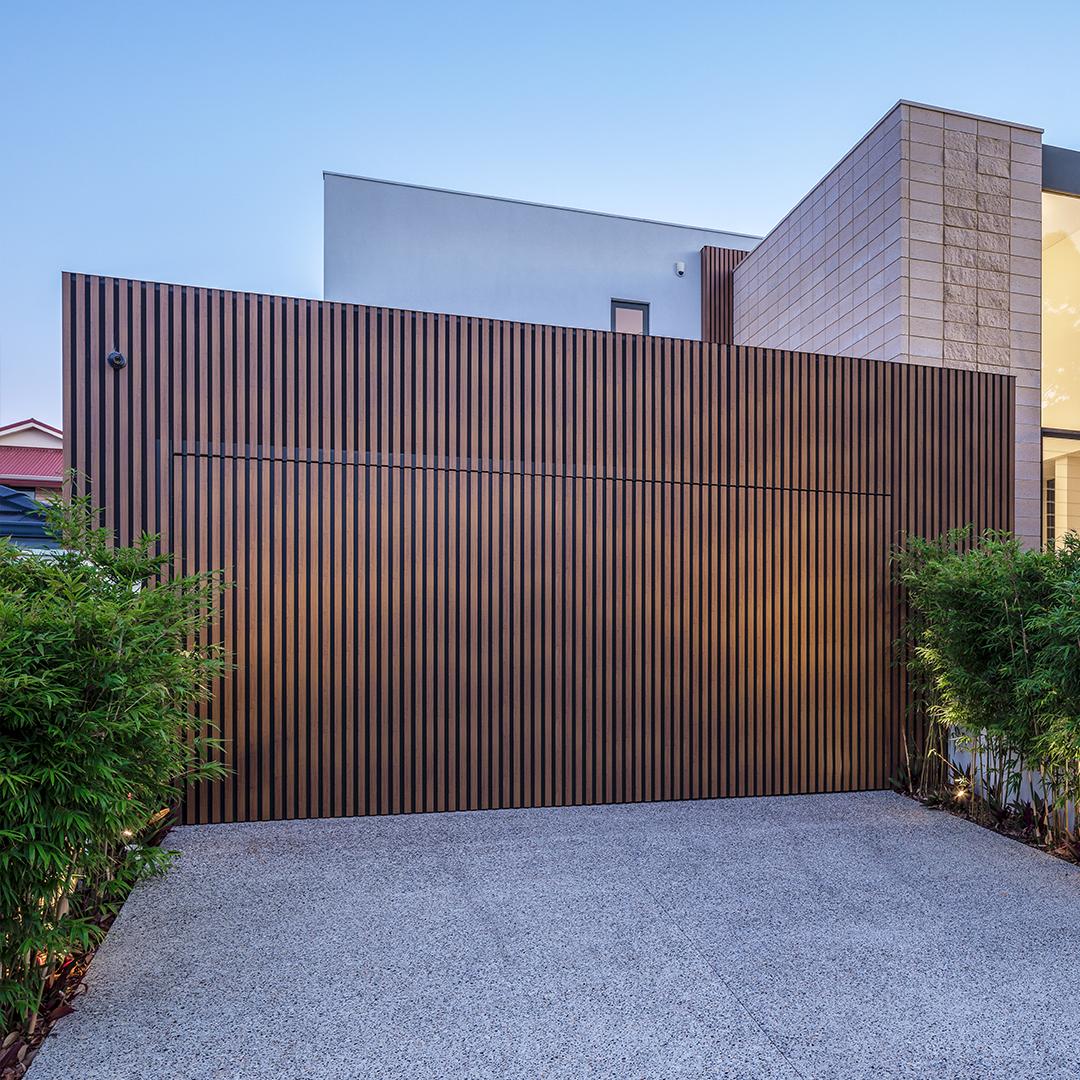
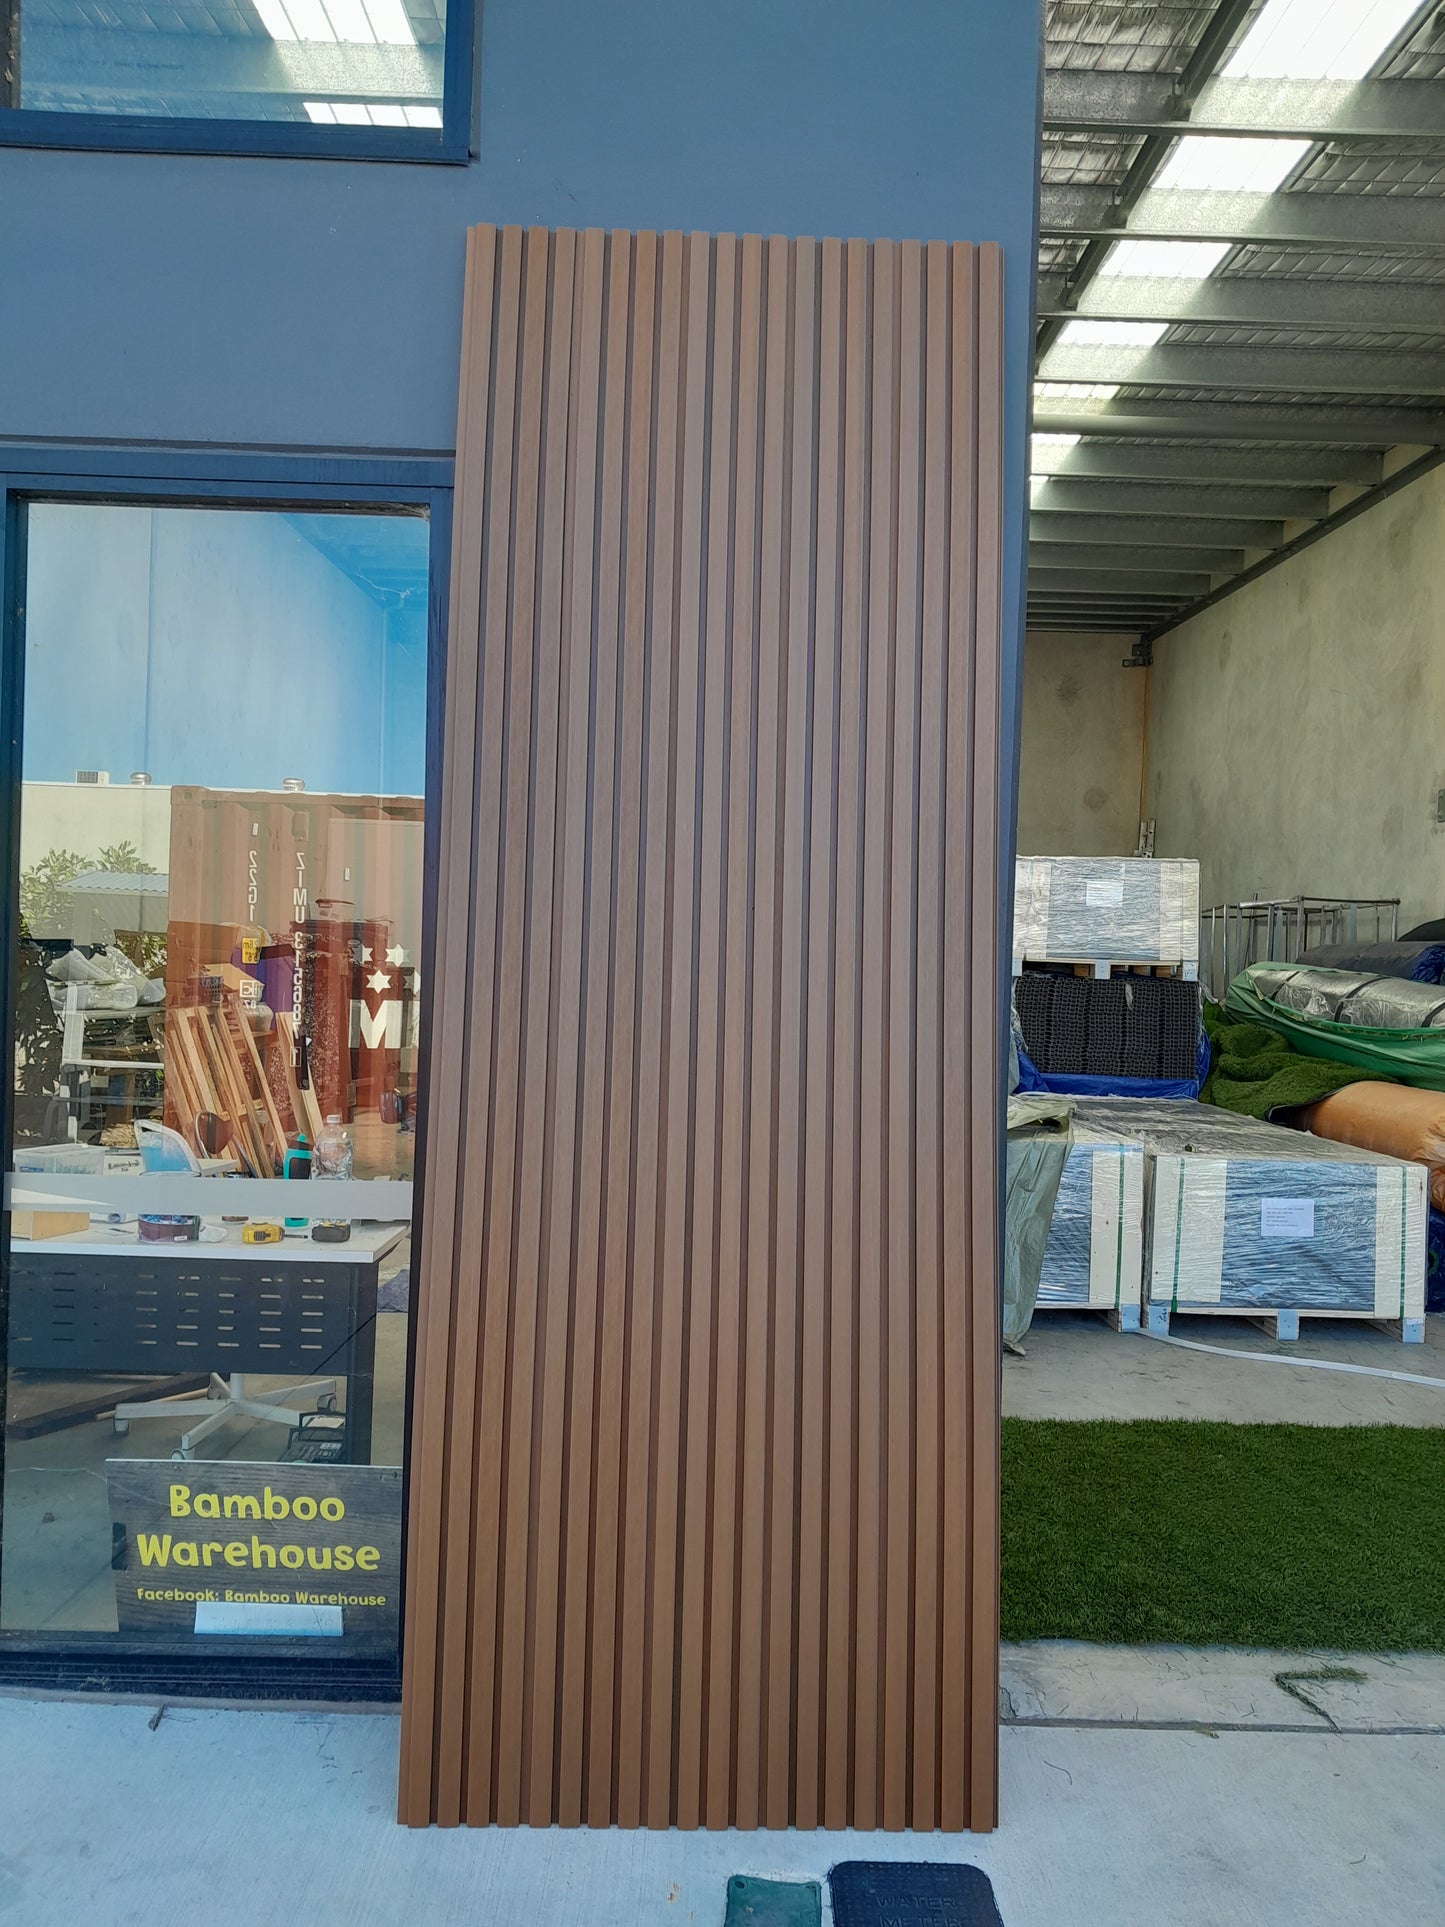
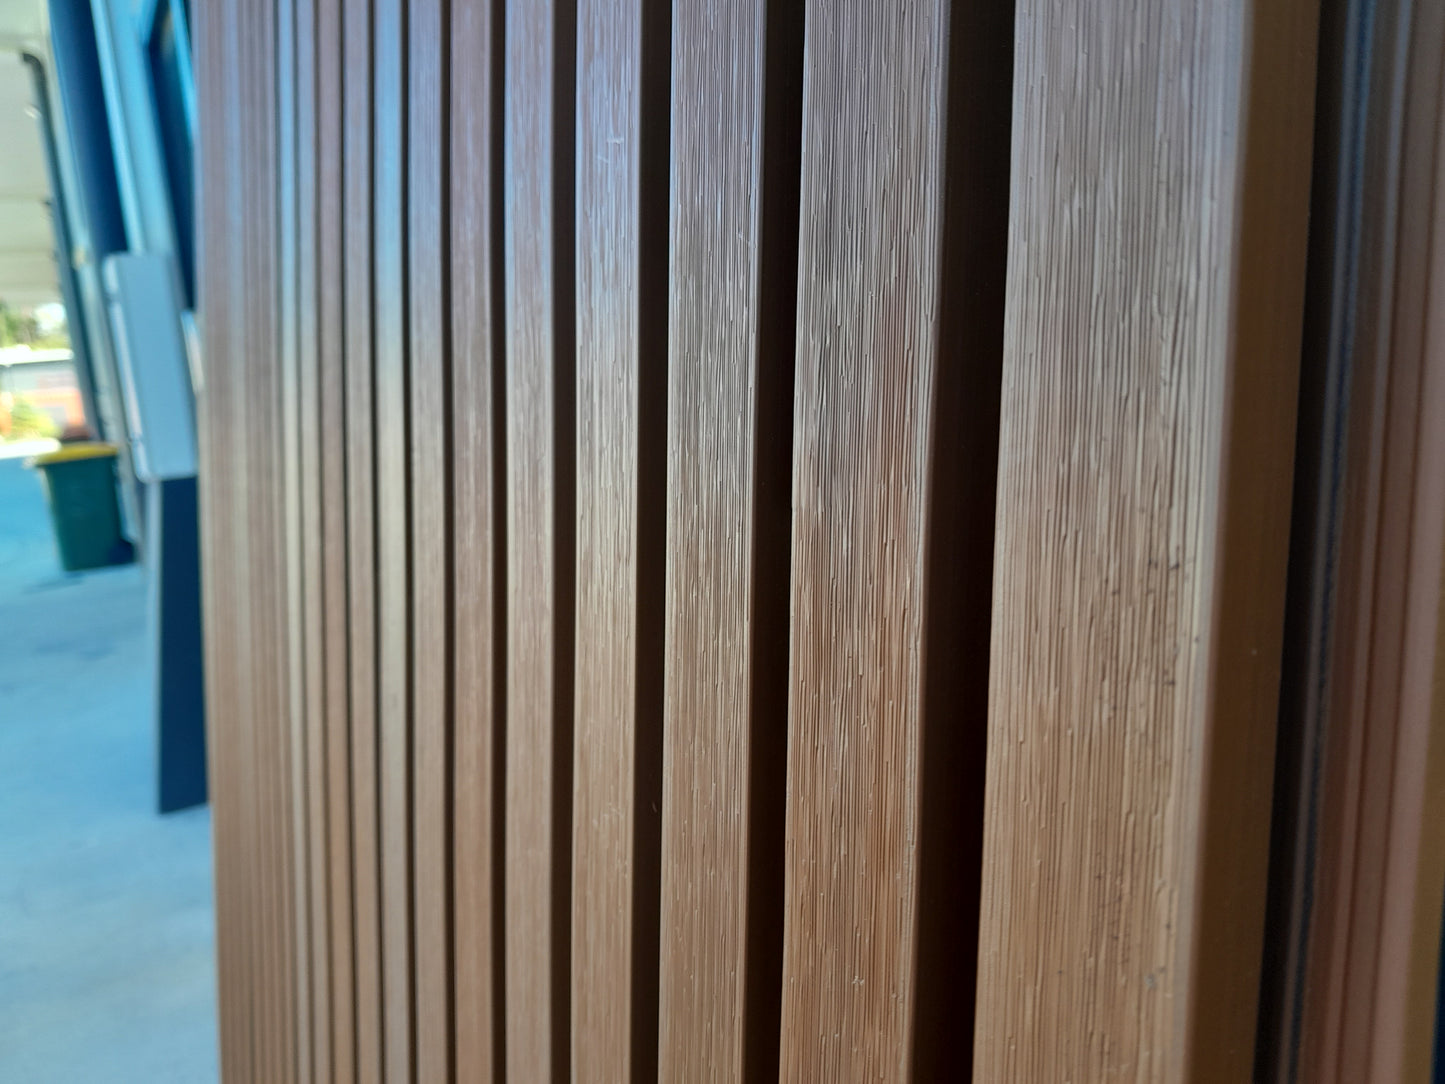
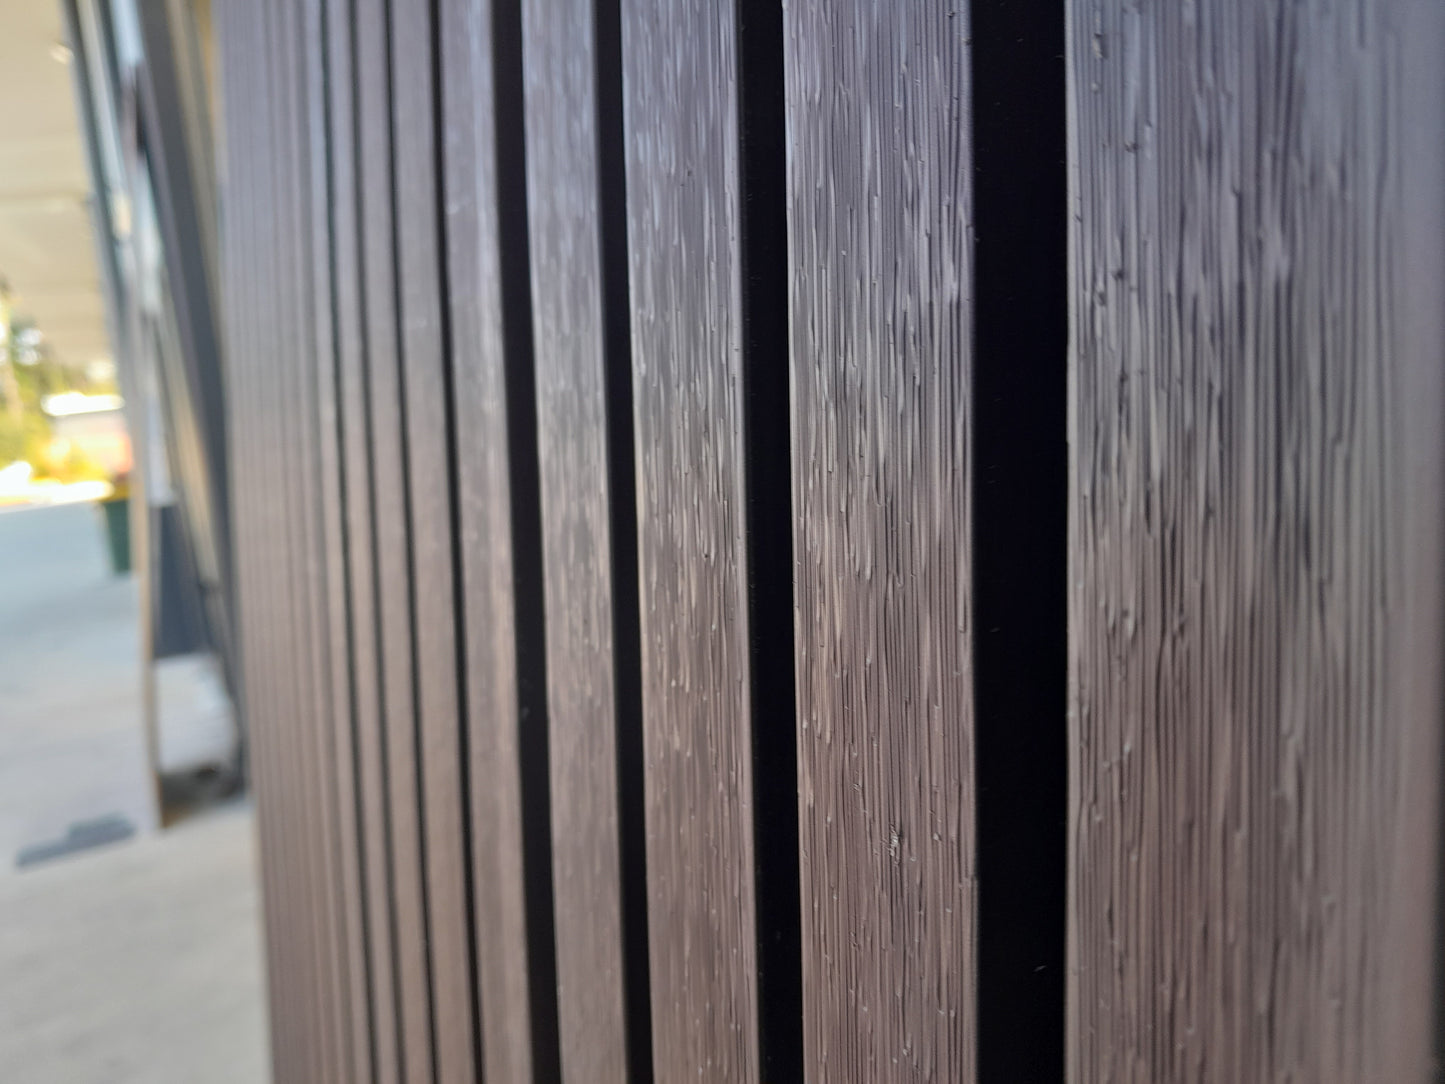
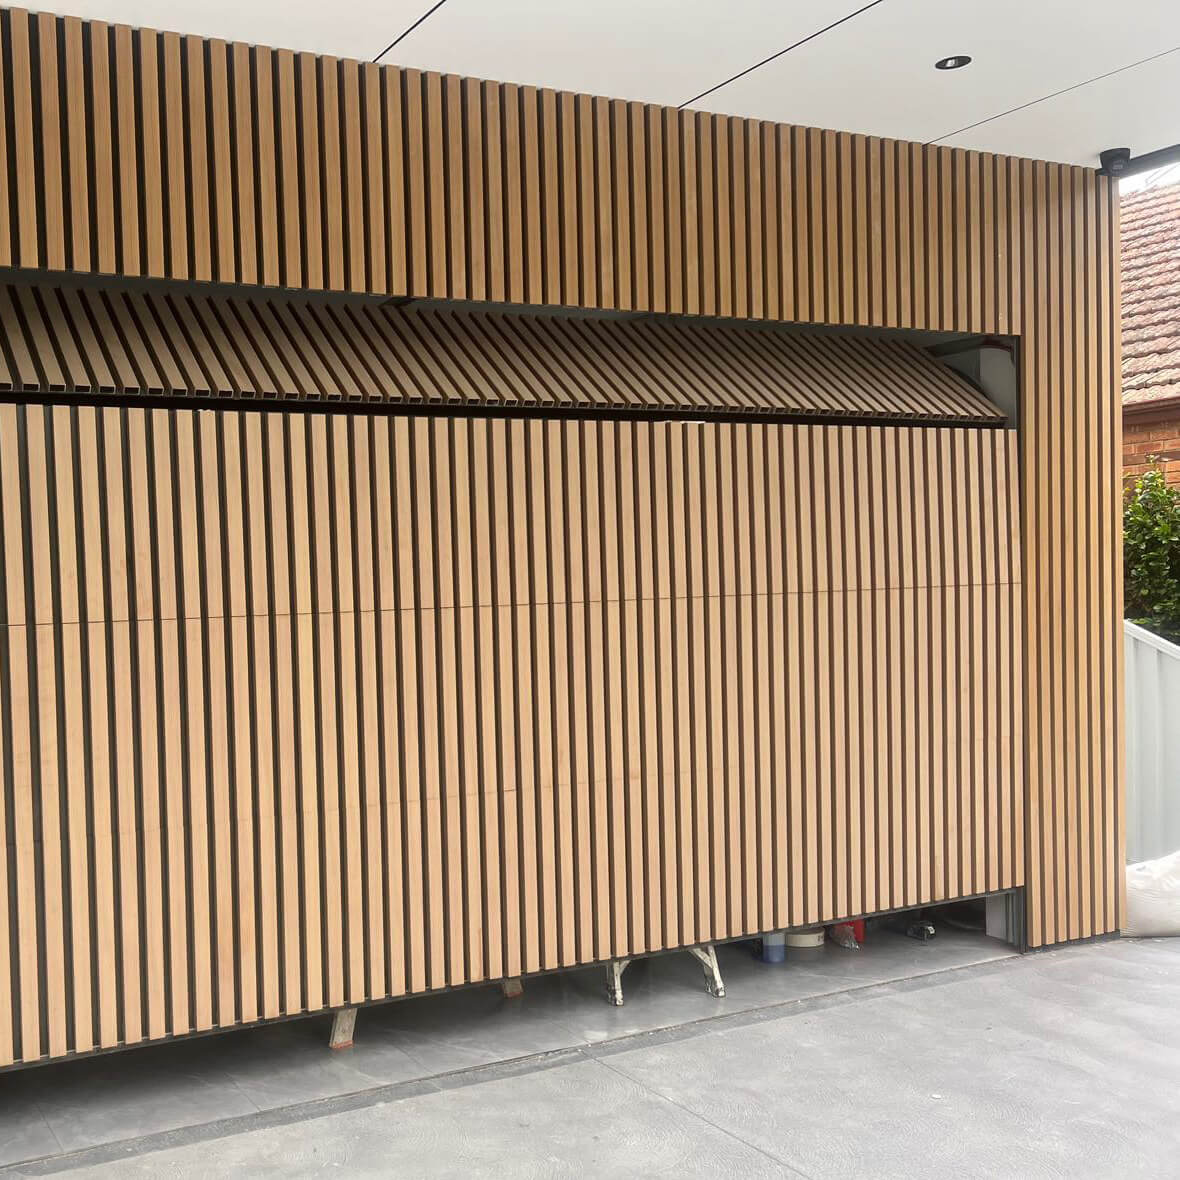
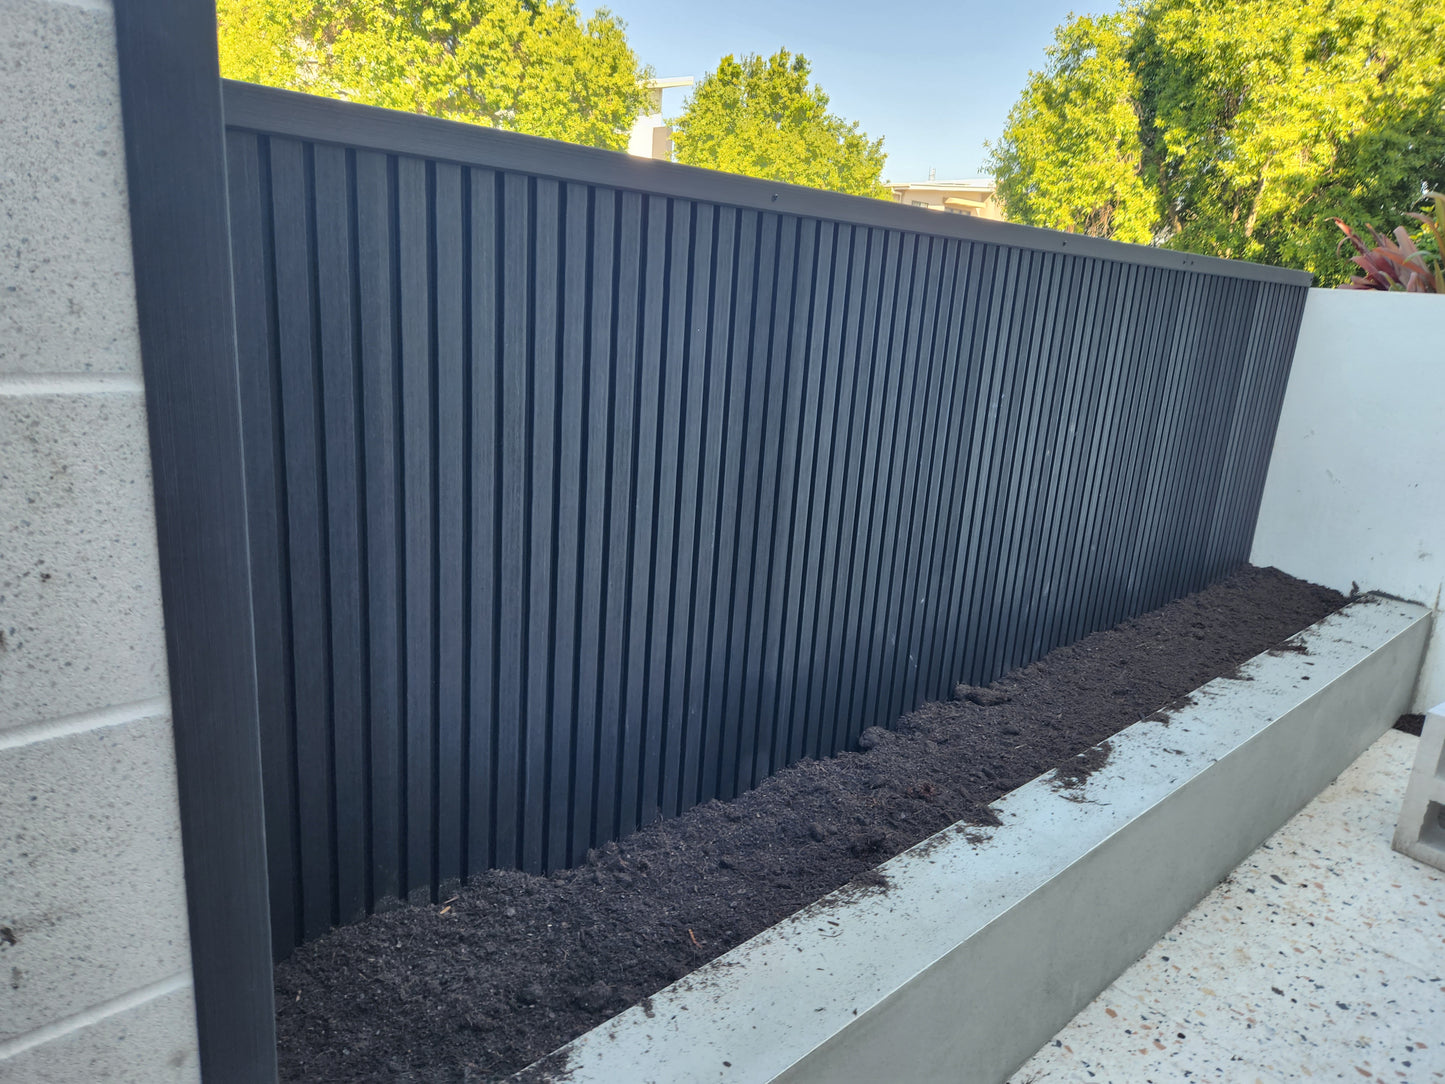
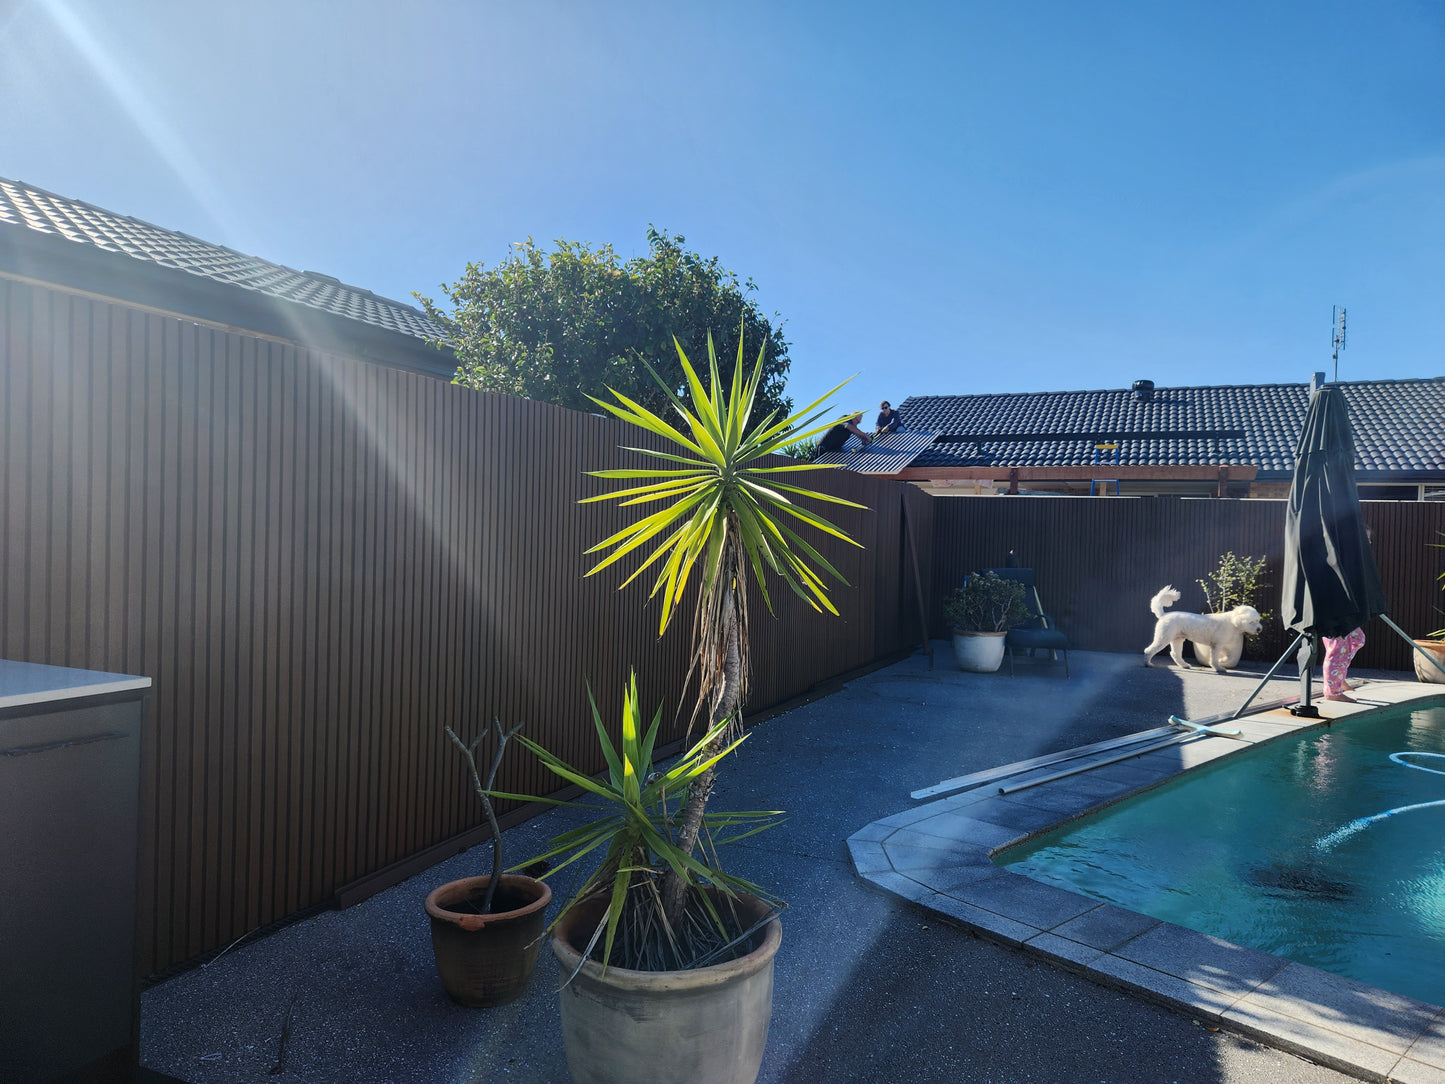
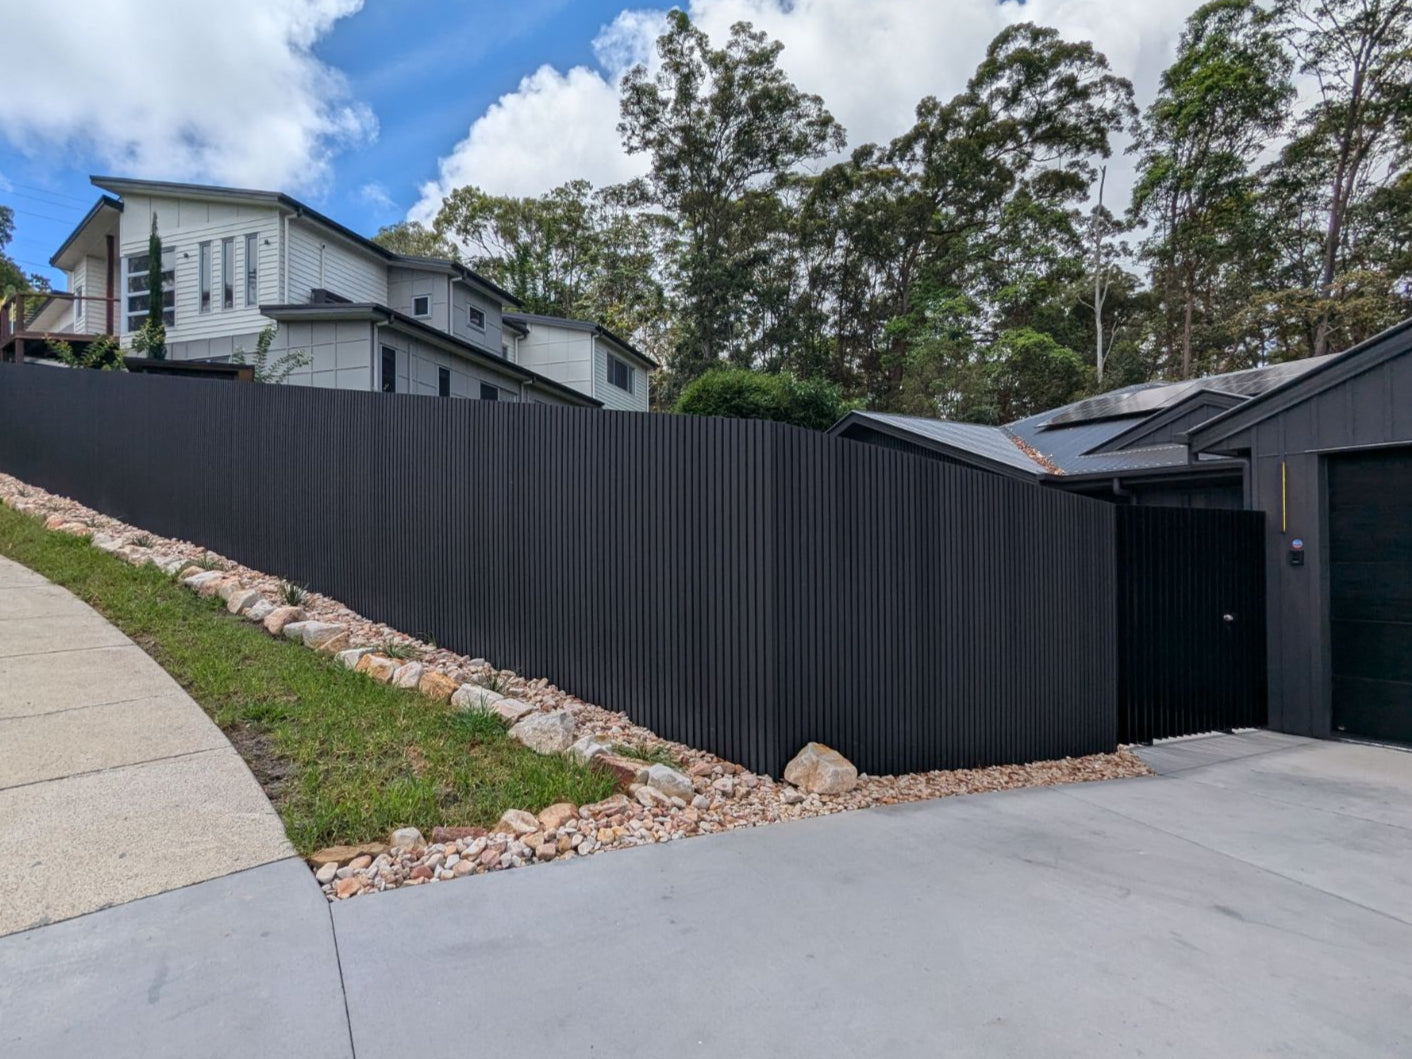
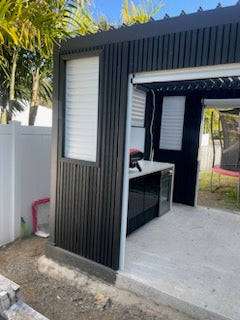
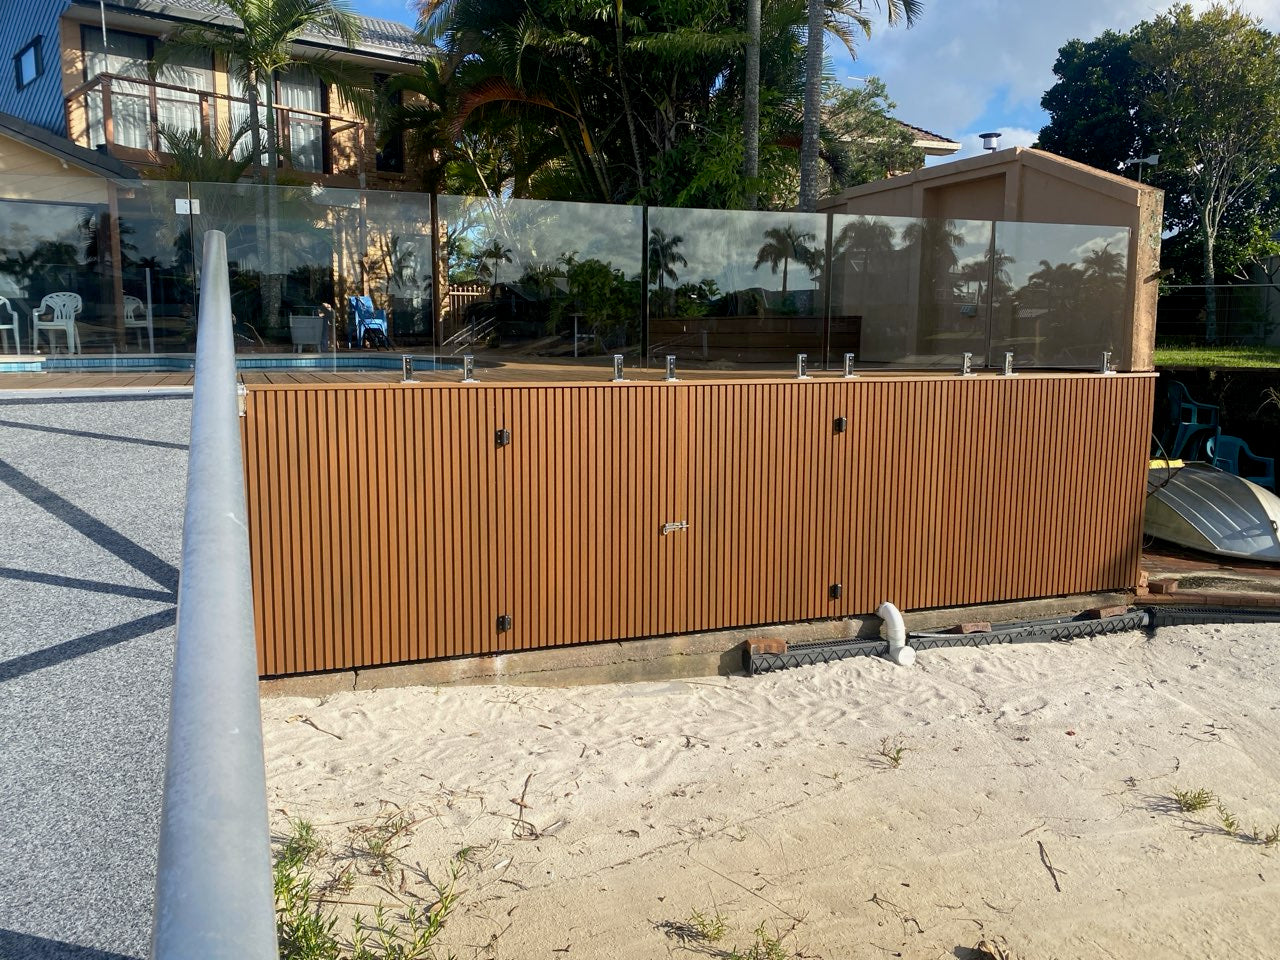
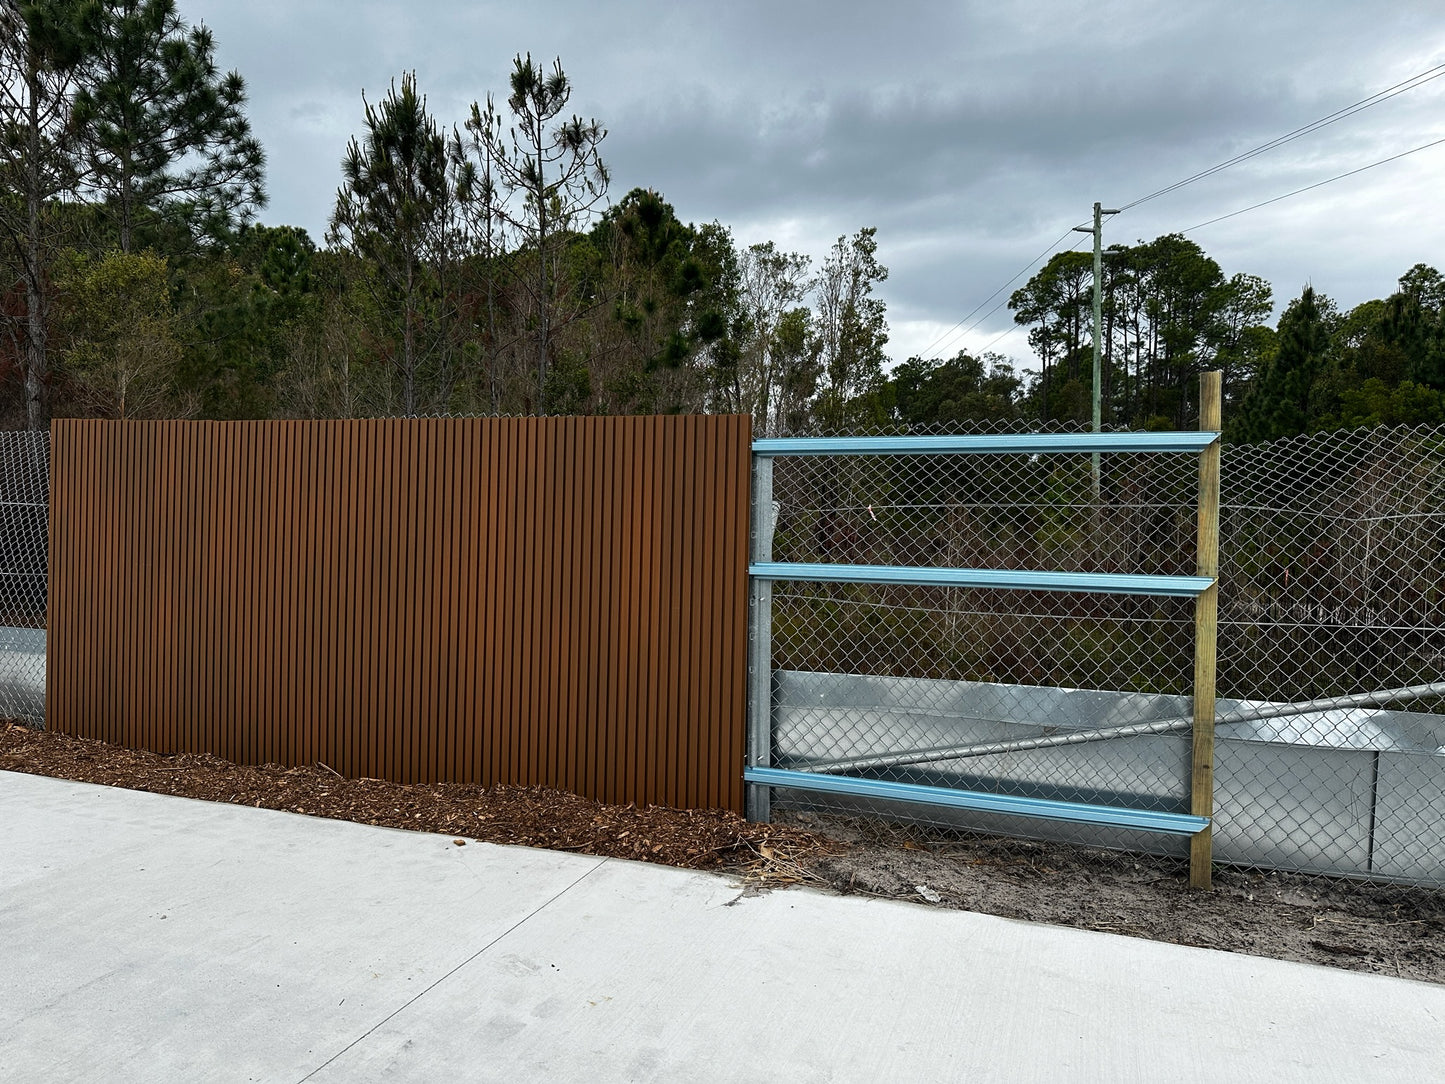
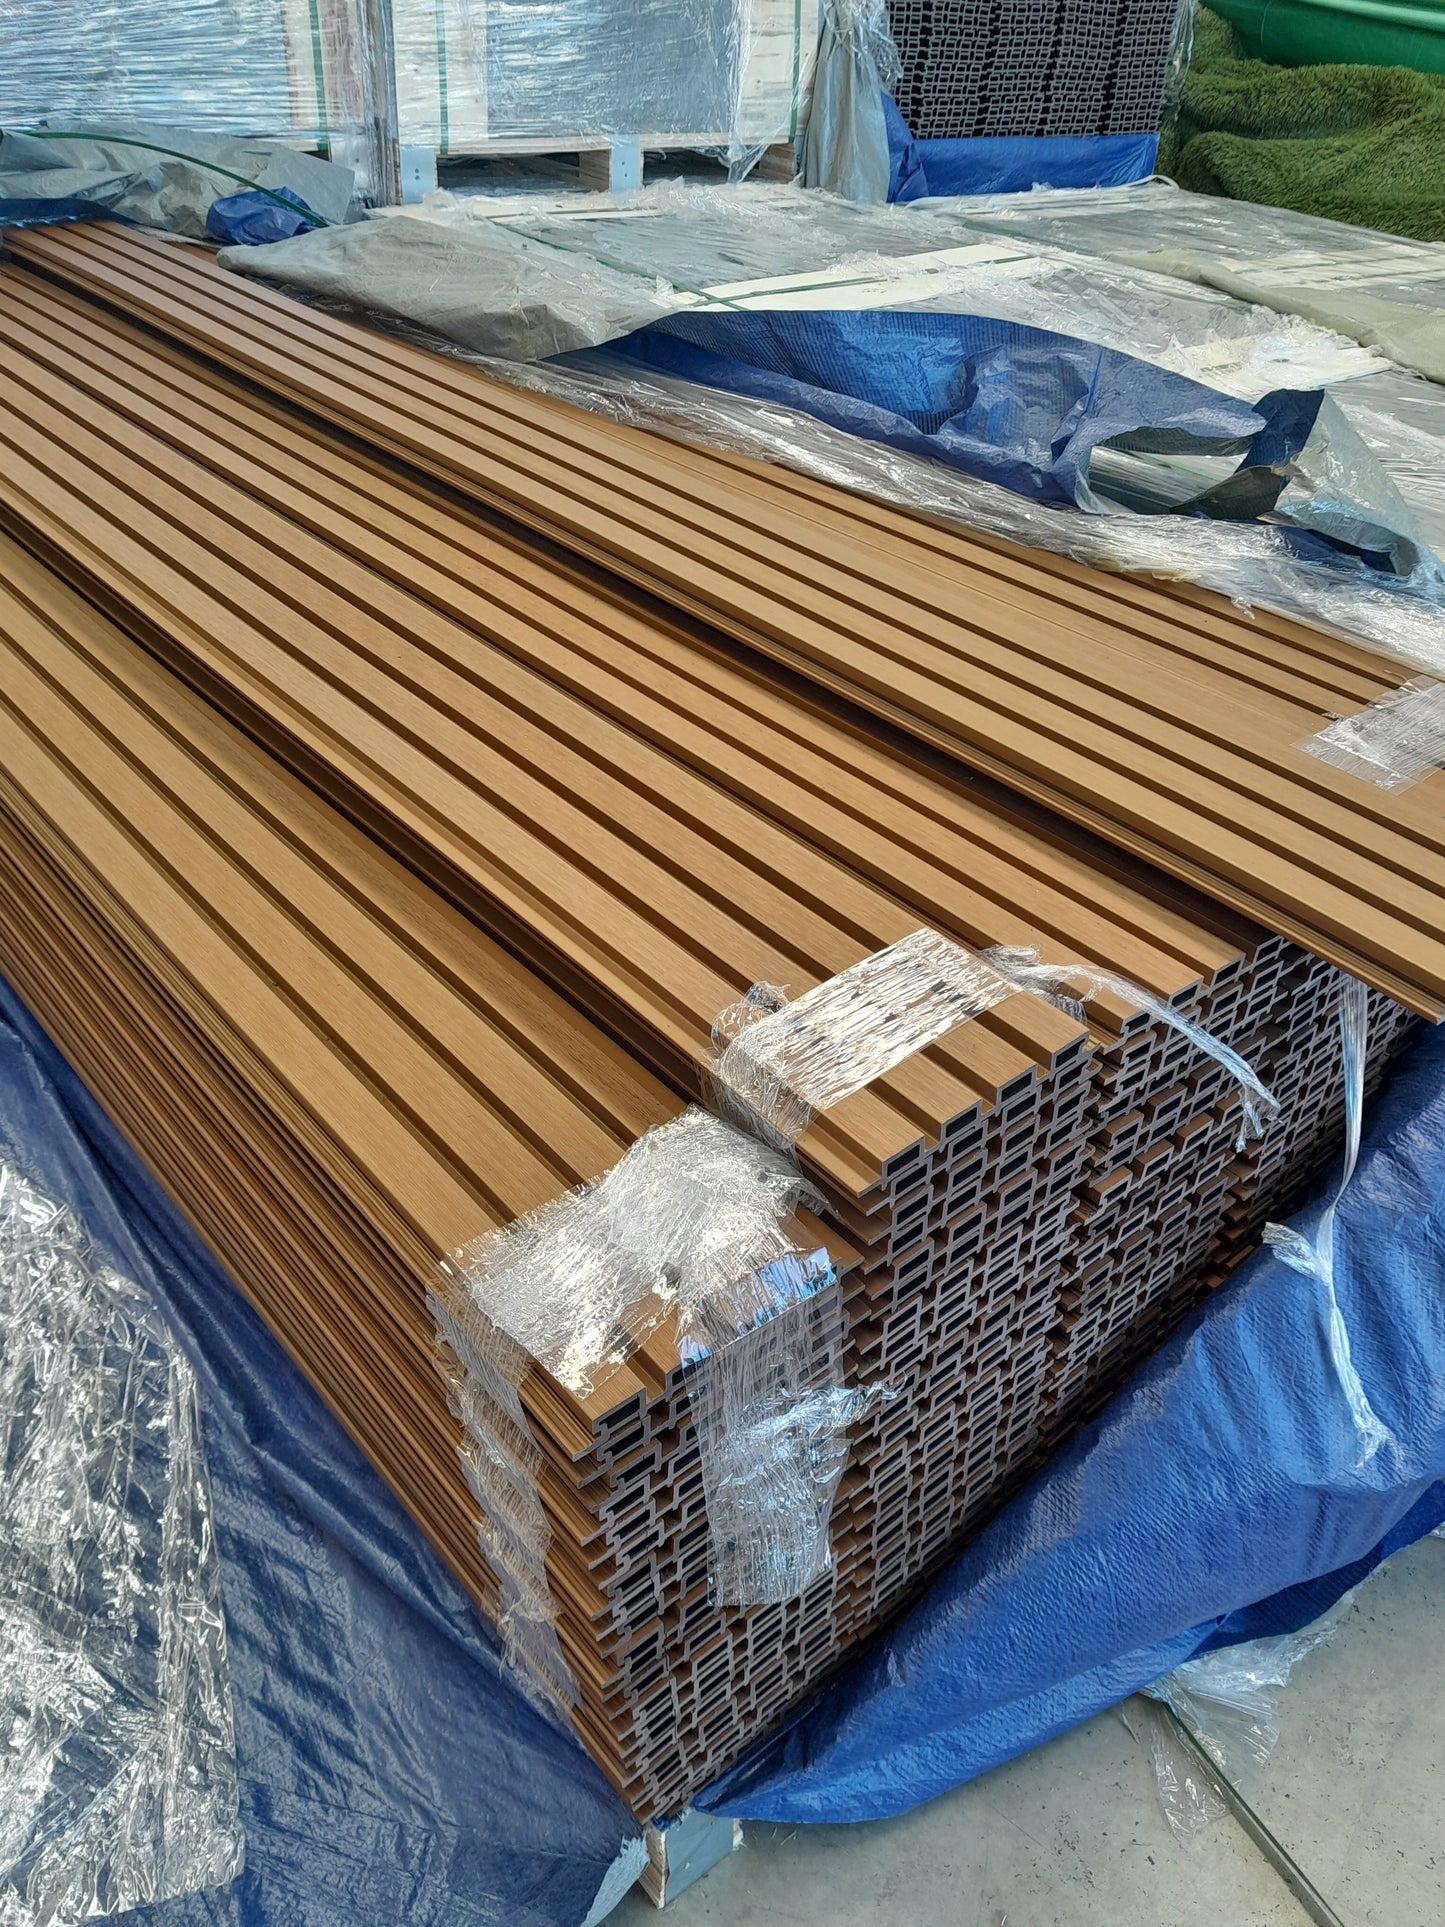
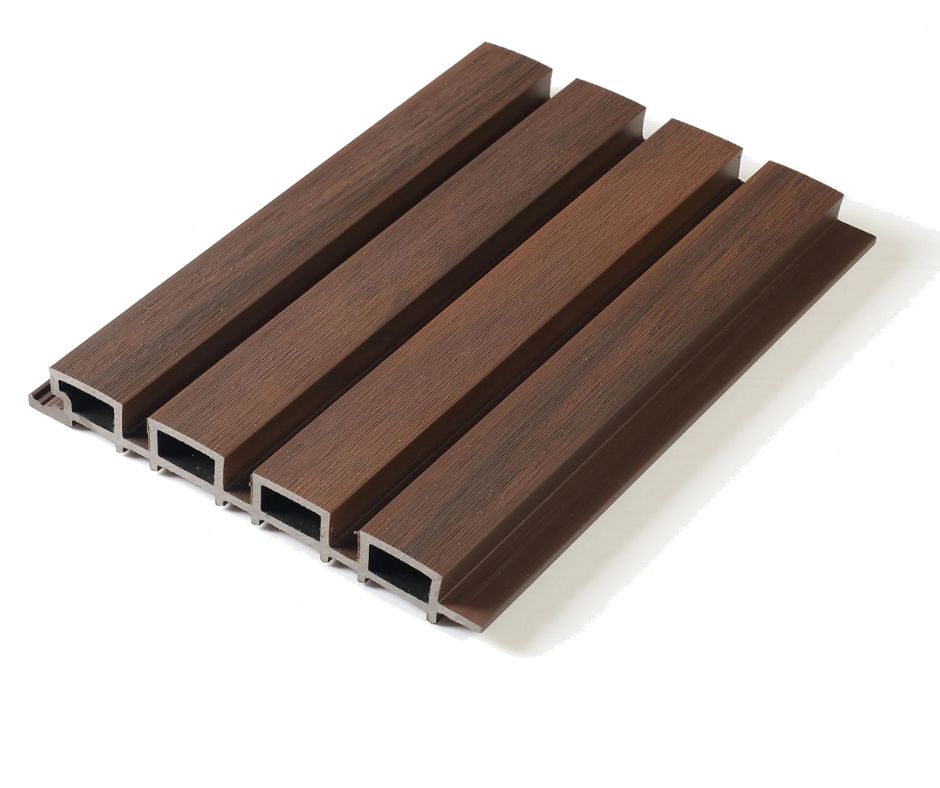
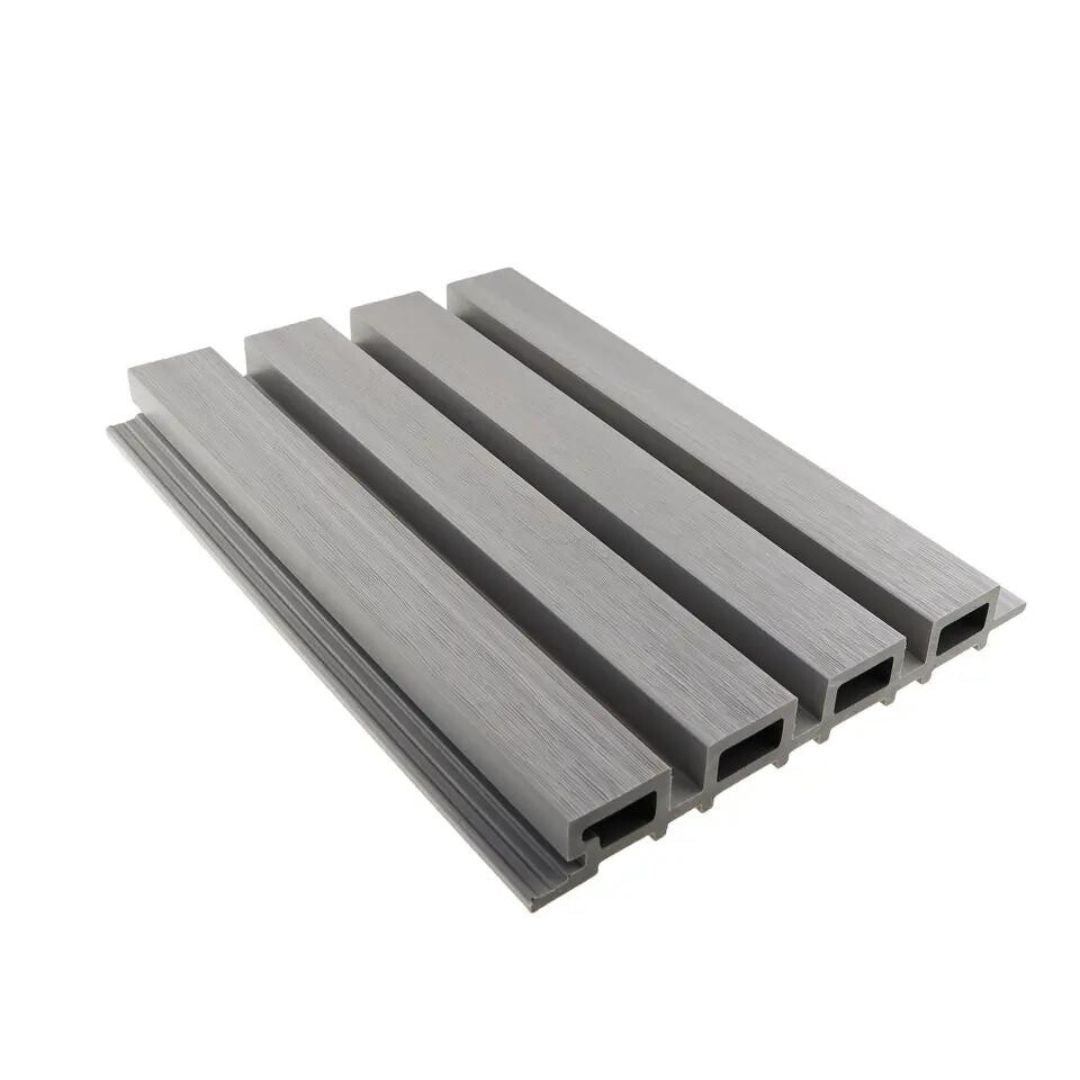
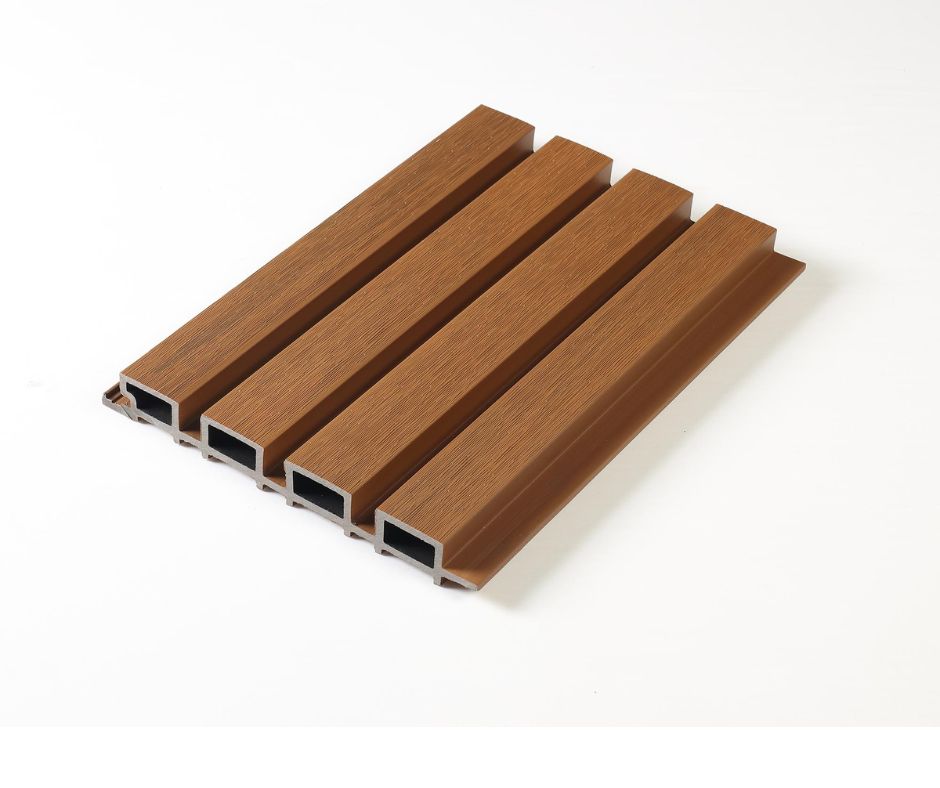
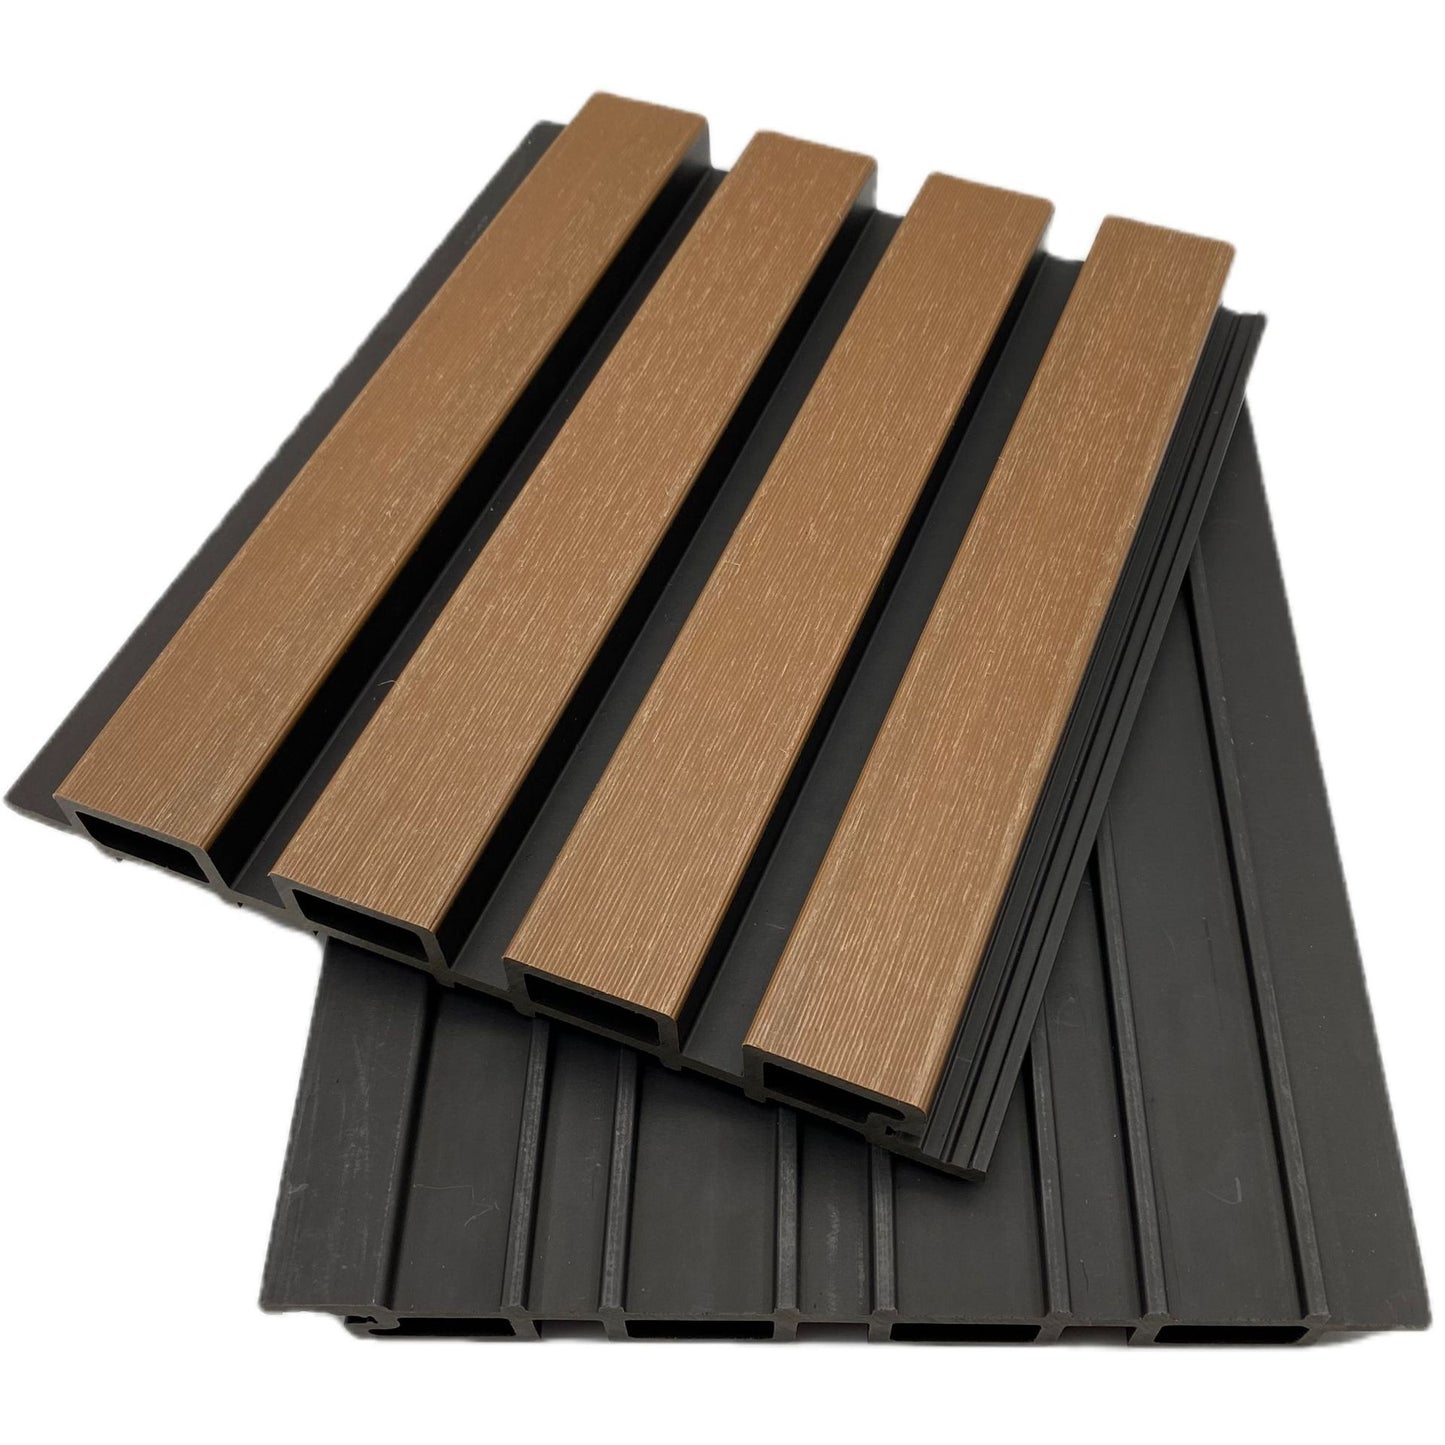
Add a touch of natural beauty to your space with our stunning bamboo panels. Made from carefully selected bamboo strips that are screwed together, these panels create a unique and eye-catching design. With their lightweight construction, they are easy to install and can be mounted vertically or horizontally, allowing for versatile use in various applications.
Our bamboo panels are not only visually appealing, but also eco-friendly, as bamboo is a sustainable and renewable resource. They are perfect for adding privacy, creating shade, or enhancing the aesthetics of your indoor or outdoor space. Whether you're looking to update your home, office, or commercial space, our bamboo panels are a perfect choice.
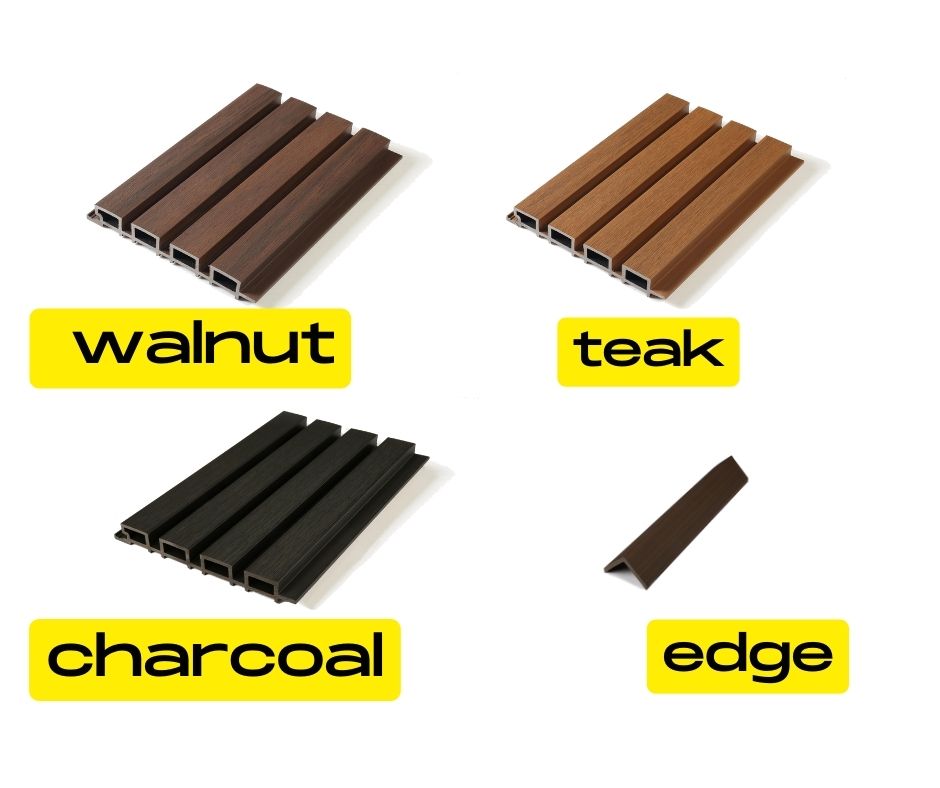
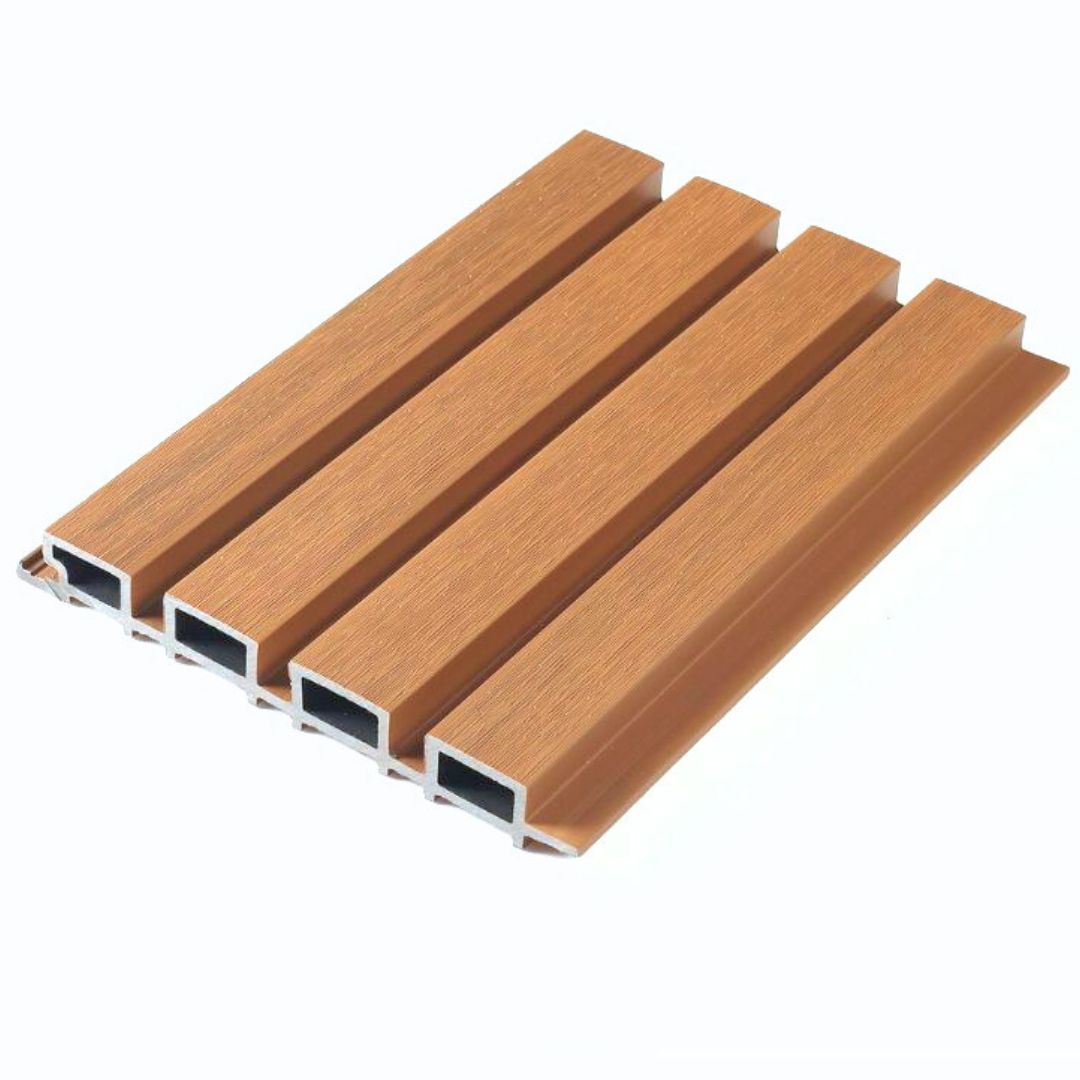
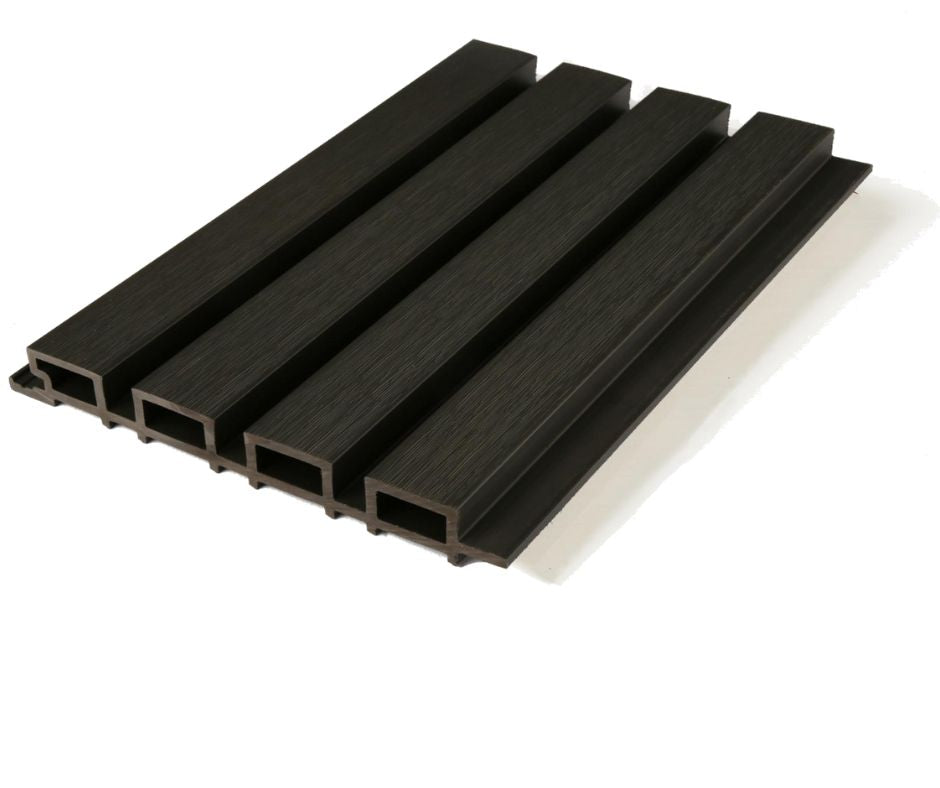
With their natural finish, these bamboo panels exude warmth and charm, bringing a touch of nature into any setting. They are also durable and weather-resistant, making them suitable for both interior and exterior use. Available in different sizes and styles, our bamboo panels can be customized to suit your specific needs and design preferences.
Enhance your space with the natural beauty and versatility of bamboo panels. Order now and transform your space into a tranquil oasis with these sustainable and stylish panels. Contact us for more information or to place an order.
- WPS panels (5 panels per meter once clicked in) - Top hat battens or timber battens - Decking screws (corrosion-resistant) - Fine-tooth saw or jigsaw/circular saw - Drill (one size bigger than your screws) - Circular saw (for consistent length cuts) - Tile adhesive (for small areas)
Step-by-Step Installation:
1. Preparation: - Measure and mark the area where you will install the panels. - For installations over long distances (e.g., more than 5 meters), consider using battens for added support. Top hat battens from the hardware store work well, but timber battens are also suitable.
2. Batten Installation: - Space the battens 500mm apart, or as close as 400mm in high wind areas.
3. Pre-Drilling: - Always pre-drill holes using a drill bit one size larger than your screws. This allows for some movement due to expansion.
4. Screwing Panels: - Use decking screws as they are corrosion-resistant and fit within the gaps allowed in the panel channels. - Install your first panel, ensuring it is level. Once the first panel is secure, the next panel will click into place and only needs screwing on one side. - Continue fixing one panel after another along the wall.
5. Using Tile Adhesive (for Small Areas): - If you are covering a small area, many people find it easier to use tile adhesive. This is a quick and very effective solution. - Apply the tile adhesive to the back of the panel and press it firmly against the wall.
6. Cutting Panels: - For cutting panels, use a fine-tooth saw to avoid splinters and achieve a clean cut. Jigsaws, circular saws, or hand saws can all be used. - For consistent length cuts, set up a workstation with a circular saw.
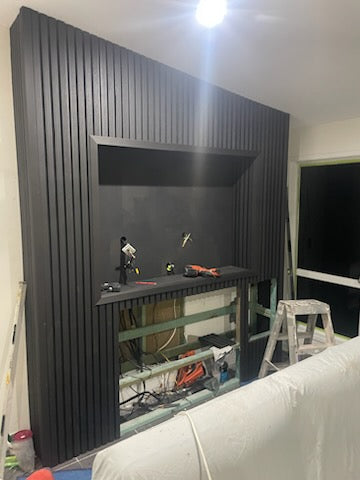
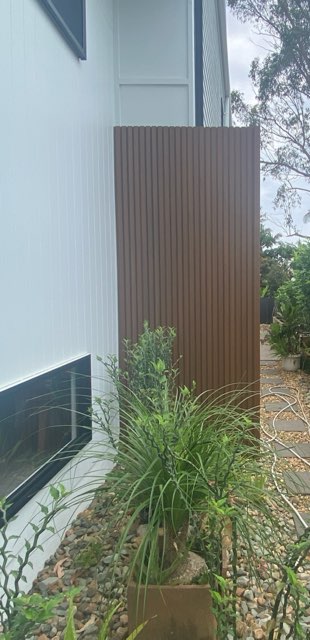
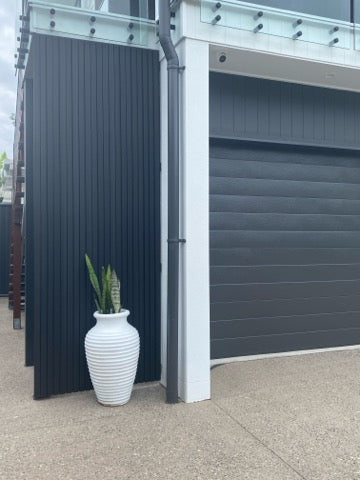
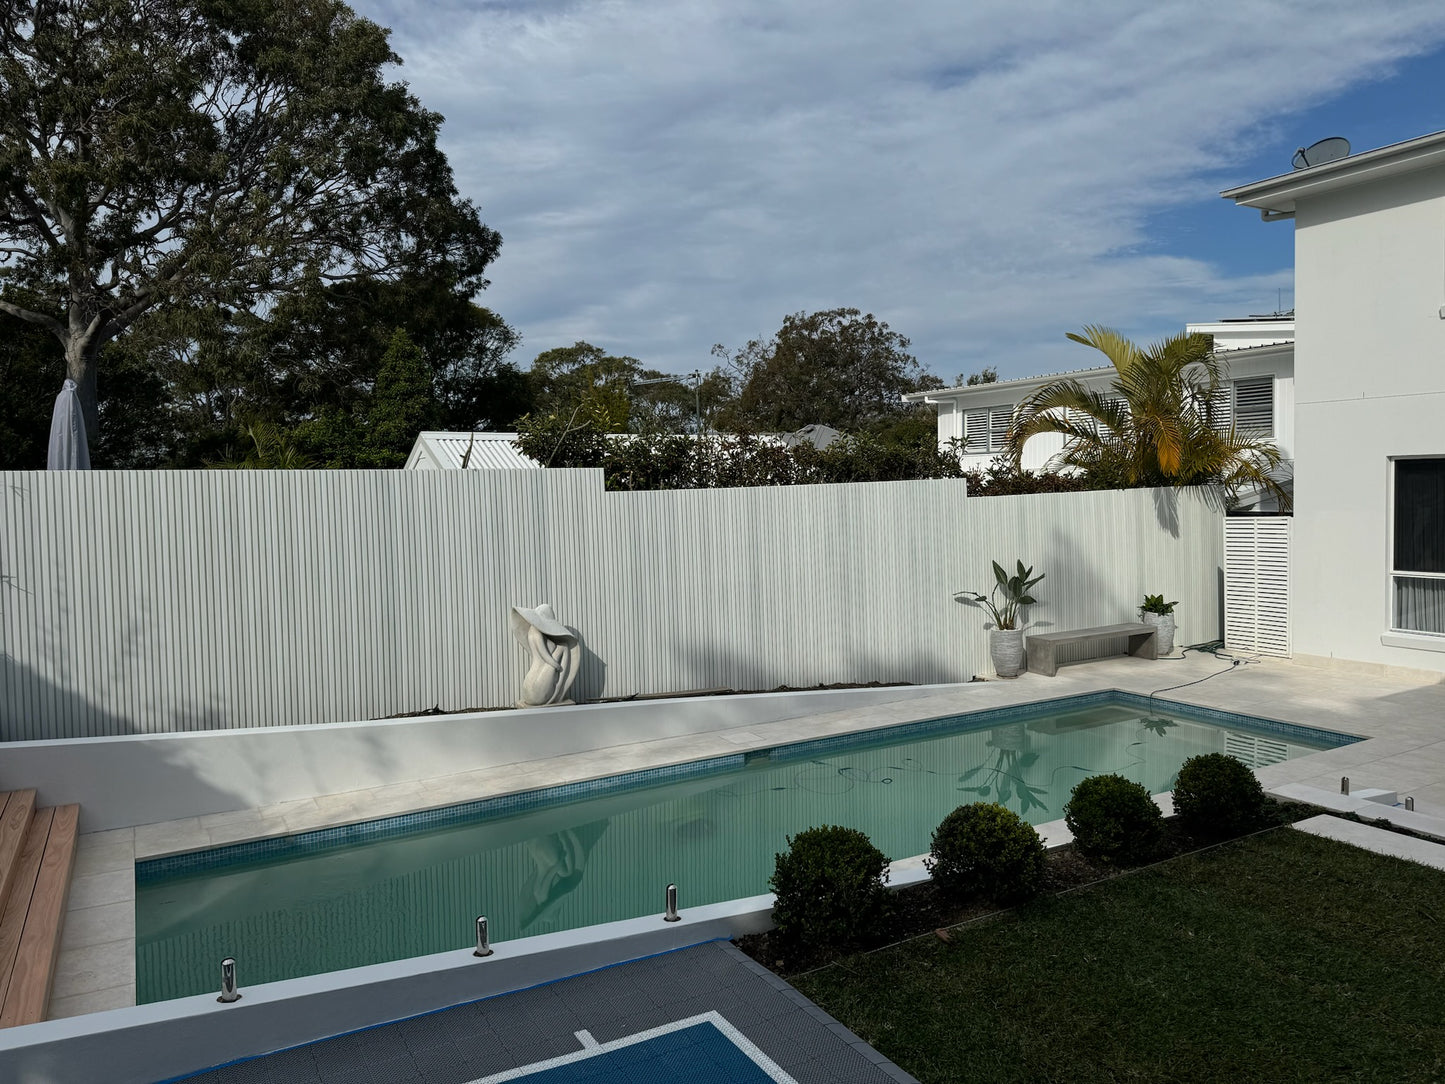
7. Applications: - This method can be used to clad your house, fence, or to build structures like a bin shelter or pool pump housing.
8. Aftercare: - The panels require minimal maintenance. If they get dirty, simply wash them down.
By following these steps, you can ensure a successful installation of your WPS panels
Choosing a selection results in a full page refresh.